
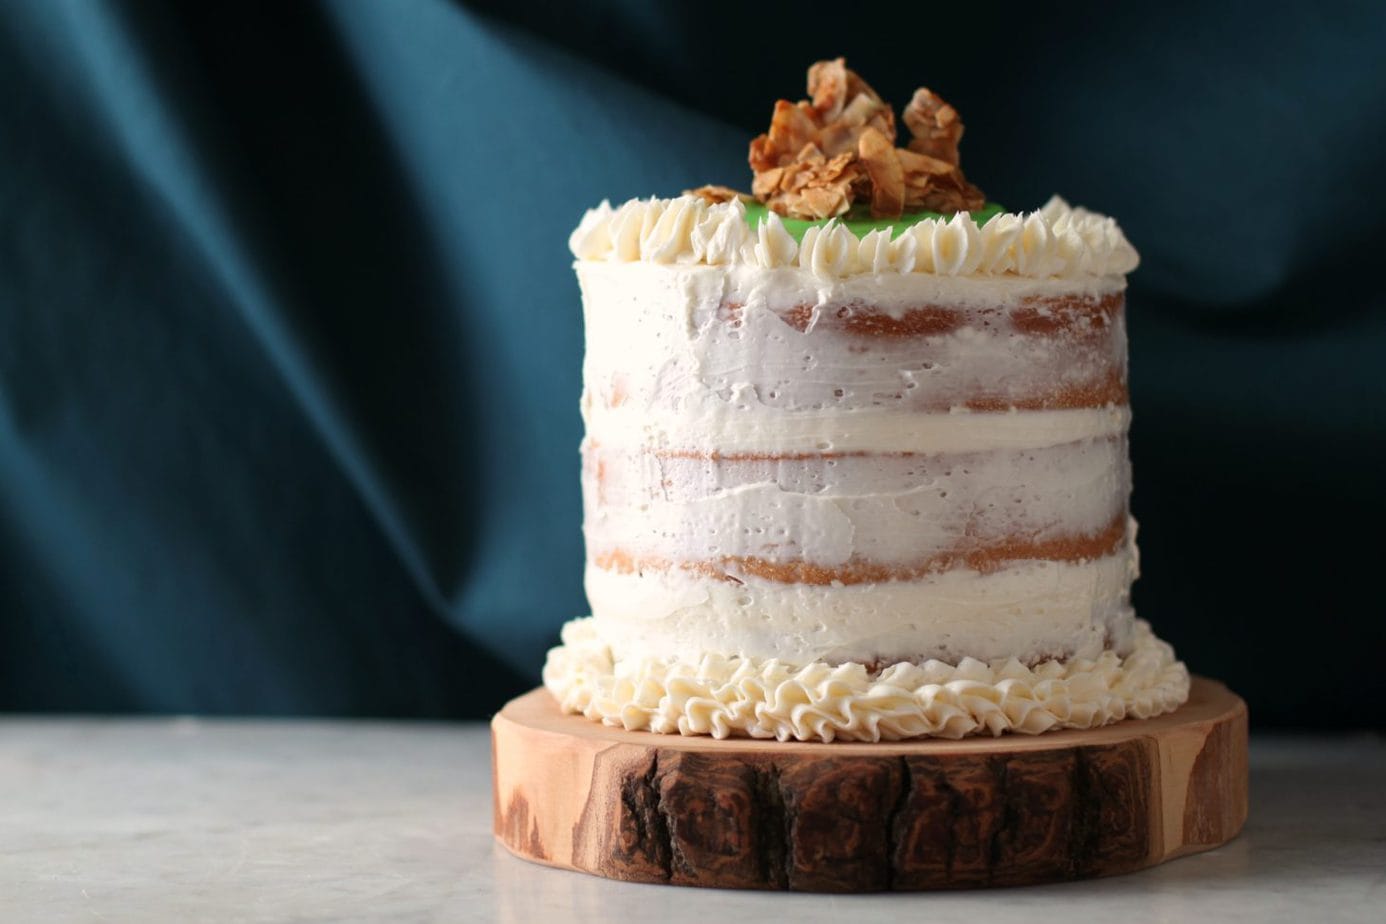
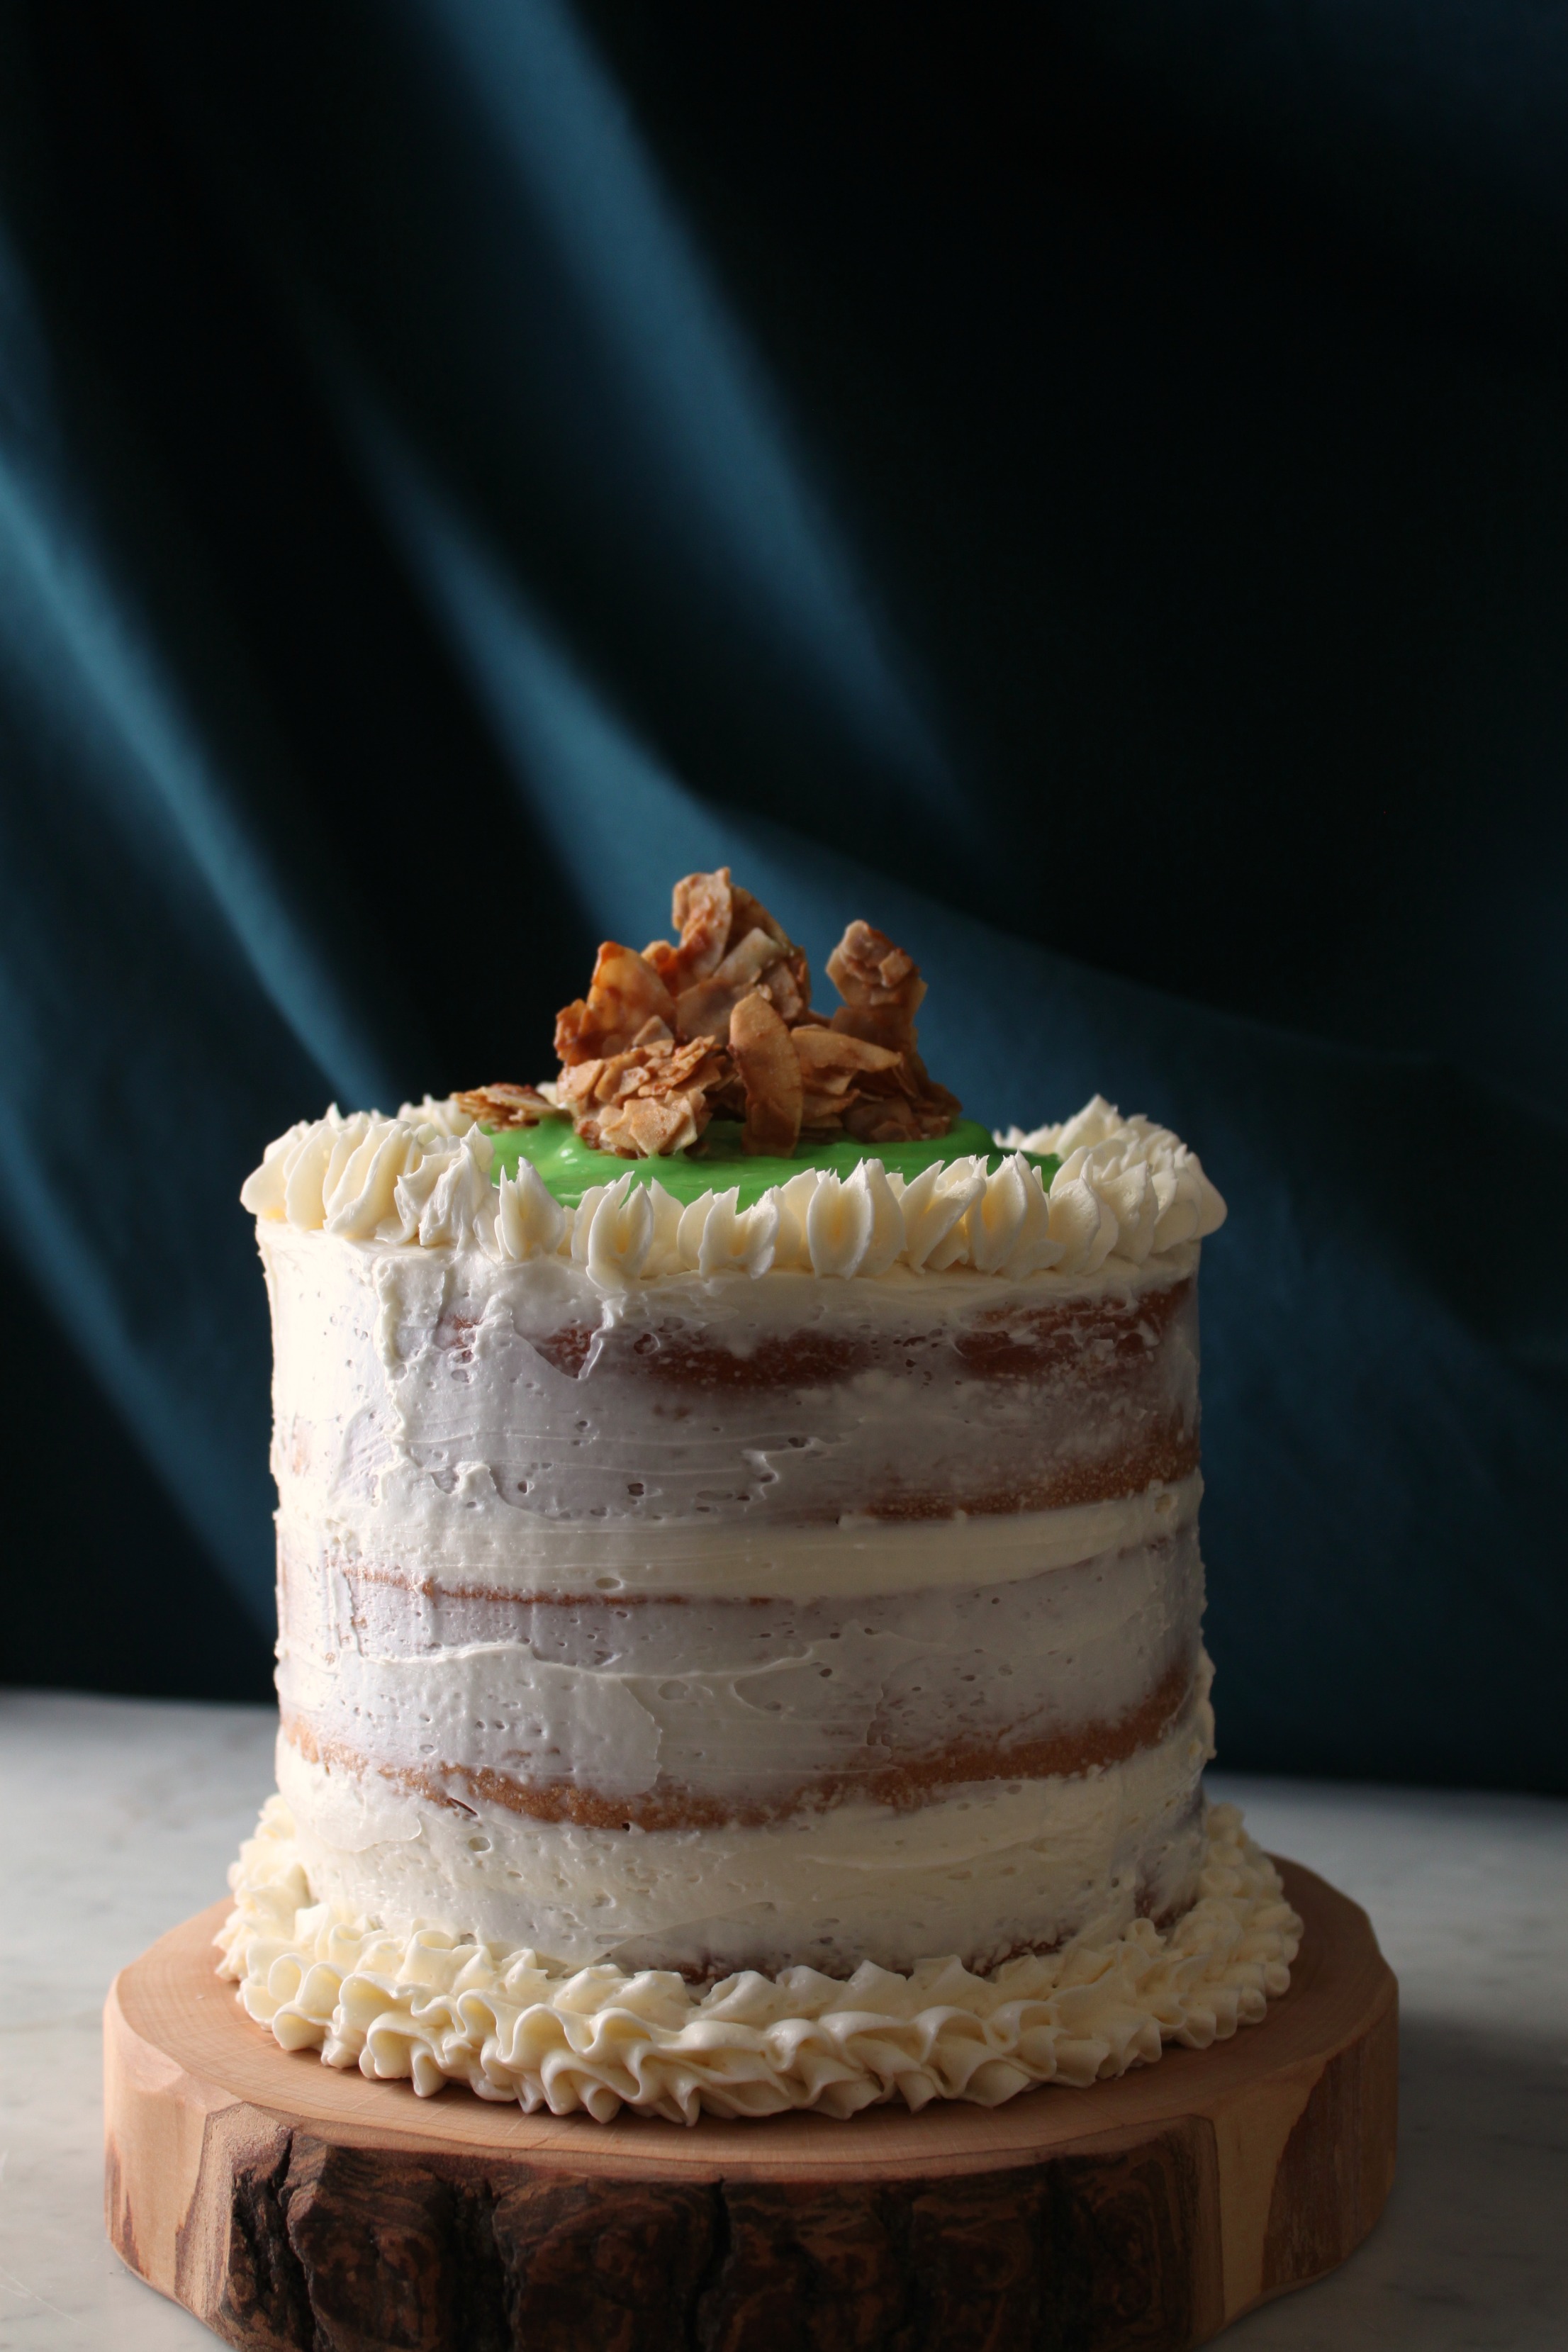
This Coconut Lime Layer Cake is layers of fluffy coconut vanilla cake filled with lime curd and frosted with a delicious Swiss Meringue Buttercream.

Want to save this recipe?
Enter your email below and get this post sent straight to your inbox. Plus, I’ll send you my weekly newsletter featuring the newest and best Dish ‘n’ the Kitchen recipes every week!


I’ve missed it…gah! My very special, only comes once a year bloggiversary! Dish ‘n’ the Kitchen turned four on January 14th and I guess I’m totally in character with being four since I got distracted and played around instead of focusing on making a very special cake. I don’t know how many four year olds make special cakes (other then play doh or doo doo cakes) but when you’re a blogger, being four calls for a real hones-to-goodness fancy cake. After all…’a party without a cake is just a meeting’, right?I DO kinda sorta have an actual excuse for the late party, though. Before Christmas I won a Rodelle Instagram challenge and the prizes were pretty sweet indeed. First prize was a signed copy of Tessa Huff’s gorgeous book ‘Layered’ which is smack full of cake porn. I mean, really it’s January right? Who needs cake porn? Well…I sat down one morning and read the book from front to back and I was hooked. I think I gained ten pounds reading it, but I was so impressed, I knew that I had to make one of the cakes in the book ASAP. In addition to Layered, I was also waiting for a baking package from Rodelle and getting a little worried that it hadn’t arrived yet. I sent a message to their PR firm and found out it had been ‘undeliverable’ and got sent back. They Fed Ex’d it to me and I got it two days later, the same day that I had finished reading Layered. I don’t know about you but I believe in coincidences, serendipity, karma, and all those other terms that explain to us that the universe is listening when we speak.The little box of awesome baking supplies contained bottles of: pure organic vanilla extract, whole vanilla beans, and pure organic vanilla paste (YUM) as well as a jar of Rodelle’s amazing Dutch Process Cocoa which I used to be able to by in bulk at Costco. I hate it when you get used to buying something awesome at Costco and they suddenly stop carrying it. If I would have known, I would have bought a couple of cases and stored them!
The cake was pretty easy to bake, though I questioned the method at first. I usually cream butter and sugar together, then alternate adding the dry and wet mixtures. This one had the dry ingredients being added first and the butter incorporated later. Finally, when the wet ingredients are added the batter comes together. I wasn’t crazy about the texture of the cake and I’m not sure if it was the method or a consequence of high altitude baking. What I did REALLY like was the Swiss Meringue Buttercream because it had just the right amount of sweetness. It was fun to make the meringue and has a really nice texture for decorating that becomes more stable after cooling.

If you make this Coconut Lime Layer Cake recipe, I’d love to hear about it in the comments section or in the ratings. Be sure to follow me on Facebook and Pinterest for my latest recipes. Also, if you do make this recipe please share your photos and tag me on Instagram. I hope you like this recipe!
Coconut Lime Layer Cake
This Coconut Lime Layer Cake is layers of fluffy coconut vanilla cake filled with lime curd and frosted with a delicious Swiss Meringue Buttercream.
Ingredients
- 5 large egg whites
- 1 teaspoon vanilla extract
- 2 teaspoons coconut extract
- 3/4 cup whole milk
- 2 1/2 cups cake flour
- 1 1/2 cups sugar
- 1 Tablespoon baking powder
- 3/4 teaspoon salt
- 3/4 cup unsalted butter; room temperature and diced
FOR THE LIME CURD
- 6 large egg yolks
- 3/4 cup sugar
- 1/2 cup fresh lime juice (zest the limes first then add the zest to the bowl as well)
- 3 Tablespoons heavy cream
- 3/4 stick (6 tablespoons) cold unsalted butter, cut into pieces
- 2 Tablespoons cornstarch
- green food colouring (optional)
FOR THE COCONUT VANILLA SWISS BUTTERCREAM
- 1/2 cup large egg whites
- 1 cup granulated sugar
- 1 1/2 cups unsalted butter; at room temperature and cubed
- 1 teaspoon vanilla extract
- 1/4 cup coconut cream
Instructions
For the Cake
- Preheat oven to 350 F (175 C). Grease and flour 3-6 inch cake pans.
- Stir together the egg whites, vanilla extract, coconut extract, and 1/4 cup milk in a small bowl.
- Sift flour, sugar, baking powder, salt into a stand mixer bowl. Attach paddle mixer.
- Add butter and remaining milk and mix on low until the ingredients are moistened. Turn mixer on high for another minute.
- Decrease mixer speed to medium and begin adding egg white mixture, one third at a time. Make sure to scrape down sides of bowl as well.
- Evenly divide between the three pans and smooth batter surface.
- Bake 23-25 minutes or until an inserted toothpick comes out clean.
- Let cool on a wire rack for 10-15 minutes before removing from the pans.
- Level cake tops using a serrated knife before assembly.
For the Curd
- Fill a saucepan with a couple of inches of water and fit a bowl inside to make a double boiler. Add yolks, sugar, lime juice, zest, and cream and whisk together. Add food colouring if using. Bring water to a slight simmer.
- Cook over moderately low heat, whisking constantly, 5 to 7 minutes, or until mixture just reaches a boil (do not let boil).
- Remove from heat and gradually add butter until it has all melted. Strain curd through a fine sieve into a bowl.
- Cover surface with plastic wrap and let cool in fridge.
- Freak out because your curd is too runny, throw it all back into a saucepan.
- Mix juice of one lime and 2 tablespoons of cornstarch and add to runny curd.
- Heat until mixture becomes hot enough to thicken, taking care to mix well so it doesn’t burn on the bottom of the pan.
- Cover surface with plastic wrap and let cool in fridge.
For the Coconut Vanilla Swiss Buttercream (Tessa Huff)
- Place egg whites and sugar in mixer bowl and whisk to combine.
- Fill a saucepan with a few inches of water, turn burner to med-high heat and set the mixer bowl inside. Check to make sure the bottom of the bowl isn’t touching the surface of the water.
- Heat the mixture until it reaches 160 F or 70 C; whisking once in a while to keep the mixture from separating. Scrape down sides of mixer bowl for any stray sugar.
- Once mixture reaches 160 F, place on mixing stand and whisk on high speed for 8-10 minutes or until there are medium to stiff peaks.
- Once there are medium to stiff peaks and the mixture is at room temperature, switch whisk for paddle attachment and begin adding the cubed butter a couple of tablespoons at a time while mixer is on low.
- After the butter is all incorporated, add the coconut cream then the vanilla. Scrape down sides of bowl.
- Turn mixer on high and beat until the buttercream is silky smooth; 3-5 minutes.
Nutrition Information:
Yield:
8Serving Size:
1Amount Per Serving: Calories: 1099Total Fat: 62gSaturated Fat: 38gTrans Fat: 0gUnsaturated Fat: 21gCholesterol: 311mgSodium: 520mgCarbohydrates: 125gFiber: 1gSugar: 88gProtein: 14g
Nutritional calculation was provided by Nutritionix and is an estimation only. For special diets or medical issues please use your preferred calculator.
Mouthwatering…
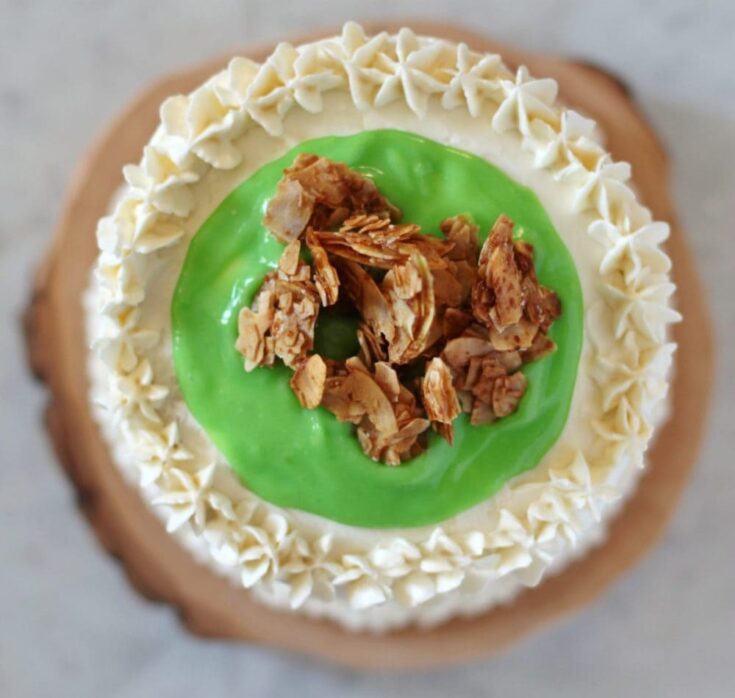
This cake is stunning and fit for a blog anniversary! Love the contrast of the bright green curd against the white cake 🙂
Thank you!! I always like to over do things 🙂
Congratulation on your blog anniversary. The cake looks so yummy, wish I can have a piece 🙂
Happy 4th Blogiversary my dear friend! Your cake looks spectacular! I could really use a slice right about now.
Thank you so much Nicole! I am quite in love with the 6 inch layer cakes now…there’s less cake to eat and I could definitely eat less cake 😉 That’s the downside of the blog!
Happy Blogiversary! And what a splendid cake to celebrate with 🙂 I love the puddle of lime curd on the top- what a fun splash of colour 🙂
Thank you Hilary! I really didn’t plan out how I was going to finish the cake top and the curd was a last minute addition. So happy you liked it!
What a nice prize to receive just in time (or just about) for your 4th blogiversary! Congratulations! That cake looks like a fantastic way to celebrate – you iced it beautifully.
I know!! I was pretty excited and it just so happened that I needed to open a new vanilla. Thank you Teresa…I’ve always wanted to try a ‘naked’ cake but my cakes always come out of the pan all gross. This one was perfect so I took a chance.
What a beautiful (and delicious sounding!) cake, Bernice! I was so interested in these goodies after seeing you unbox them on your Insta Stories. Congrats on 4 years and cheers to many more for Dish ‘n’ the Kitchen!
They are very high quality. I haven’t been able to find decent whole vanilla beans in Calgary because they dry out so quickly. Also as a coincidence I was able to find the new Vanilla Bean Cookbook at Homesense for $12! It was meant to be 🙂