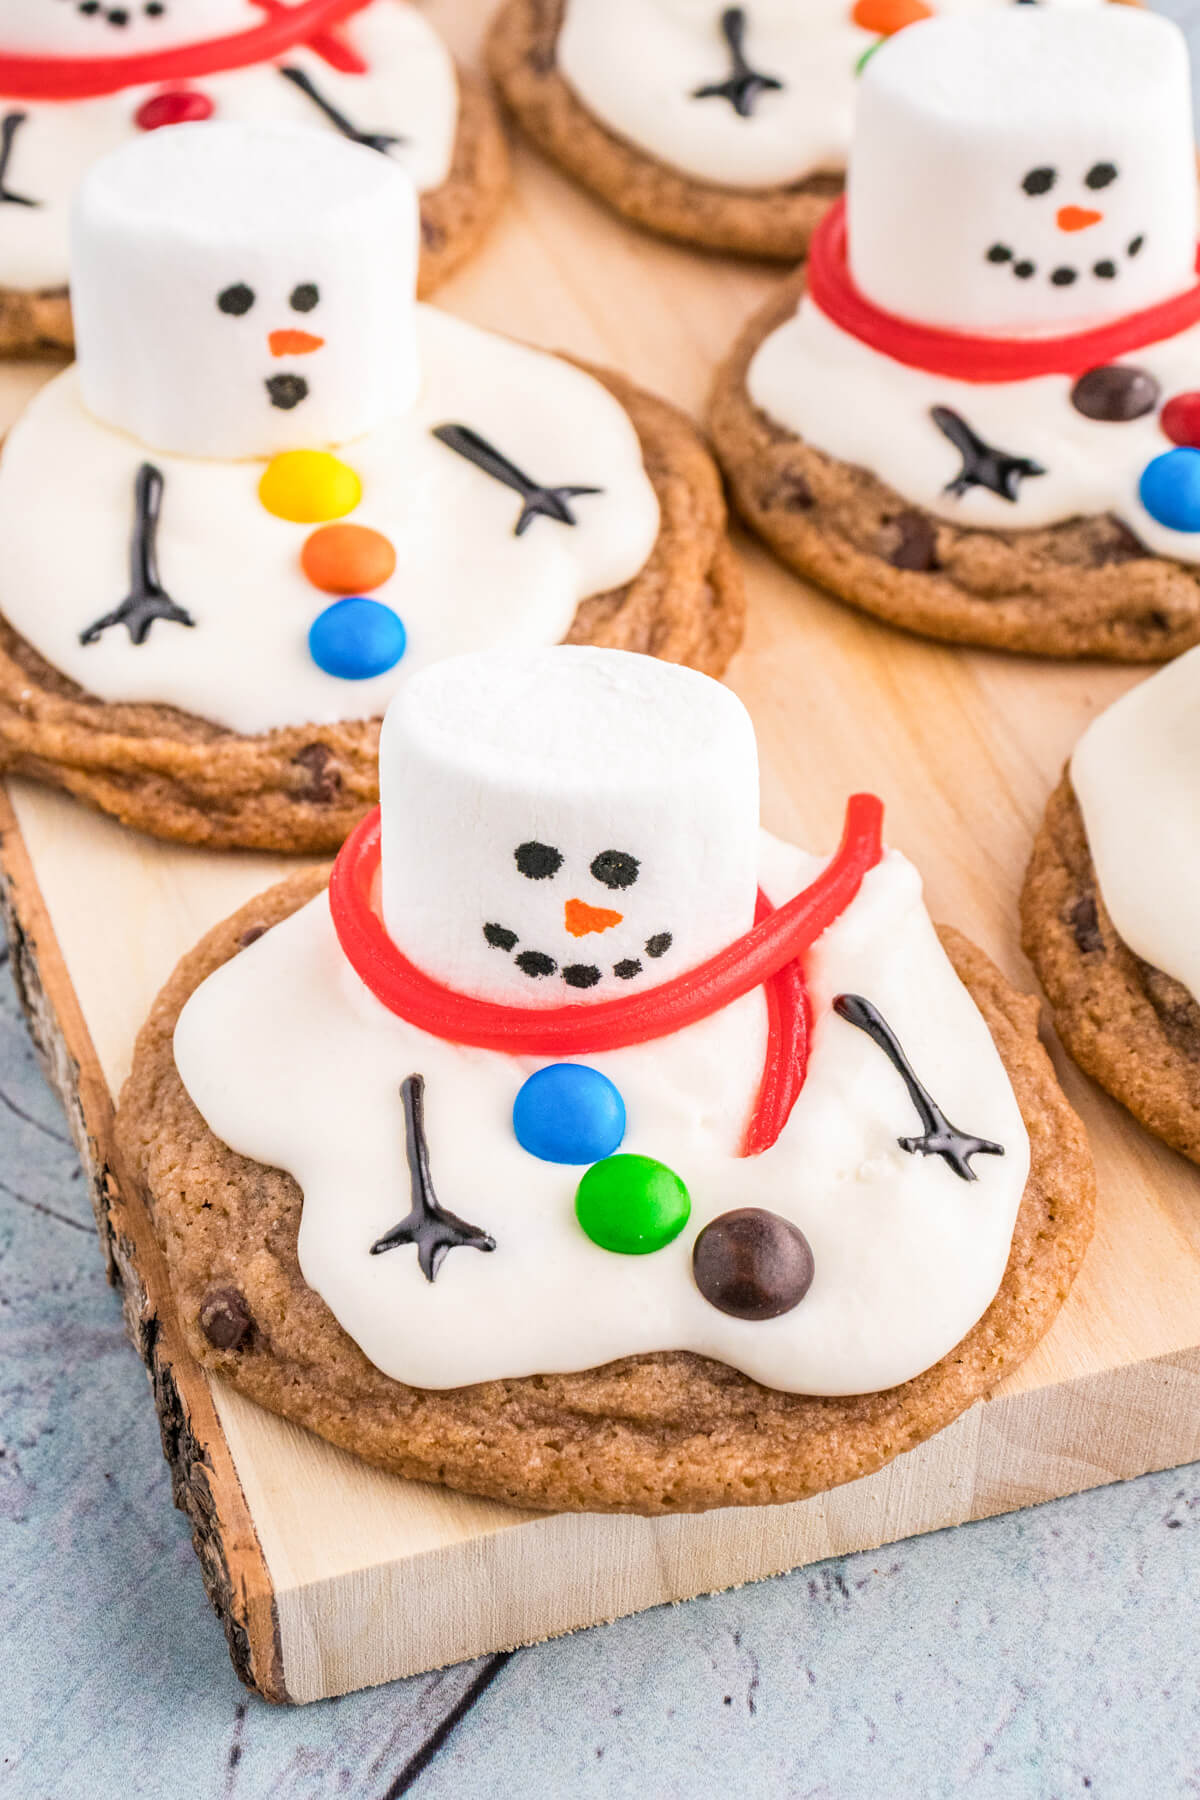
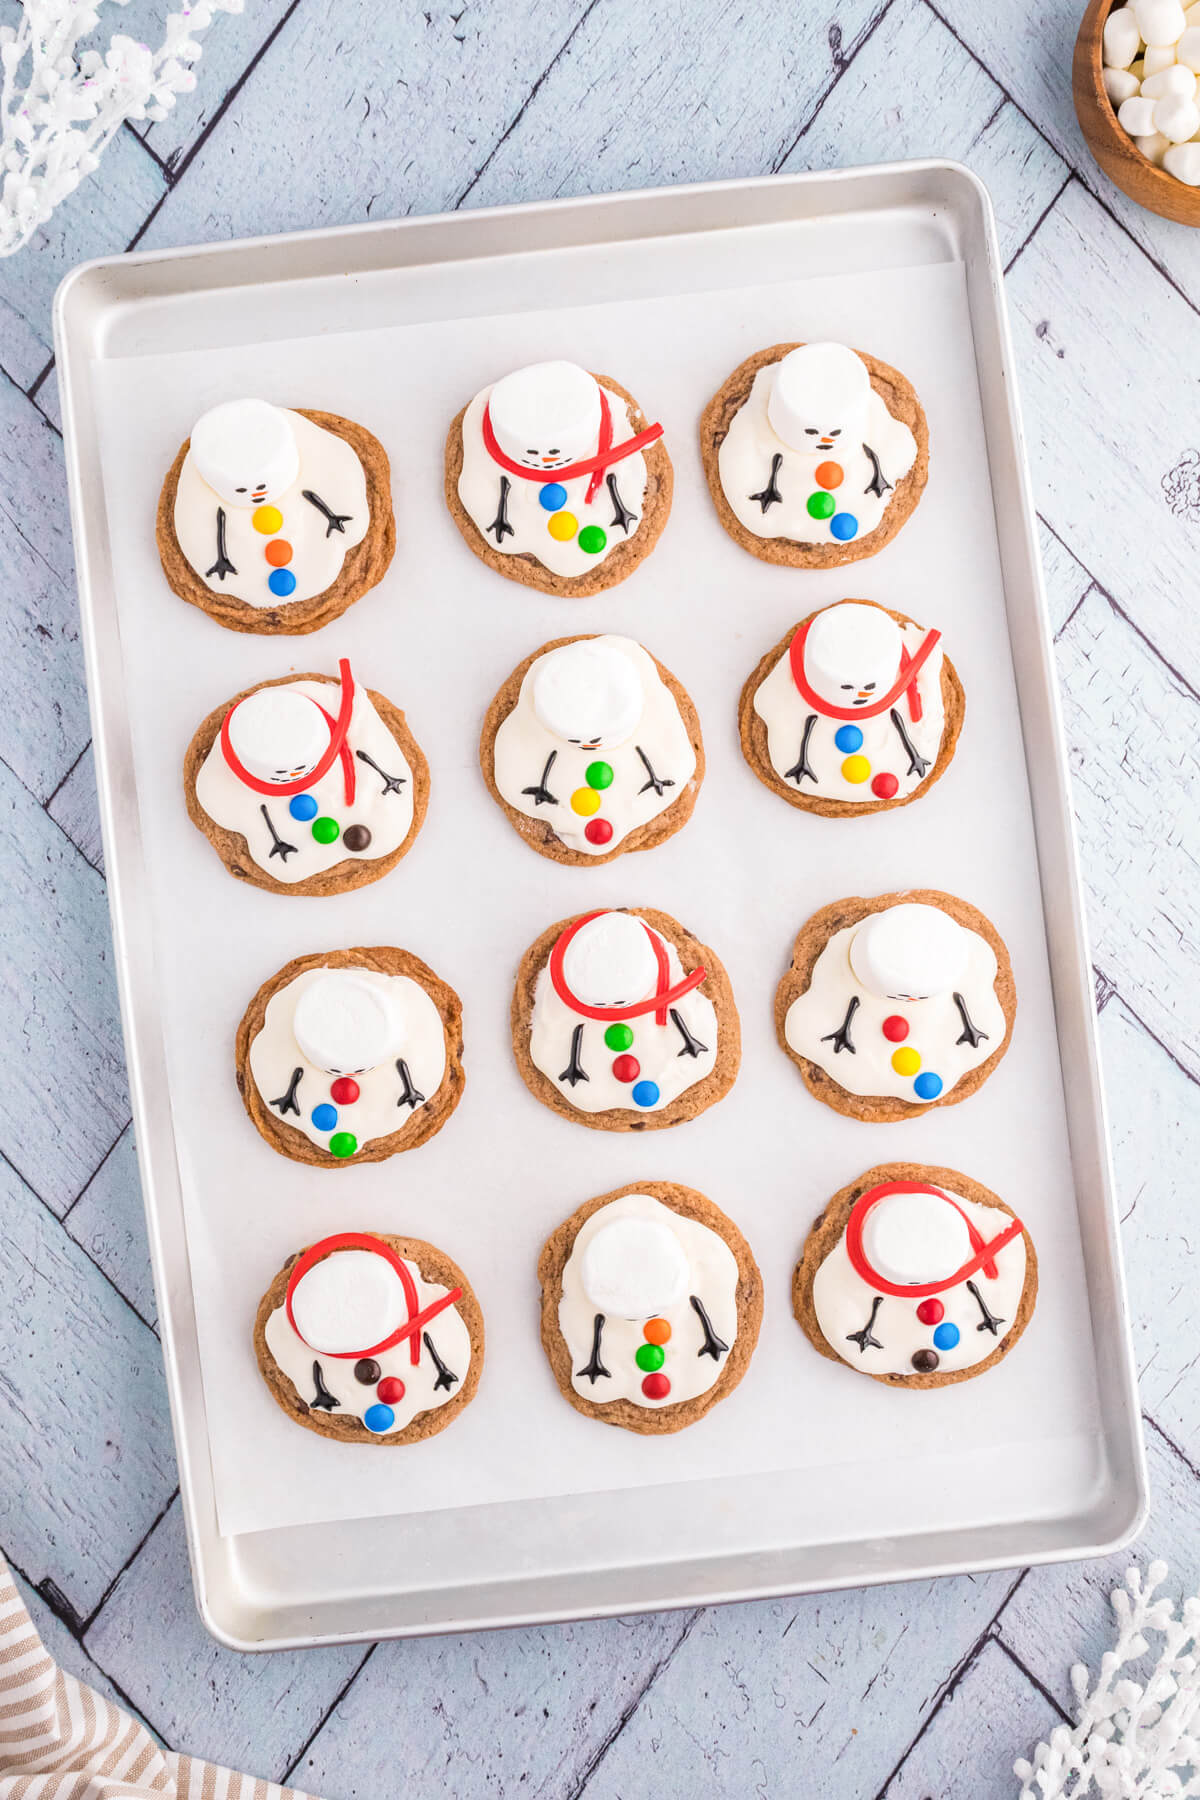
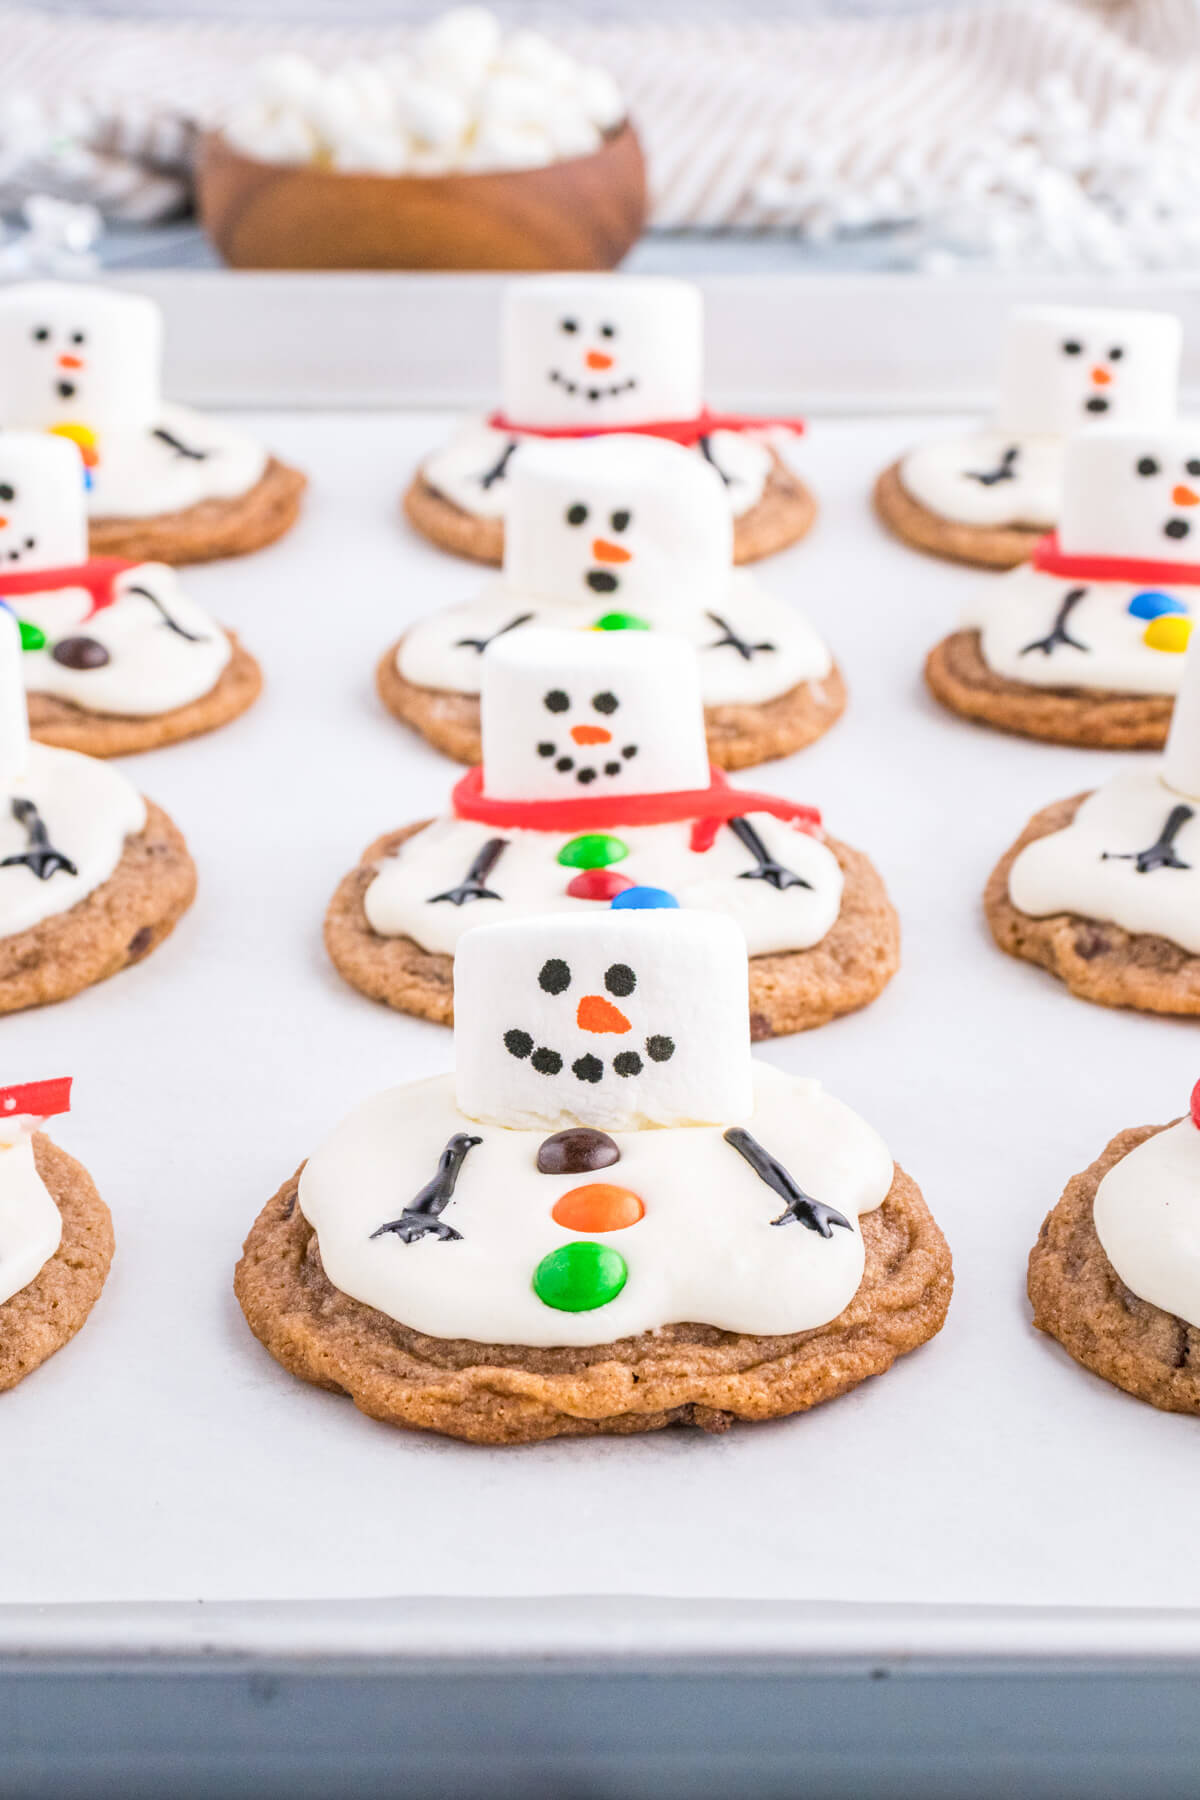
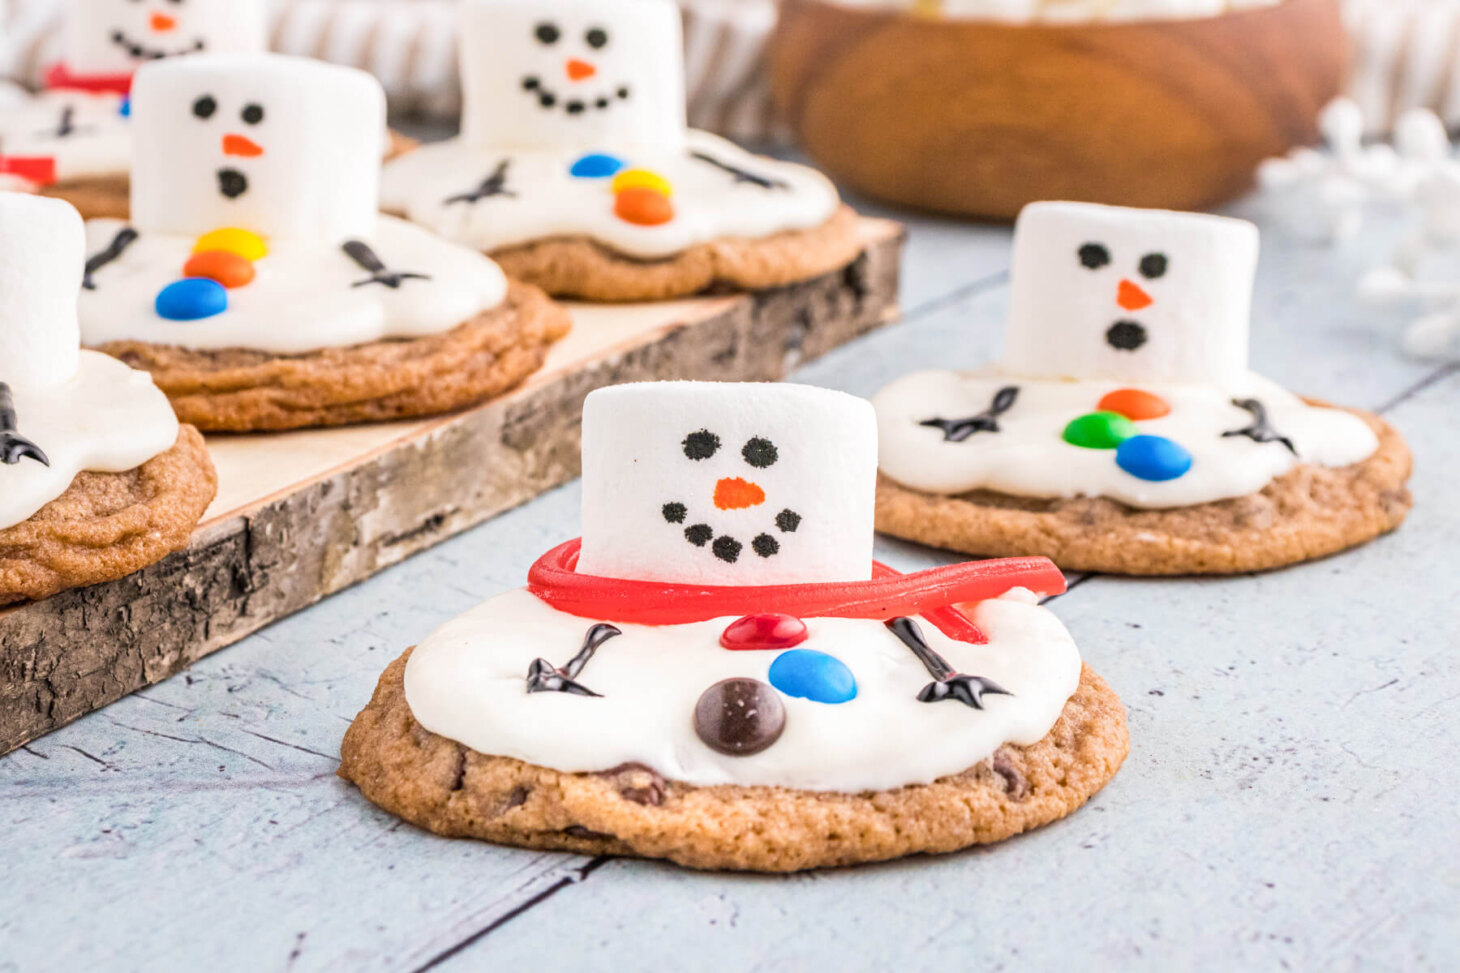
Combining the warmth of freshly baked cookies and the whimsical touch of adorable marshmallow snowmen, these hot cocoa Melted Snowman Cookies are sure to bring joy and wonder to both young and old.
Keeping things light and fun is the key to a successful stress-free holiday baking season. These easy Better Thank Pecan Pie Cookies look and taste just like butter tarts in cookie form… no pastry required! Or, use up your leftover cranberry sauce to make these no-bake Cranberry Pomegranate Christmas Trifles for an easy holiday dessert.
Want to save this recipe?
Enter your email below and get this post sent straight to your inbox. Plus, I’ll send you my weekly newsletter featuring the newest and best Dish ‘n’ the Kitchen recipes every week!
Why You’ll Love these Melted Snowman Cookies
Bakers of all skill levels, grab your aprons and get ready to bake up these irresistible wintry treats. Instead of a classic sugar cookie recipe for the base, this snowman cookie recipe features a simple chocolate chip cookie dough base.
Of course, the added hot chocolate mix brings extra chocolatey flavour to these special cookies. If you can bake chocolate chip cookies, you can make these Christmas cookies!
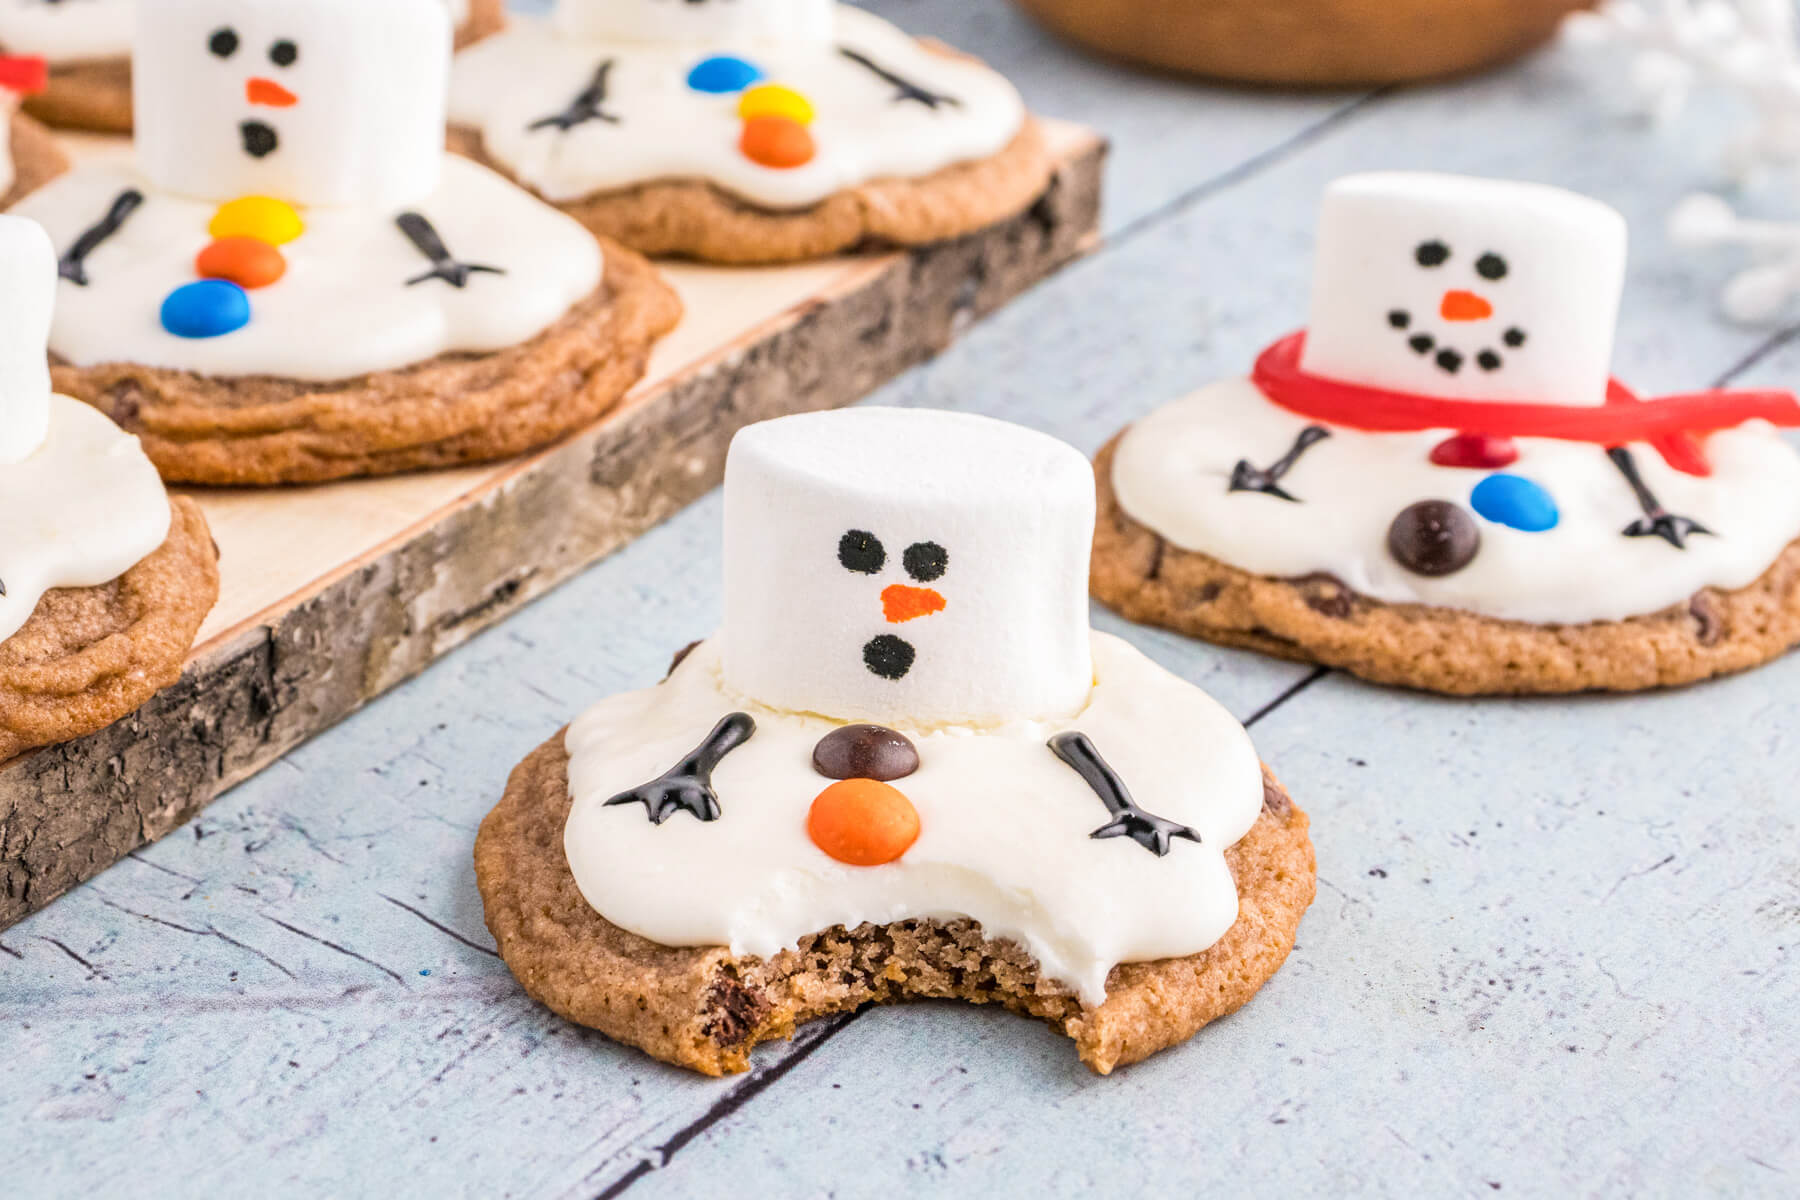
Speaking of hot chocolate, you can’t have this chocolaty winter beverage without the gooey melted marshmallow topping. Fluffy white marshmallow snowmen sit on top of a bed of marshmallow fluff frosting spread out to mimic a melting snowman. After all, you’d be melting too if you were sitting in a mug of hot chocolate!
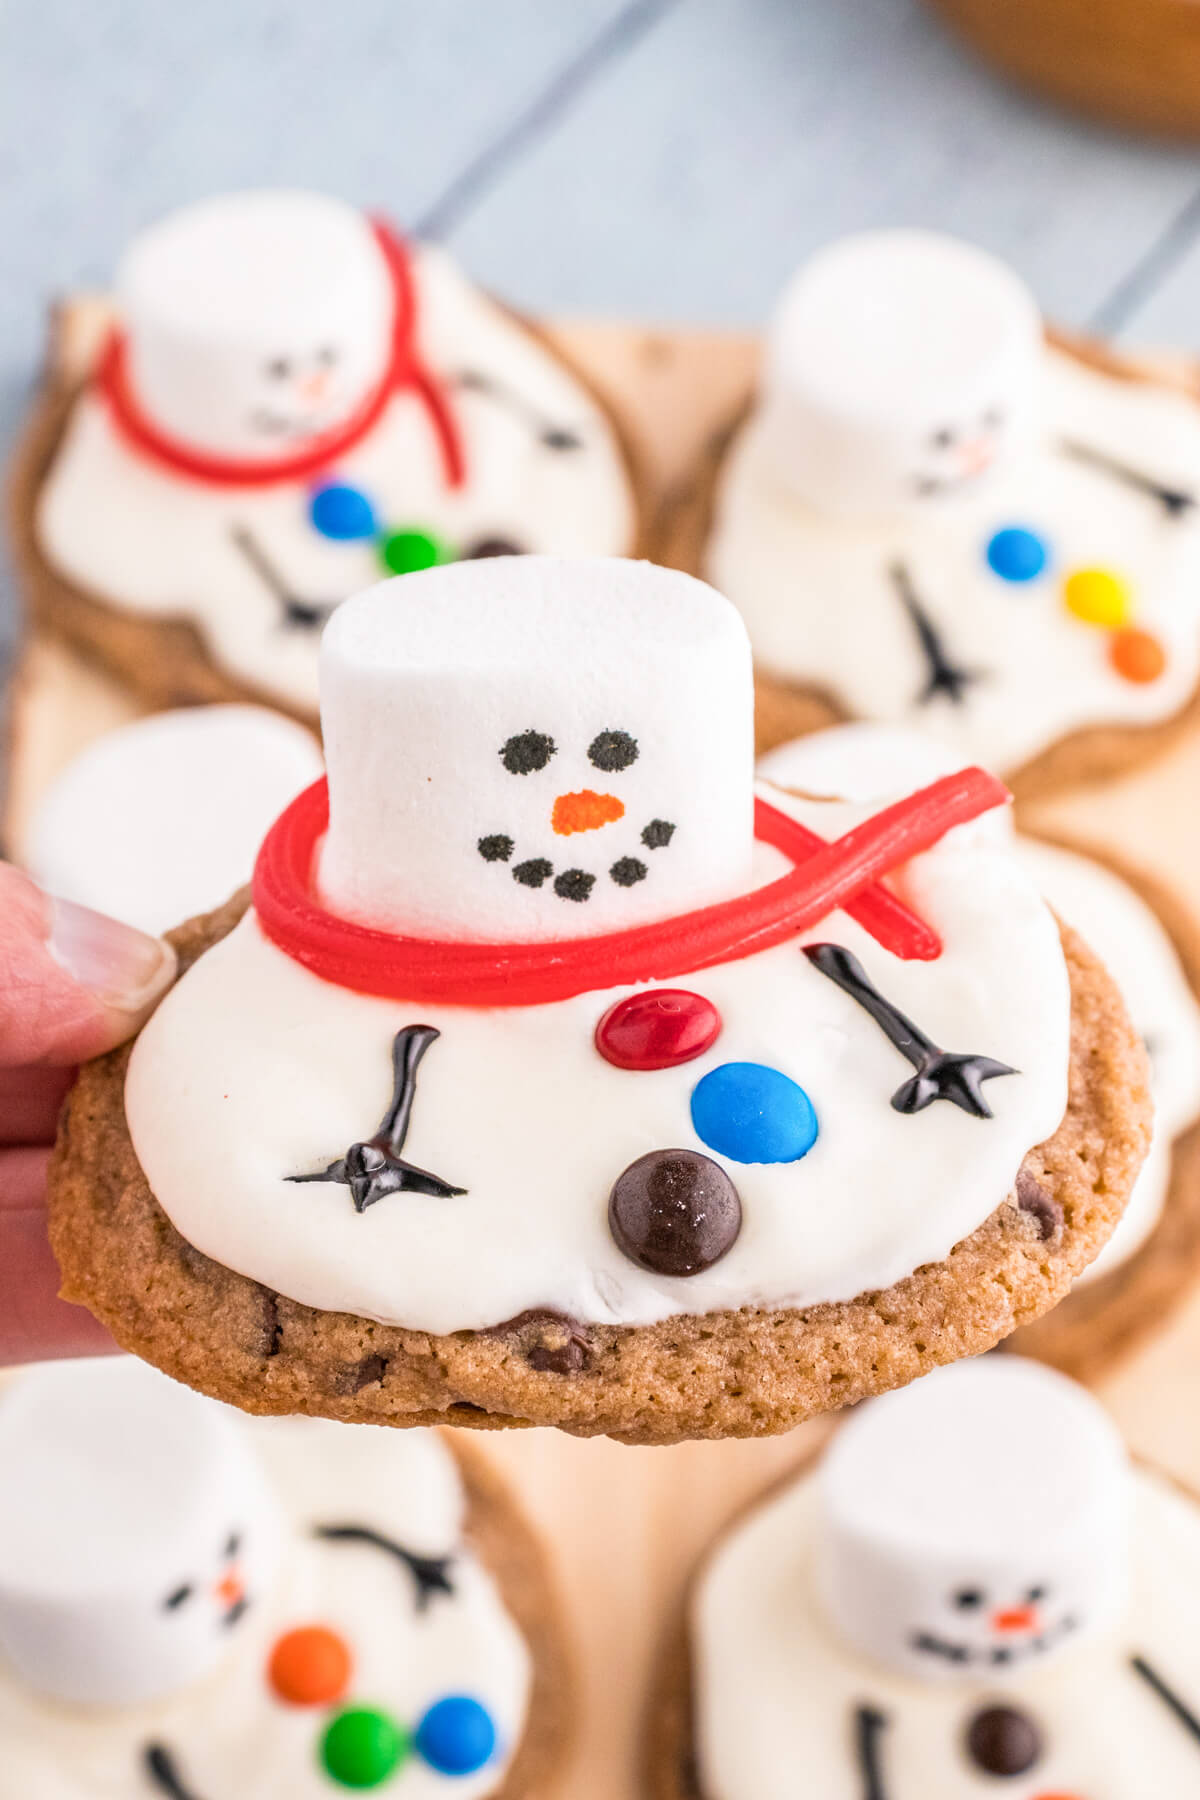
These Melted Snowman cookies will surely stir up smiles and melt hearts all winter long. They make a special winter school treat and are perfect for winter potlucks and cookie exchanges.
You may also choose to use one of your favourite cookie recipes as the base. Feel free to add the melting snowmen topping to sugar cookies, peanut butter cookies, ginger cookies, or even cake mix cookies. You can also use your own cookie icing recipe, including royal icing or buttercream as long as you can get it to the same consistency of ‘melting snow’.
Special Equipment for this Recipe
Before you begin, please note that there are a few special ingredients that require either a trip to a specialty store or an Amazon order. You can find the vanilla extract, marshmallows and candy decorations (mini M & M’s and pull apart licorice) at any grocery or dollar store.
However, a jar of marshmallow fluff, clear vanilla extract, black icing in a tube, and edible writing pens may be more difficult to source. I have added Amazon affiliate links to this post and while I make a few pennies if you use the links to purchase, it is at no extra cost to you.
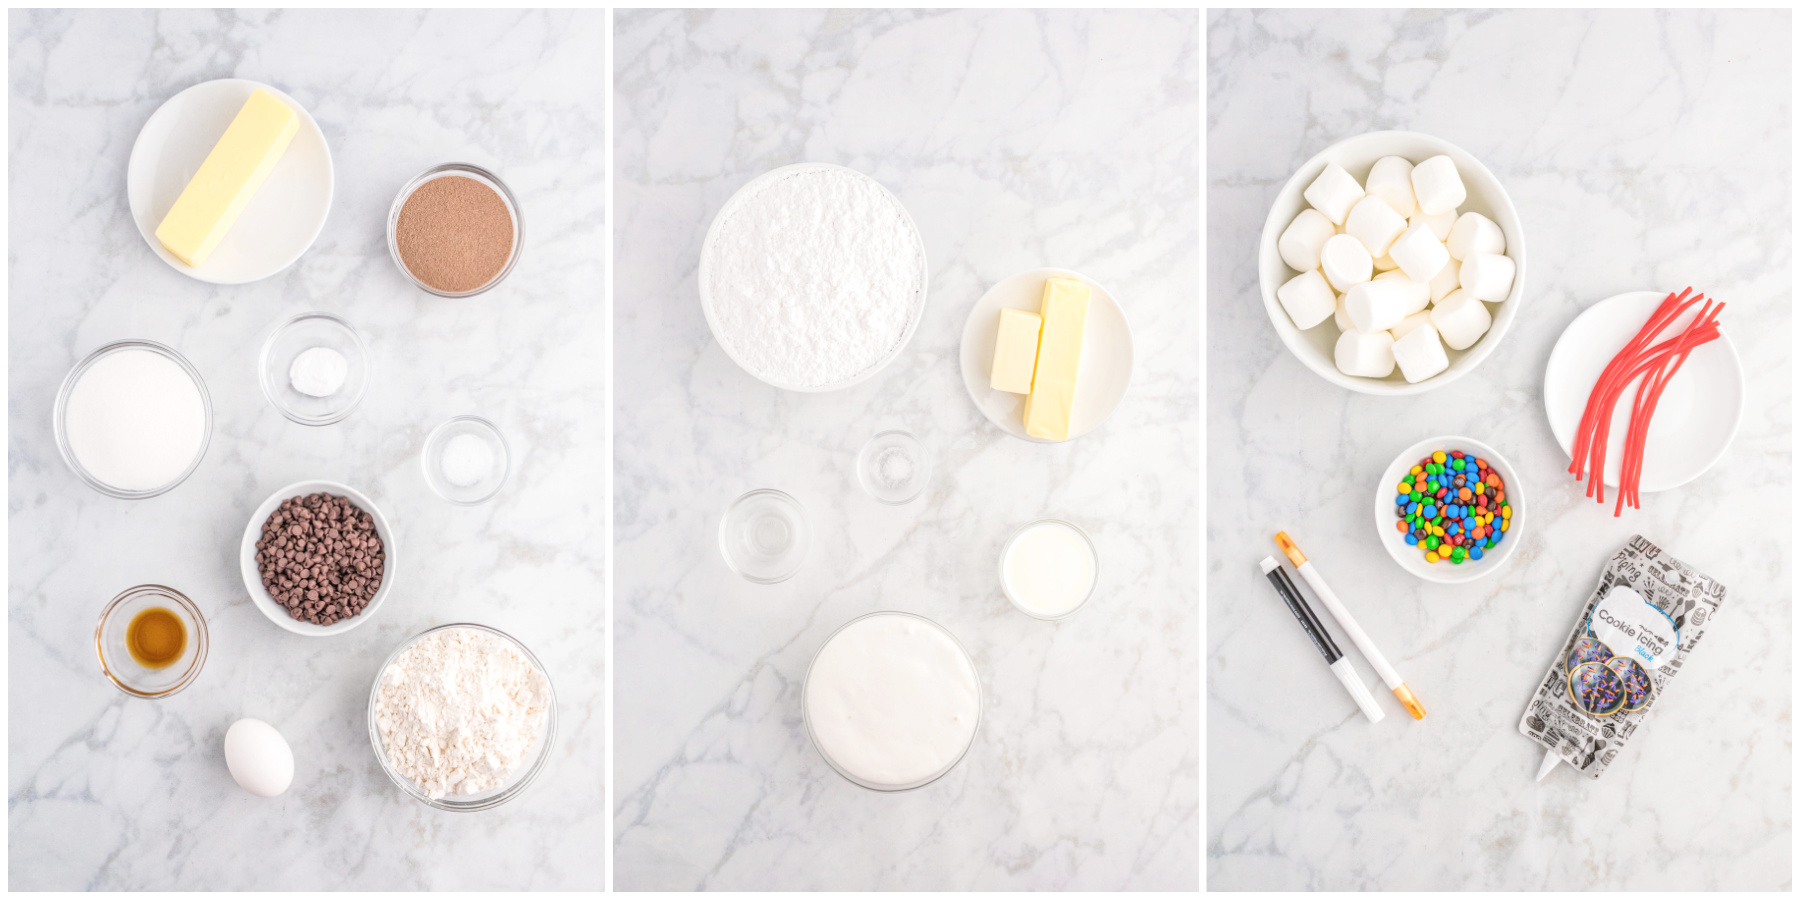
- Clear Vanilla Extract
- Marshmallows
- Mini M & M’s
- Pull Apart Licorice
- Marshmallow Fluff
- Black Icing in a Tube (not black decorating gel)
NOTE. I had a difficult time find separate black and orange edible markers so this link is to a multi pack of markers containing a rainbow of colours that also includes black.
Ingredients for Melted Snowman Cookies
Most of the cookie and frosting ingredients are straightforward and consist mainly of ingredients you might have in your pantry or refrigerator.
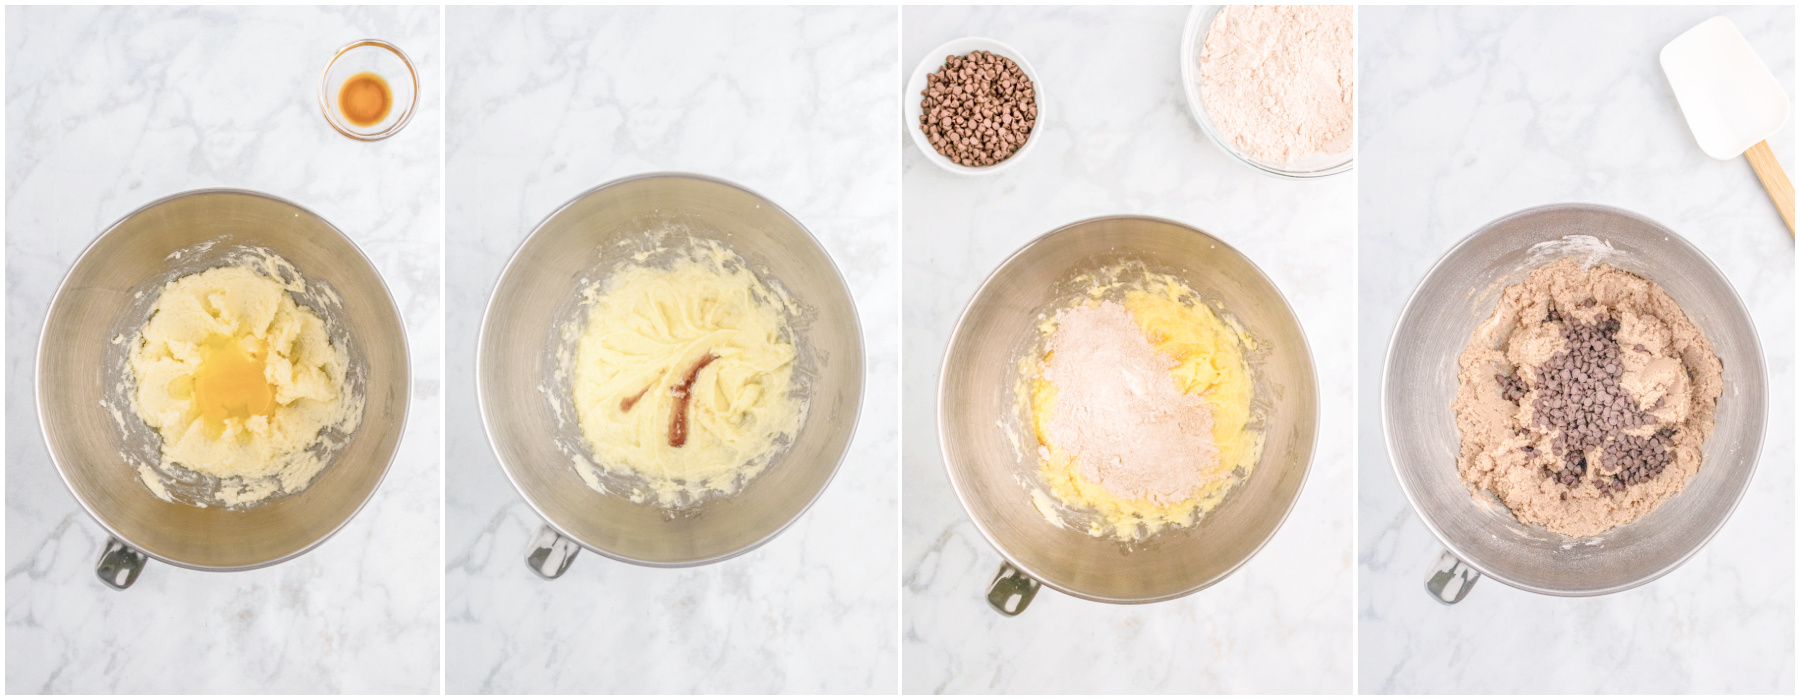
- Butter
- Sugar
- Egg
- Flour
- Hot Chocolate Powder
- Salt
- Baking Soda
- Vanilla Extract
- Mini Chocolate Chips
- Powdered Sugar
- Milk
Note that there are two separate measurements of unsalted butter in this recipe. There is 1/2 cup softened unsalted butter in the cookie dough and 3/4 cup unsalted softened butter in the marshmallow frosting.
There is granulated sugar in the cookie dough and powdered sugar (or confectioner’s sugar) in the marshmallow frosting. Be sure to sift the powdered sugar before adding it to the frosting mixture.
It seems like the consistency and size of eggs seems to have changed over the years. For this recipe, please use a large (at least 1.97 oz/56 grams) room temperature egg.
Use a high end, preferably dark hot chocolate mix for extra chocolate flavour. Many mixes contain mostly sugar, resulting in overly sweet cookies.
Additionally, there are two types of vanilla in this recipe. Regular real vanilla extract for the cookie dough and clear vanilla extract in the marshmallow frosting. You can use the clear extract in the cookie dough but not the regular vanilla extract in the frosting as it will turn the snow yellow!
Finally, use mini chocolate chips (milk or dark) so as no to create to many bumps in these flat cookies. Similarly, mini M & M candies fit better in the cookie design than regular M & M’s.
How to Make Melted Snowman Cookies
Make the Cookies
To begin, preheat the oven to 350°F. Line two baking sheets with parchment paper.
Next, cream the softened butter and granulated sugar together in a large bowl until the mixture becomes light and fluffy. Add the egg and beat well. Stir in the vanilla extract.
In a separate bowl, whisk together the all-purpose flour, hot chocolate powder, baking soda, and salt. Gradually add the dry ingredients to the wet ingredients, mixing with a wooden spoon until a soft dough forms. Stir in the mini chocolate chips.
Drop 1 ½ rounded tablespoons of cookie dough onto prepared baking sheets, spacing each pile of dough roughly 2 inches apart. Bake the cookies in a 350 F oven for 10-12 minutes or until the cookies are slightly crisp around the edges. The cookies will be flat but that is perfect for decorating).
Remove the cookies from the oven and let them cool completely.
Make the Marshmallow Frosting
To begin, beat the softened butter in a medium sized mixing bowl or stand mixer bowl until it becomes creamy. Add the marshmallow cream and continue to beat mixture until well combined. Gradually add the sifted powdered sugar into the mixture, continuously beating on low speed. Add the clear vanilla extract and pinch of salt.
Once the frosting is smooth and fluffy, begin adding the milk a little at a time until the frosting is smooth and spreadable (it should drip slowly off the paddle when lifted). If needed, adjust the consistency by adding more powdered sugar to thicken, or more milk to thin.
Decorate the Cookies
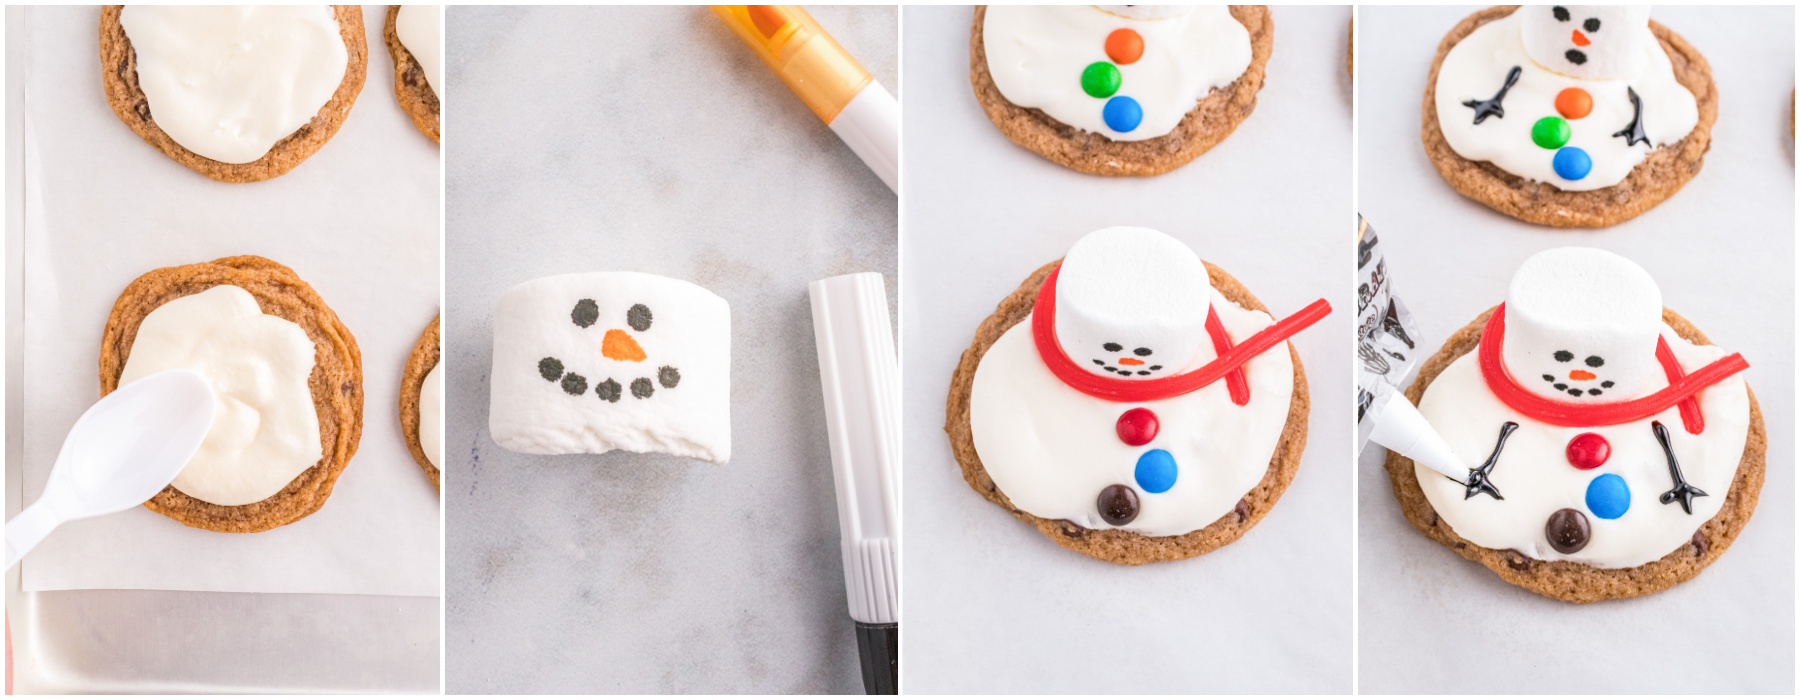
To begin decorating the Melted Snowman Cookies, spread or pipe the marshmallow cream frosting onto room temperature cookies. Use the back of a spoon to smooth it out leaving random space between the frosting and the edge of the cookie to mimic a ‘melting snow’ effect.
Next, cut the bottom 1/4 off each marshmallow (to make it look like it is melting) then draw button eyes and mouths with the black edible marker (or use black icing). Draw a carrot nose with the orange edible marker.
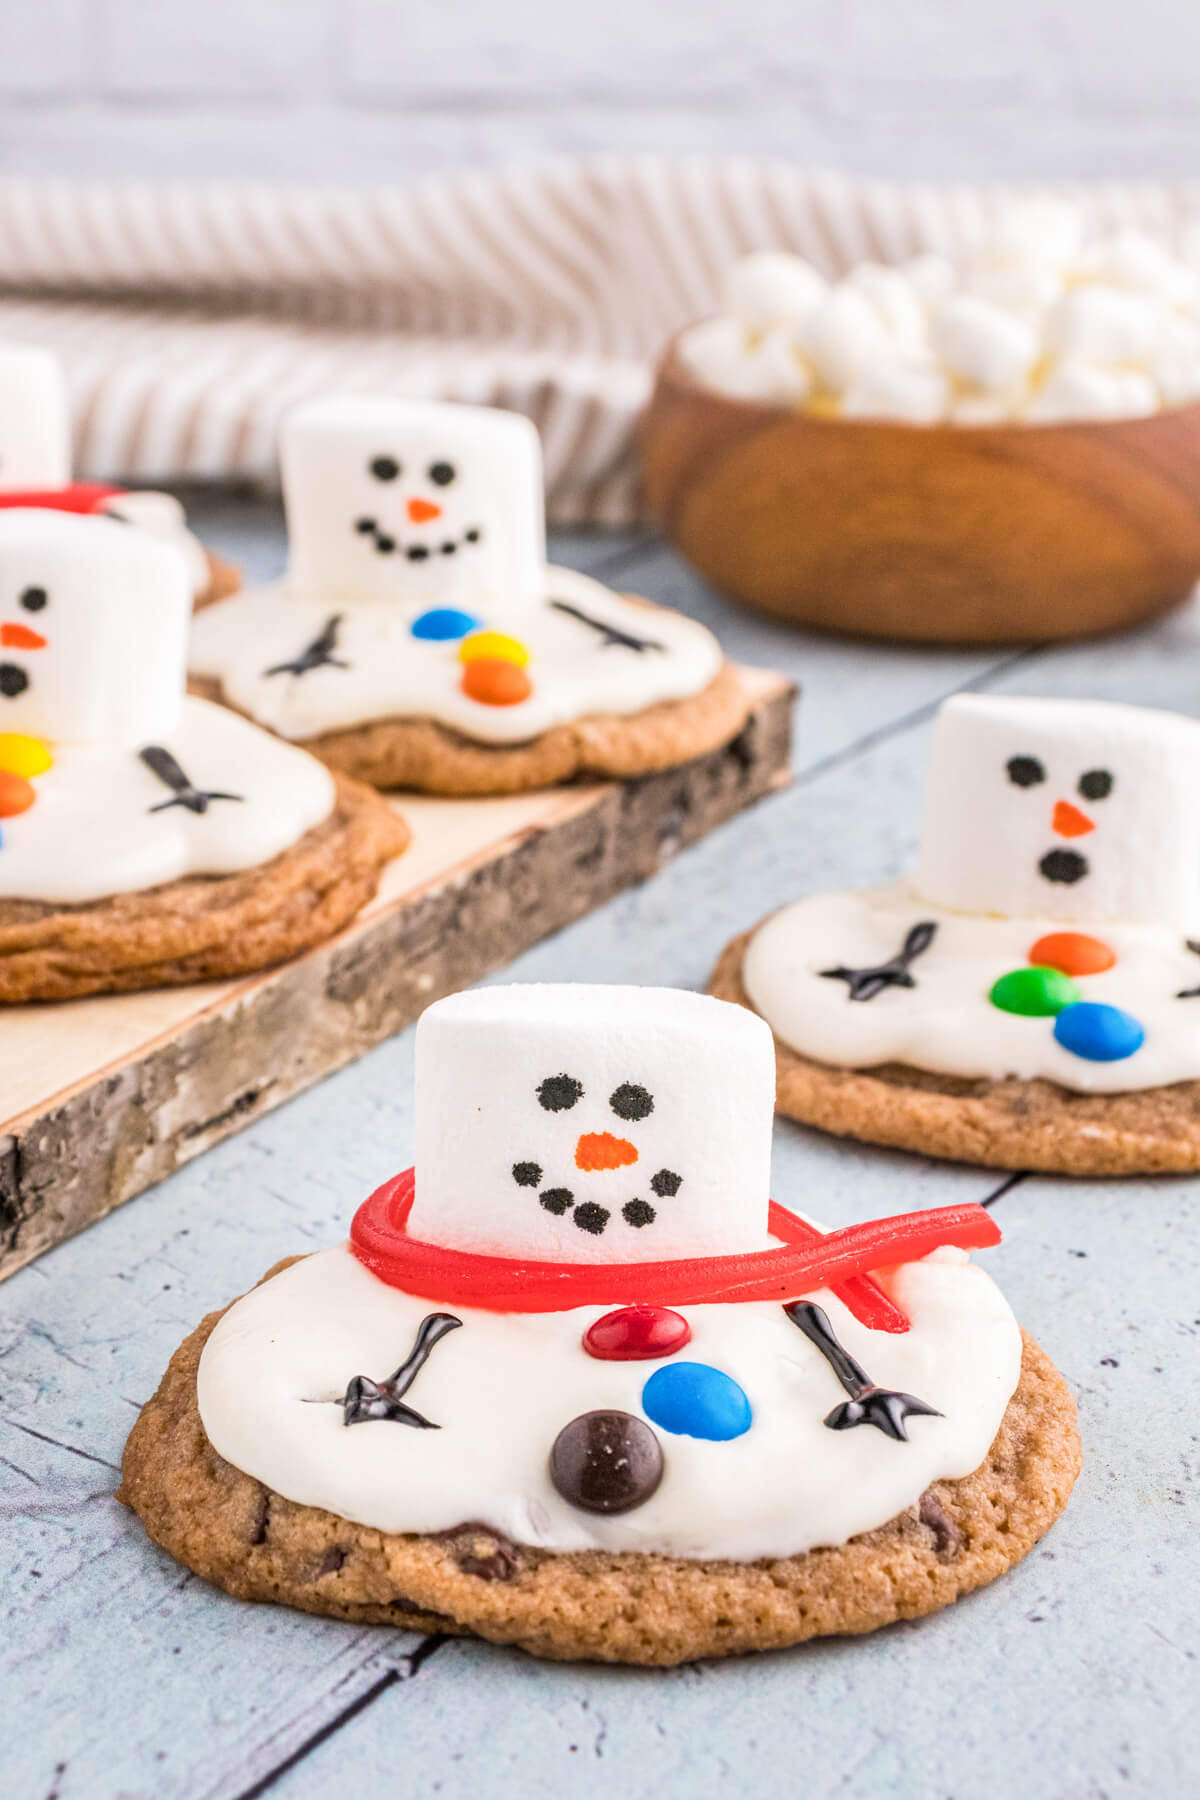
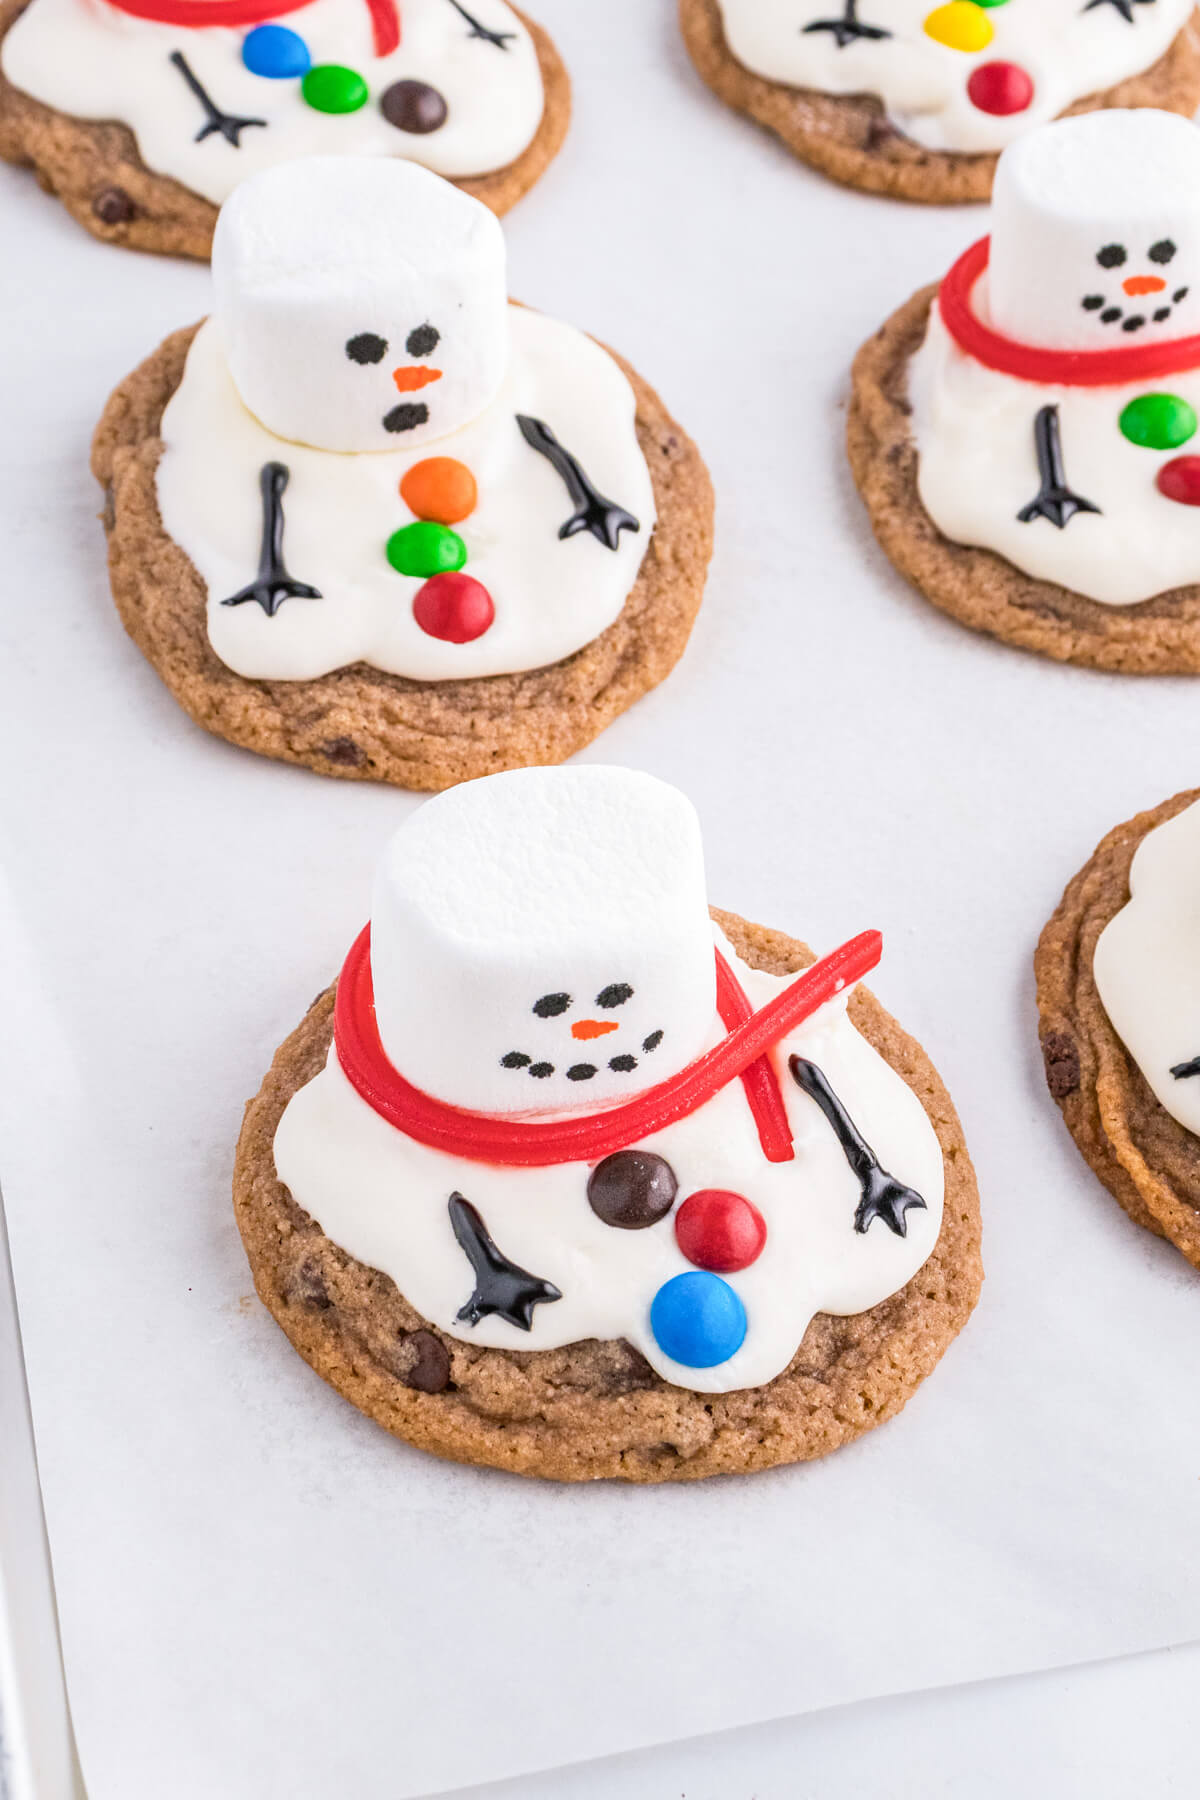
Place the marshmallow in the frosting on the upper half of the cookie, near the edge of the frosting. Add the licorice scarf by putting one end onto the icing, then wrapping it around the marshmallow completely. Finally, add 3 mini M & M’s for buttons, then draw arms with black icing.
Enjoy your adorable hot cocoa melting snowman cookies!
Make Ahead and Storage Instructions
Can I make the cookies ahead of time? Yes! Store the decorated cookies in an airtight container at room temperature. Decorate them when you’re ready to serve or share them.
How should I store these cookies? Store the decorated cookies in an airtight container at room temperature. They should stay fresh for a few days.
Hi! I’m Bernice Hill and I’ve been the sole recipe developer, photographer, and writer at Dish ‘n’ the Kitchen for the past eleven years. It is my pleasure to share easy to follow recipes that are delicious, nutritious, and approachable for the whole family.
If you make these Melted Snowman Cookies, I’d love to hear about it in the comments section or in a recipe rating. Be sure to follow me on Facebook and Pinterest for my latest recipes. Also, if you do make this recipe, please share your photos and tag me on Instagram. I hope you like this recipe!
Melted Snowman Cookies
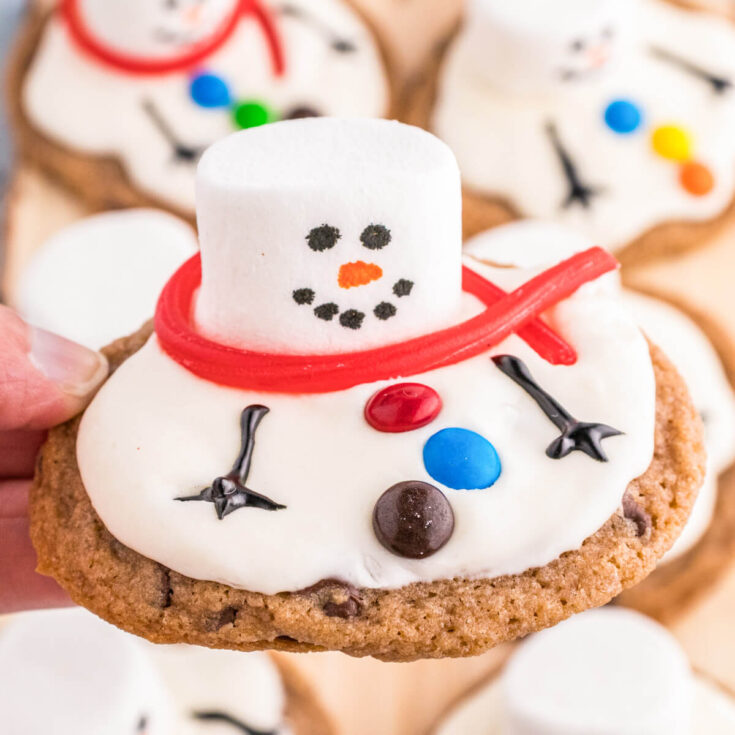
Combining the warmth of freshly baked cookies and the whimsical touch of adorable marshmallow snowmen, these hot cocoa Melted Snowman Cookies are sure to bring joy and wonder to both young and old.
Ingredients
- ½ cup (1 stick) Butter; softened
- ½ cup granulated Sugar
- 1 large Egg
- ½ teaspoon Vanilla Extract
- 1 ¼ cups all-purpose Flour
- ¼ cup Hot Chocolate powder
- ½ teaspoon Baking Soda
- ½ teaspoon Salt
- ½ cup Mini Chocolate Chips
FOR THE MARSHMALLOW CREAM FROSTING*
- ¾ cup Butter; softened
- 1 ½ cups Marshmallow Cream
- 2 ¼ cups Powdered Sugar
- ½ teaspoon Clear Vanilla Extract
- pinch of Salt
- ¼ cup Milk
FOR THE DECORATIONS*
Instructions
TO MAKE THE COOKIES
- Preheat the oven to 350°F. Line two baking sheets with parchment paper.
- Cream the softened butter and granulated sugar together in a large bowl until the mixture becomes light and fluffy.
- Add the egg and beat well. Stir in the vanilla extract. In a separate bowl,whisk together the all-purpose flour, hot chocolate powder, baking soda, and salt.
- Gradually add the dry ingredients to the wet ingredients, mixing with a wooden spoon until a soft dough forms.
- Stir in the mini chocolate chips.
- Drop 1 ½ rounded tablespoons of cookie dough onto prepared baking sheets, spacing each pile of dough roughly 2 inches apart.
- Bake in a 350 F oven for 10-12 minutes or until the cookies are slightly crisp around the edges. The cookies will be flat but that is perfect for decorating).
- Remove the cookies from the oven and let them cool completely.
- Beat the softened butter in a medium sized mixing bowl or stand mixer bowl until it becomes creamy.
- Add the marshmallow cream and continue to beat until well combined.
- Gradually add the sifted powdered sugar into the mixture, continuously beating on low speed. Add the clear vanilla extract and pinch of salt.
- Once the frosting is smooth and fluffy, begin adding the milk a little at a time until the frosting is smooth and spreadable (it should drip slowly off the paddle when lifted). If needed, adjust the consistency by adding more powdered sugar to thicken, or more milk to thin.
- Spread or pipe the marshmallow cream frosting onto room temperature cookies. Use the back of a
spoon to smooth it out leaving random space between the frosting and the edge of the cookie to mimic a 'melting snow' effect. - Cut the bottom 1/4 off each marshmallow (to make it look like it is melting) then draw button eyes and
mouths with the black edible marker (or use black icing). Draw a carrot nose with the orange edible marker. - Place the marshmallow in the frosting on the upper half of the cookie, near the edge of the frosting. Add the licorice scarf by putting one end onto the icing, then wrapping it around the marshmallow completely.
- Add 3 mini M&M’s for buttons, then draw arms with black icing.
- Enjoy your adorable hot cocoa melted snowman cookies!
TO MAKE THE MARSHMALLOW FROSTING
DECORATE THE COOKIES
Notes
*Includes Amazon links to specialty items. I make a few pennies on your purchase at no extra cost to you.
Nutrition Information:
Yield:
18Serving Size:
1Amount Per Serving: Calories: 291Total Fat: 11gSaturated Fat: 6gTrans Fat: 0gUnsaturated Fat: 4gCholesterol: 31mgSodium: 196mgCarbohydrates: 48gFiber: 1gSugar: 35gProtein: 2g
Nutritional calculation was provided by Nutritionix and is an estimation only. For special diets or medical issues please use your preferred calculator.

These are the perfect cookies for Christmas, I needed a good cookie recipe, I am definitely going to make these. Thank you for sharing this recipe!
I’m glad I could help you out with your Christmas baking Ramona. Happy Baking!
So my cousins love cookies like this to brag to all of their friends that they have the “exciting” cookies. These were great.
These definitely are a cut above all those regular Christmas cookies. Thanks for trying out this recipe Sean.
How cute!! This is going to be so fun to make with my 2 year old. Looks delicious too 🙂
Any two year old will absolutely adore them. Happy baking Kathryn!
These cookies are so darn cute! I love how colorful they are. I bet the kindergarten kids are going to love them! I can’t imagine a more festive cookie.
oh yeah! They would be the perfect holiday snack for kindergarten.
Wow what adorable fun Christmas cookies these are. So innovative. I’ve ordered the edible markers and the black icing online. Can’t wait for them to arrive so I can give these cookies a go!
Super! The edible markers really simplify the decorating. Happy baking Jacqueline!
These melted snowman cookies turned out so adorable. My little one enjoyed both making them and eating them – a fun addition to our Christmas cookie baking this year!
I bet it was so much fun! Thank you so much for trying my recipe out Lauren.
I love this recipe! It’s perfect for the winter months and it’s always a hit with the kids!
Wouldn’t it be fun to be a kid again? Go outside to build a snowman then come inside to warm hot chocolate and these adorable cookies!
I made these cookies with my great nephew this past weekend and we had such a fun time. They are adorable and taste so good!
I bet that was so much fun! I can’t wait to make them again with my niece!!
I am just starting my holiday baking. These will be a nice addition to the baking tray. I know they will be a hit with the grandkids for sure.
Me too…and I have a HUGE list this year. Including another batch of these. Happy Baking Gloria!
I baked these melted snowman cookies with two boys I babysit and they were giggling they were so excited. I love how simple the recipe is, thanks to your instructions.
I bet they had lots of fun making them and eating them too! Thanks for letting me know Marta, that’s adorable.