
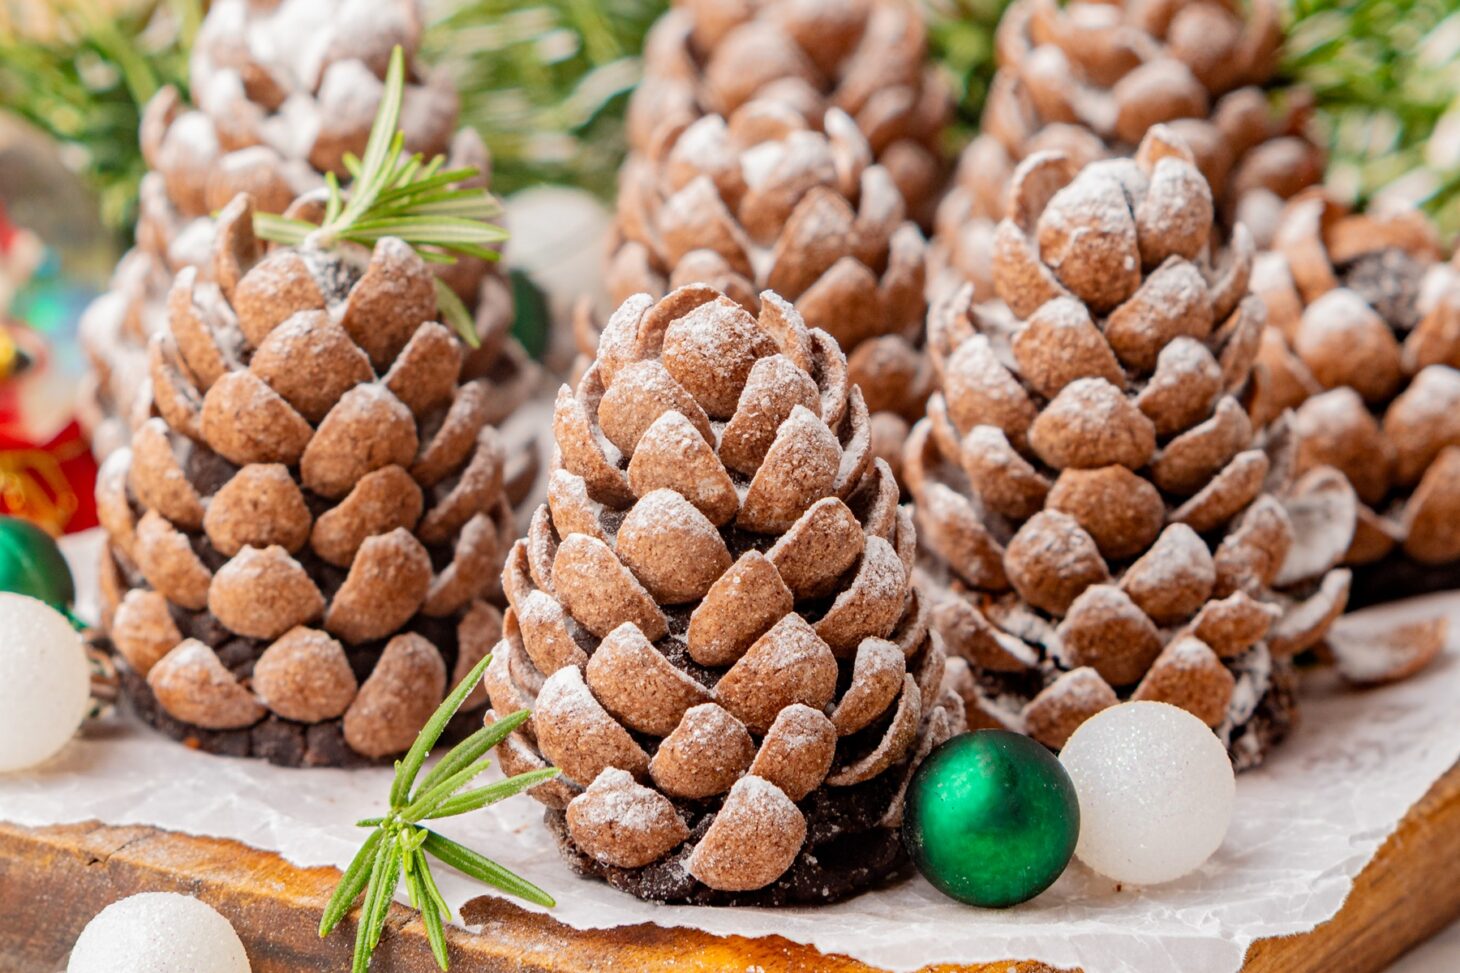
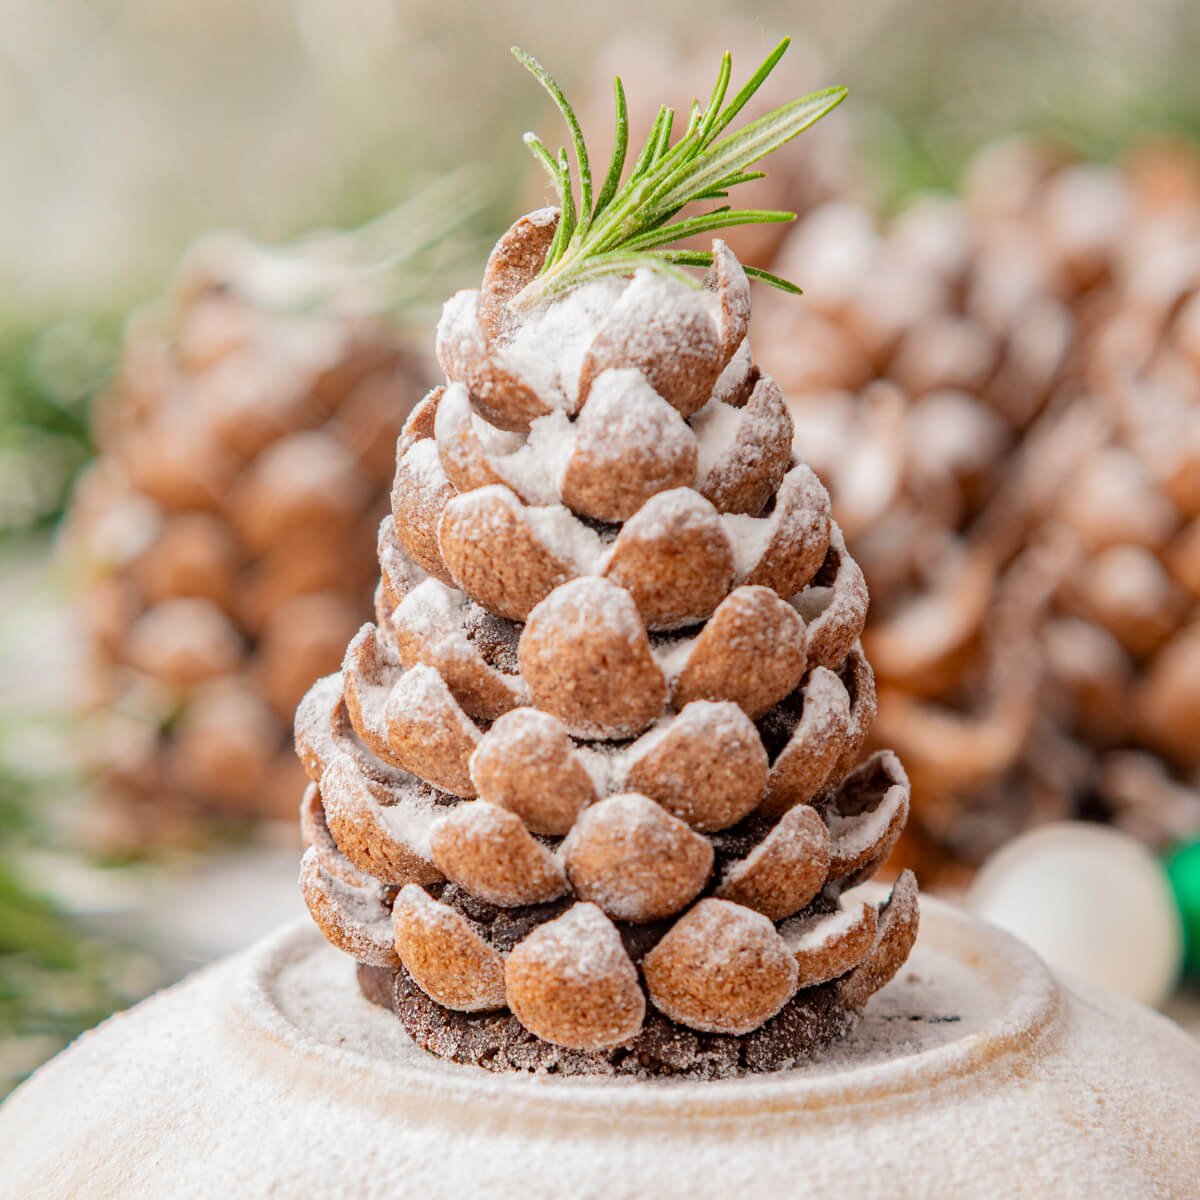
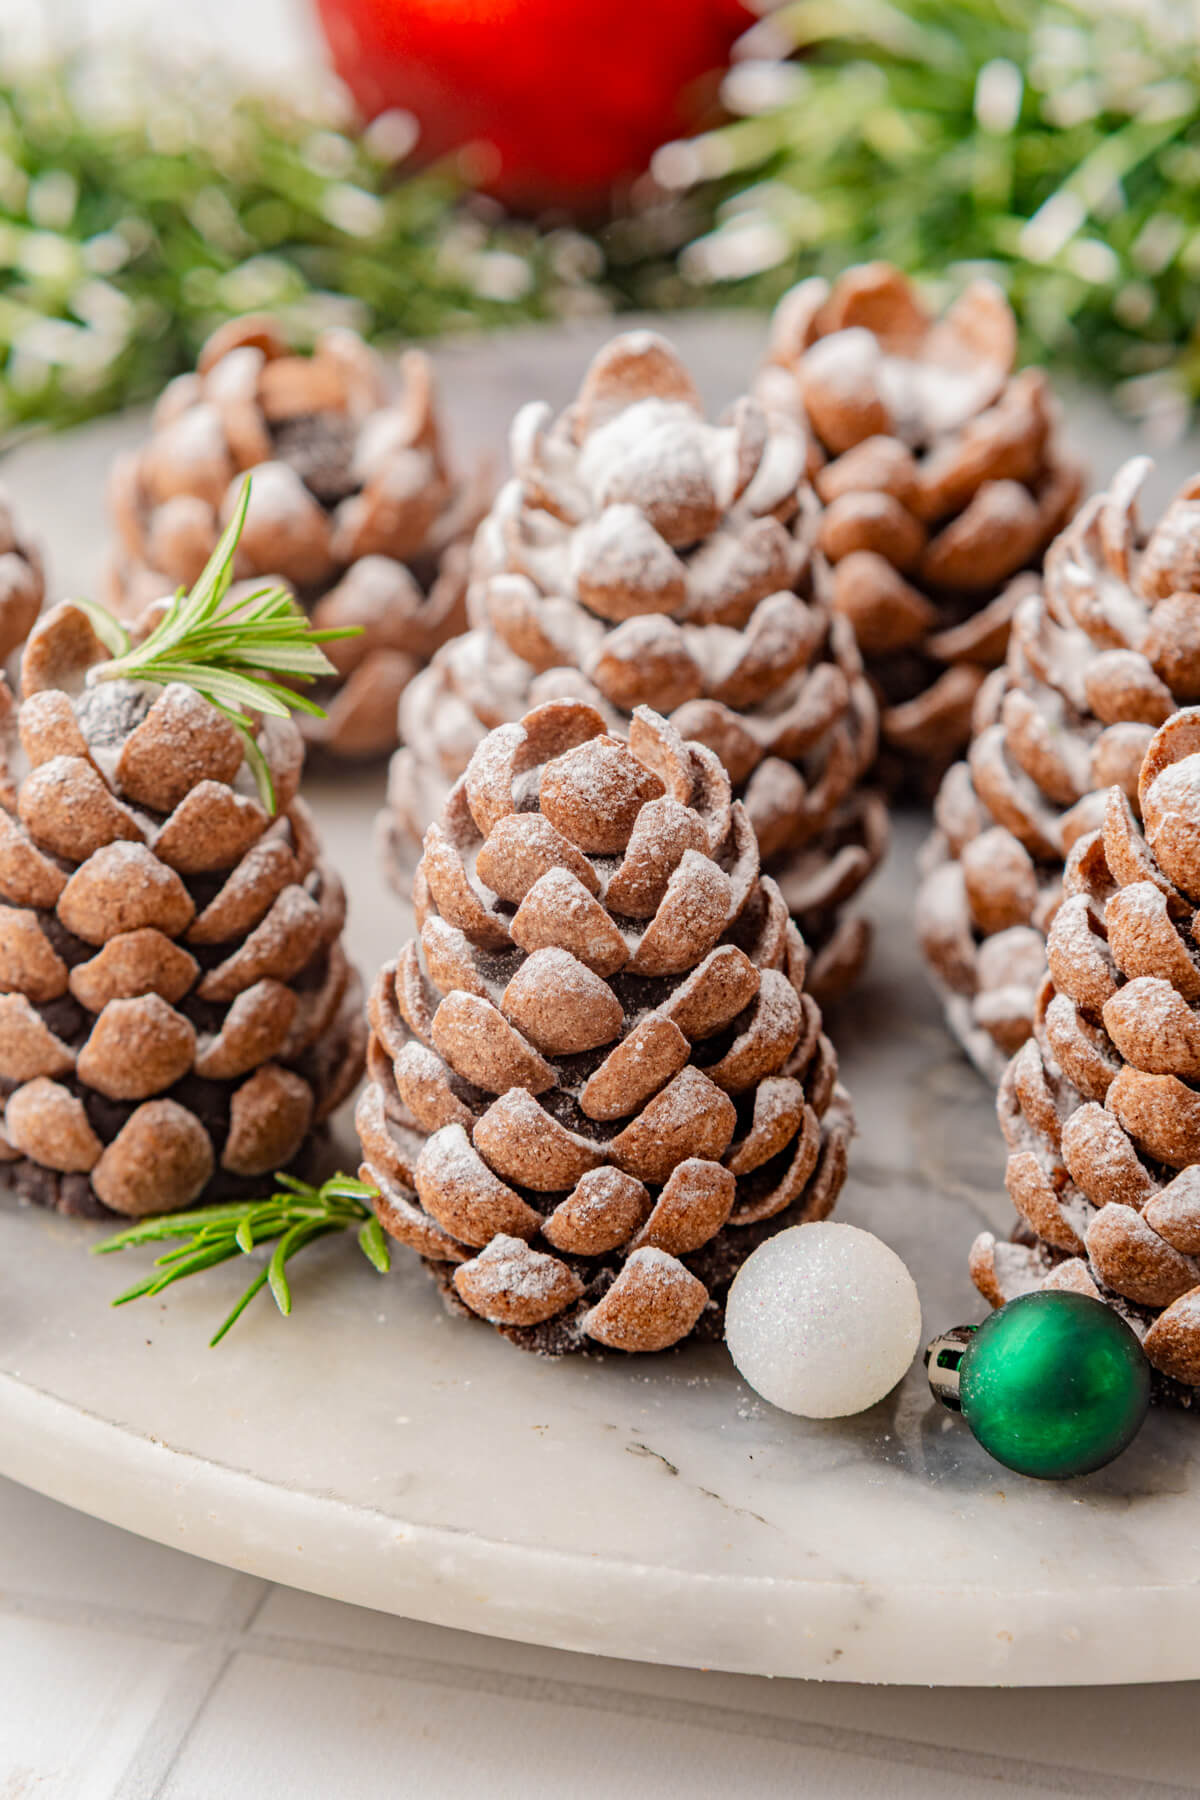
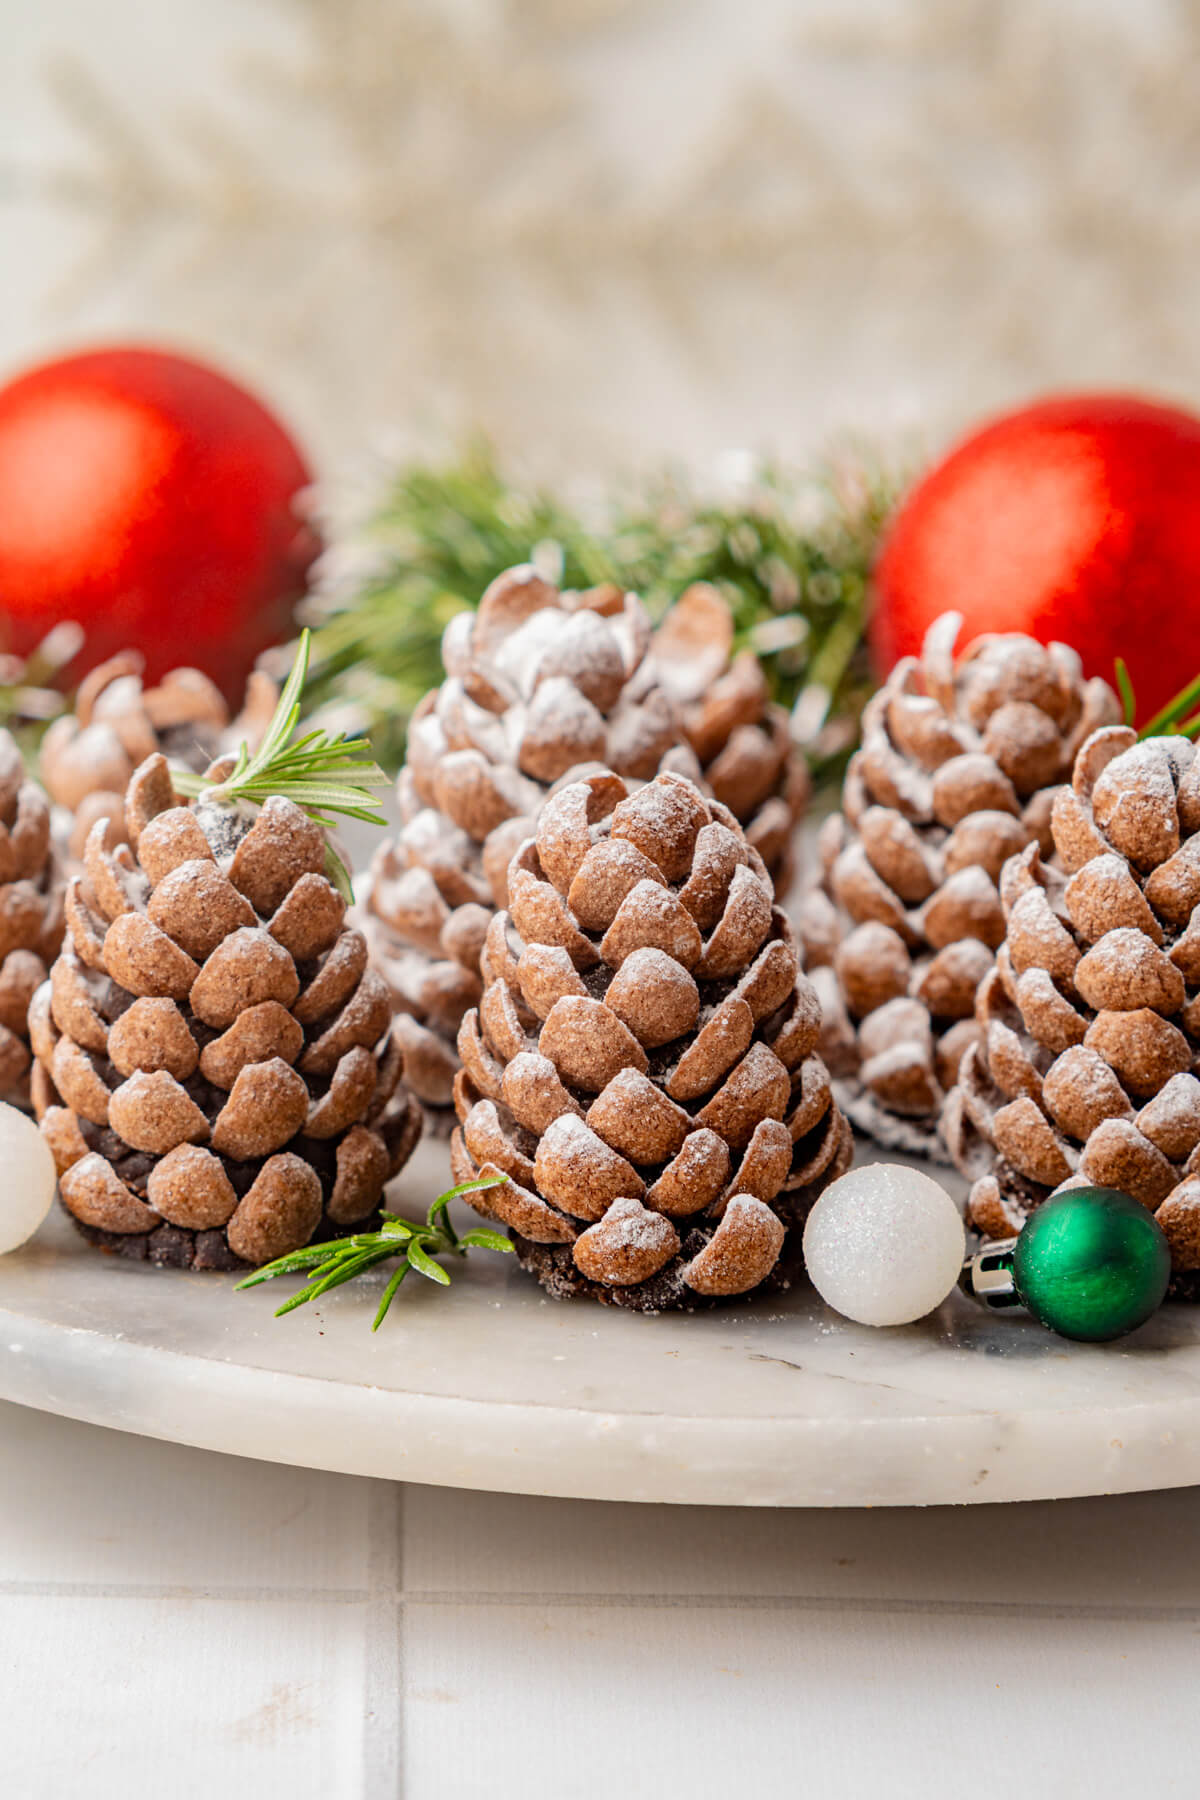
Deck the halls, or your holiday table with these festive Chocolate Pinecone Truffles. This no bake cake pop style treat is easy to make using store-bought cake or brownies, cream cheese, and chocolatey cereal. Decorate these edible pinecones with a light dusting of powdered sugar and sprigs of fresh rosemary for a snowy forest effect.
Lighten the load during the holidays with simple, yet elegant recipes like these Cranberry Pomegranate Christmas Trifles that feature store-bought pound cake and vanilla pudding mix. Or bake up some Starbucks copycat Cranberry Bliss Bars and finish them with pre-made cream cheese frosting. K.I.S.S. and no one will ever know!
Want to save this recipe?
Enter your email below and get this post sent straight to your inbox. Plus, I’ll send you my weekly newsletter featuring the newest and best Dish ‘n’ the Kitchen recipes every week!
Chocolate Pinecone Truffles
Don’t you just love it when dessert looks impressive but takes very little effort? You don’t have to be a pastry chef to make these adorable truffles look exactly like wintery pinecones. All you need is a store-bought cake or leftover brownies (do these really exist?!), cream cheese, and a bit of artistic license.
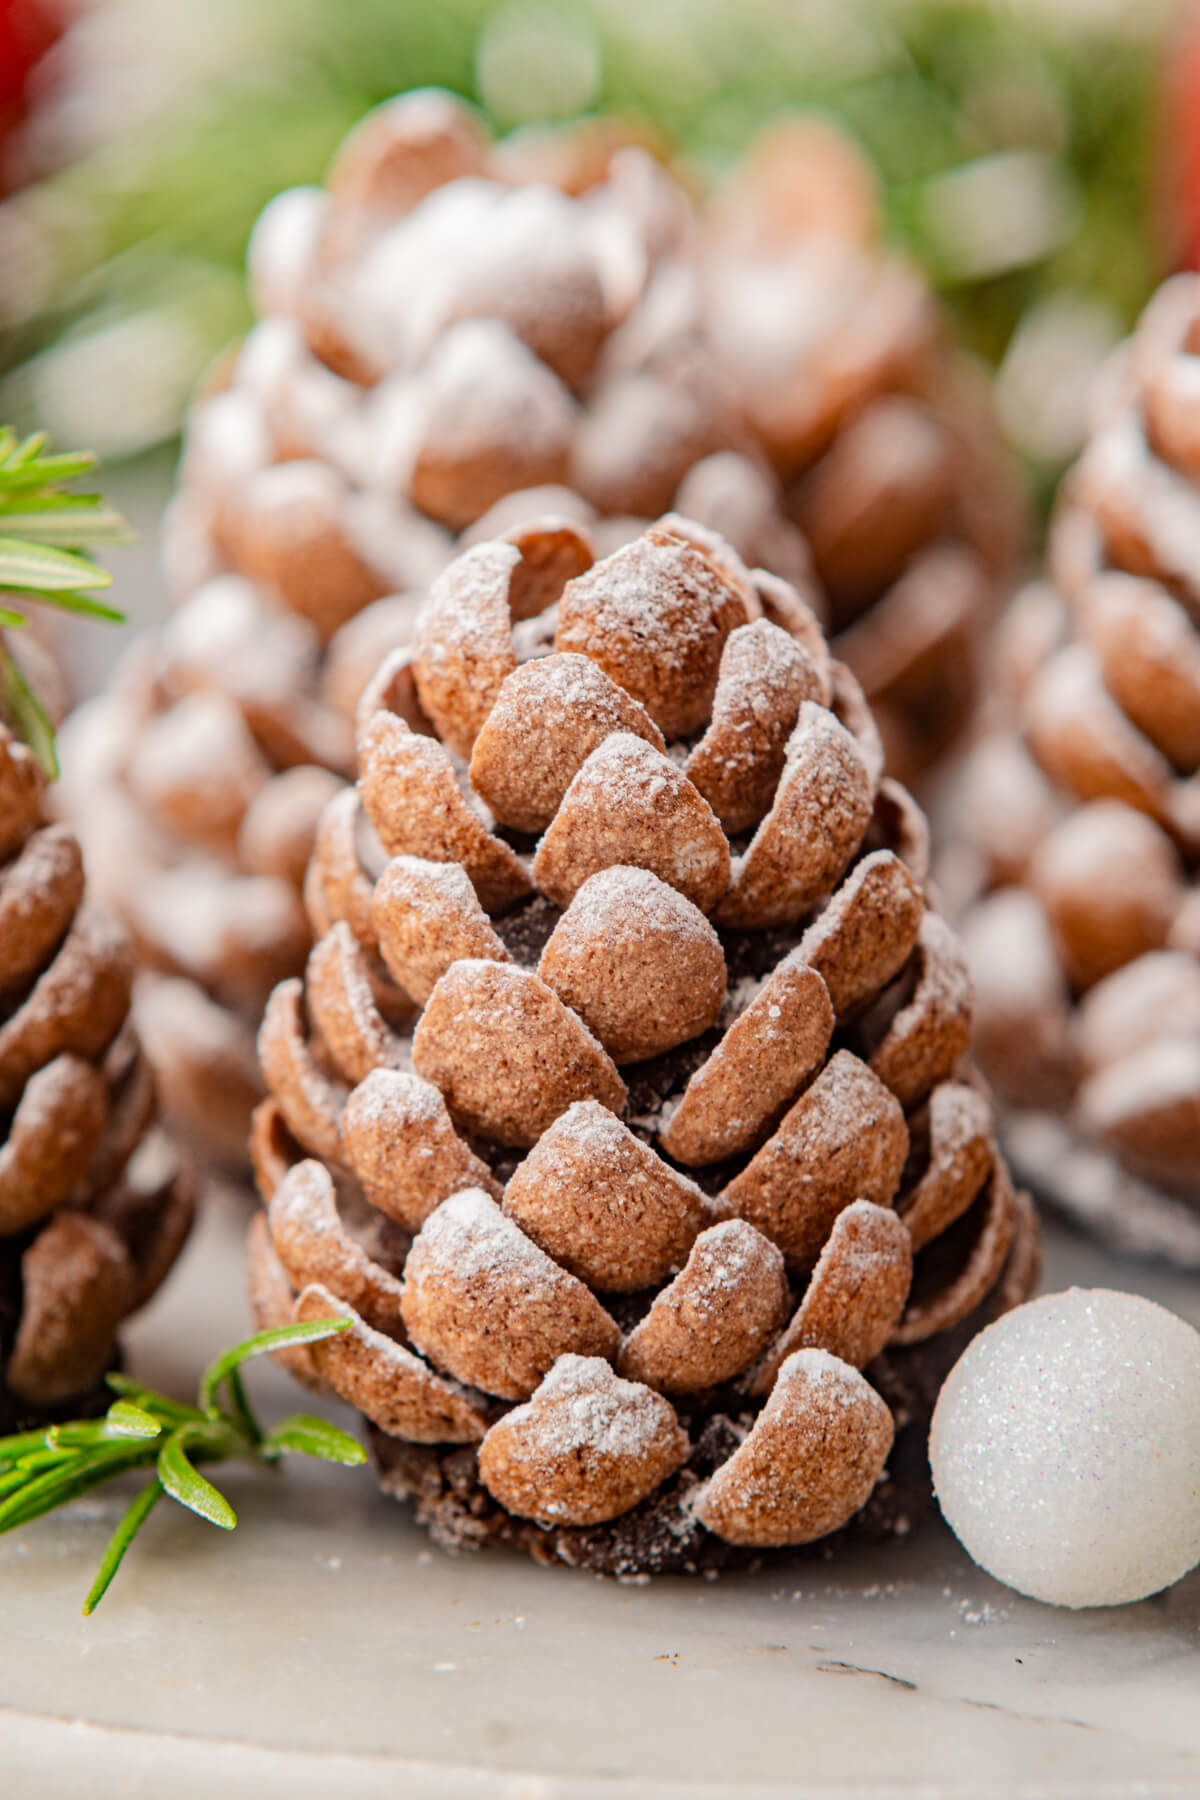
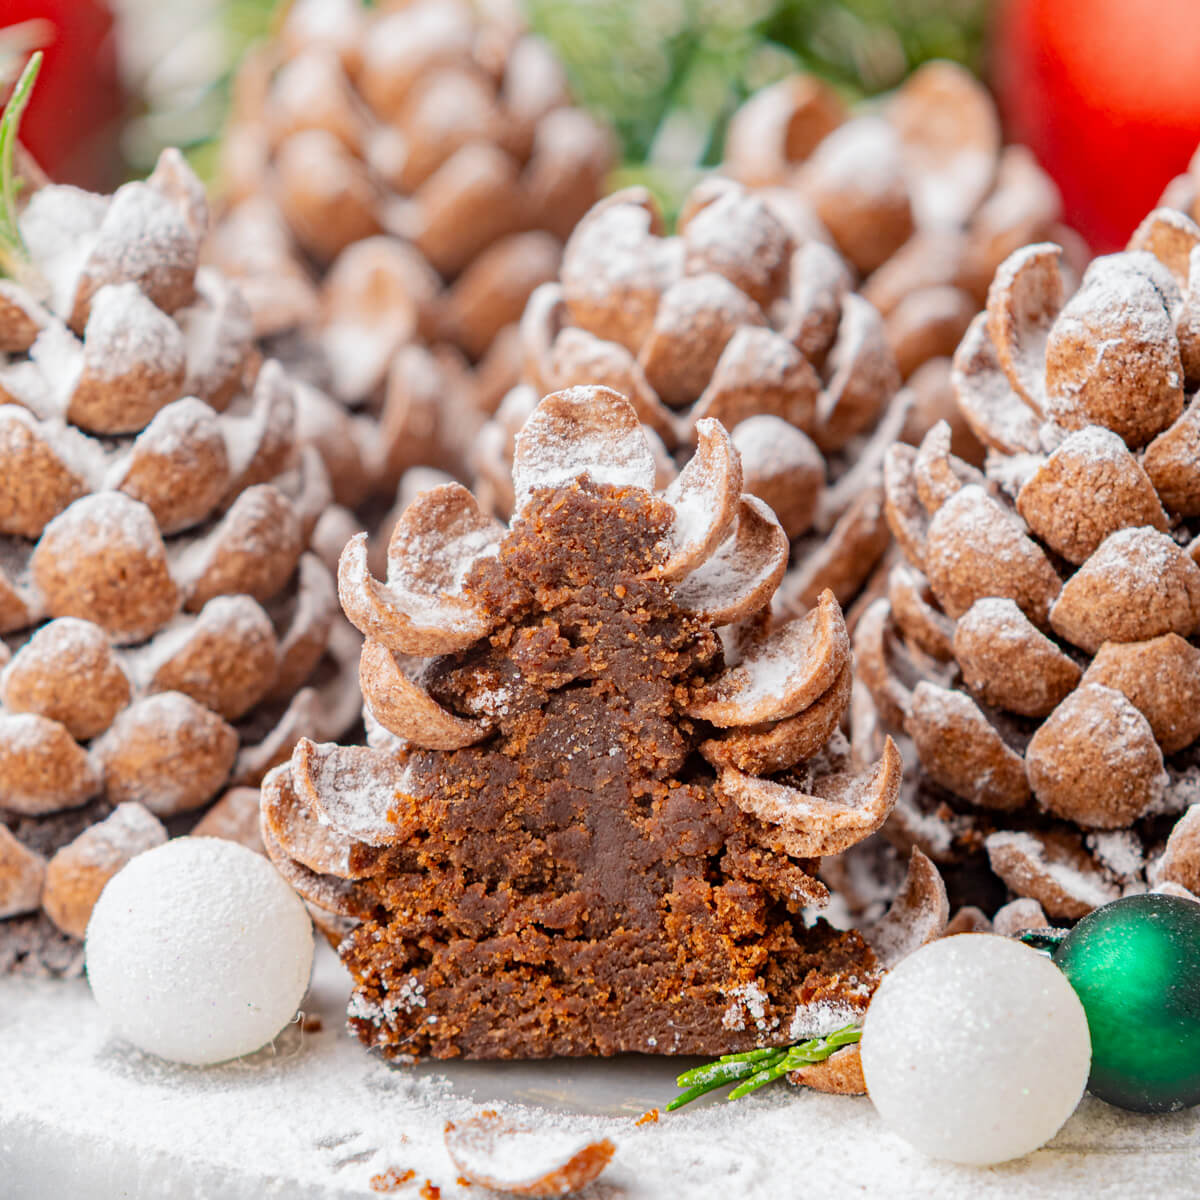
And they’re as much fun to bite into as they are to make. Bite through the crunchy chocolate cereal flakes to get the chocolatey cake pop interior. If you’ve topped them with powdered sugar snow, they can be gloriously messy, like biting into a New Orleans beignet or flaky croissant.
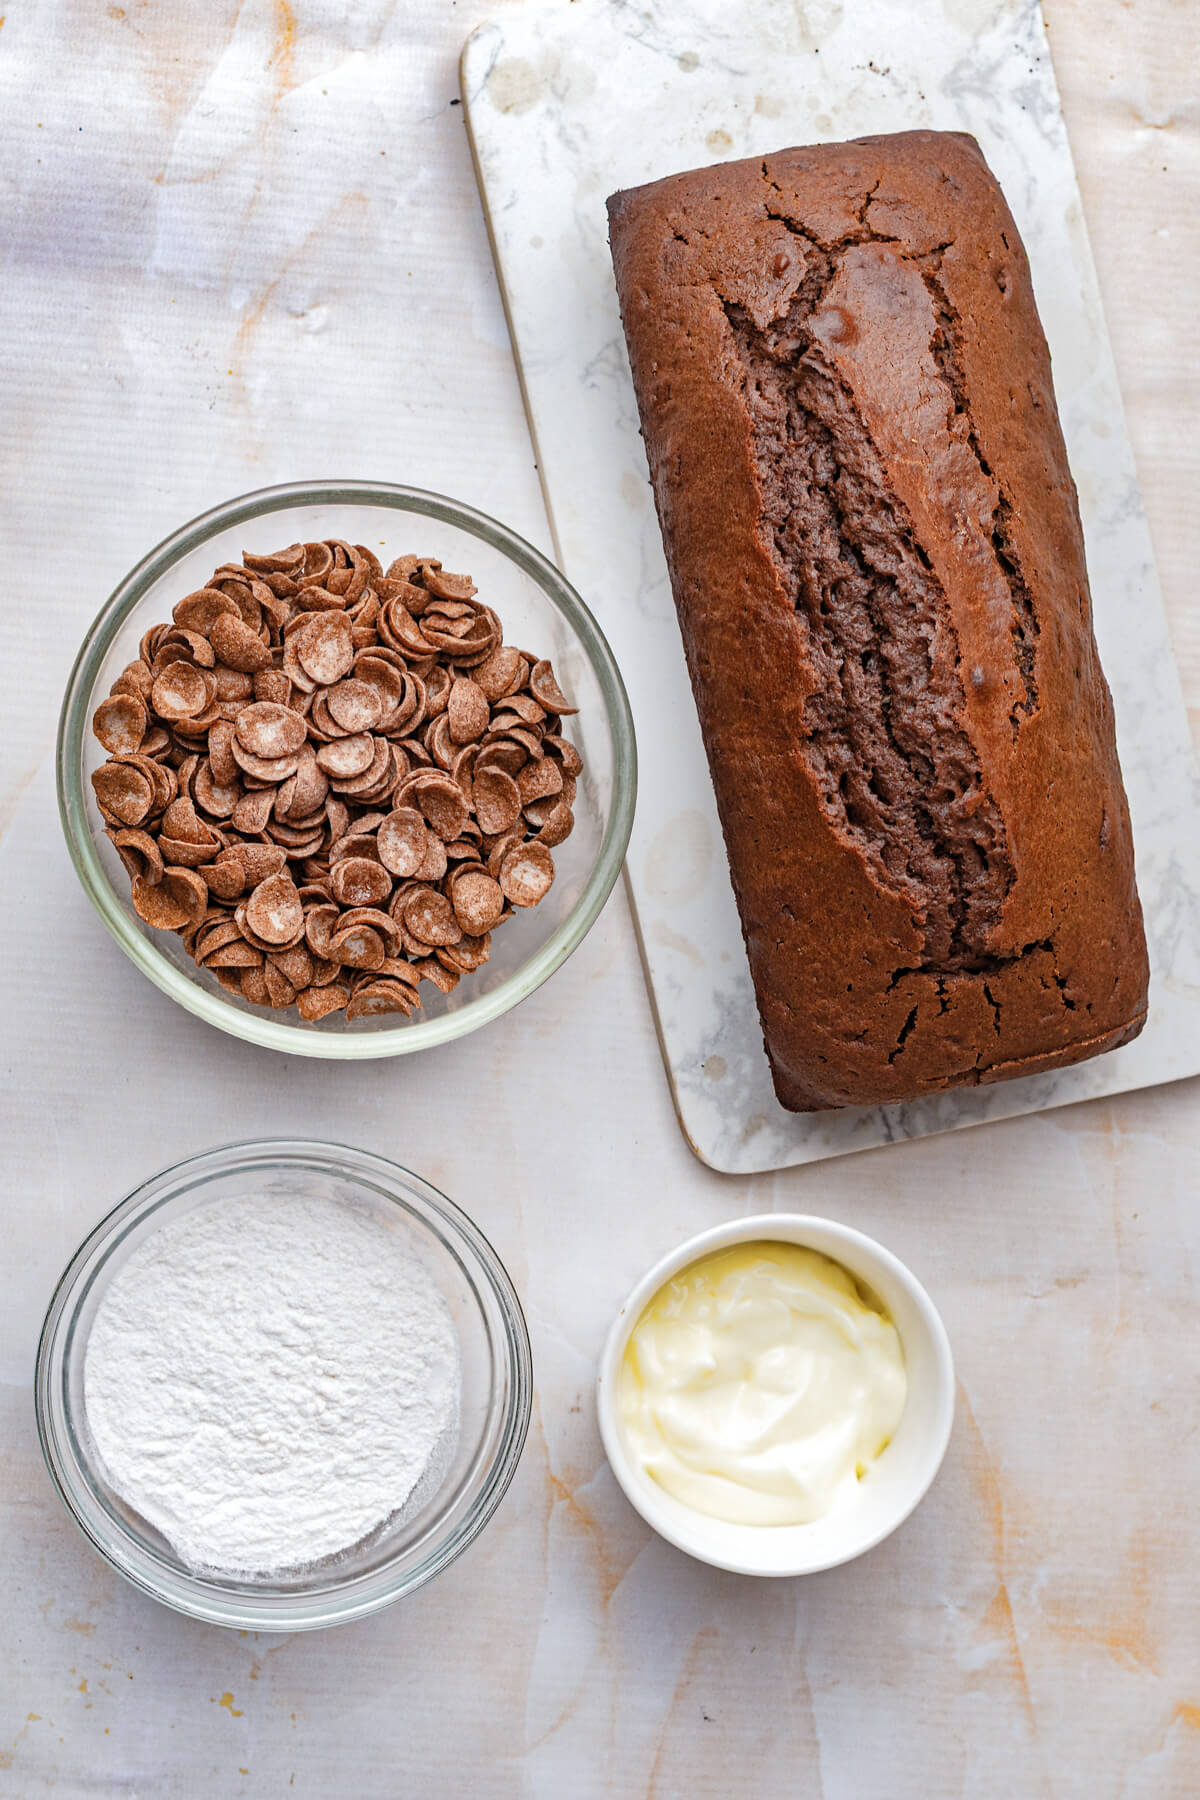
Ingredients in this Recipe
For this recipe you will need a medium mixing bowl, a baking sheet or two, parchment paper, and a small fine-mesh sieve for dusting the powdered sugar.
- Brownie or Chocolate Cake
- Cream Cheese
- Powdered Sugar
- Coco Pops Choco Cereal
If you can’t find Coco Pops Choco Cereal, you can use any small, crunchy chocolate cereal with a similar shape as long as it’s sturdy enough to be pressed into the truffle without breaking easily.
How to Make Pinecone Truffles
The Truffle Mixture
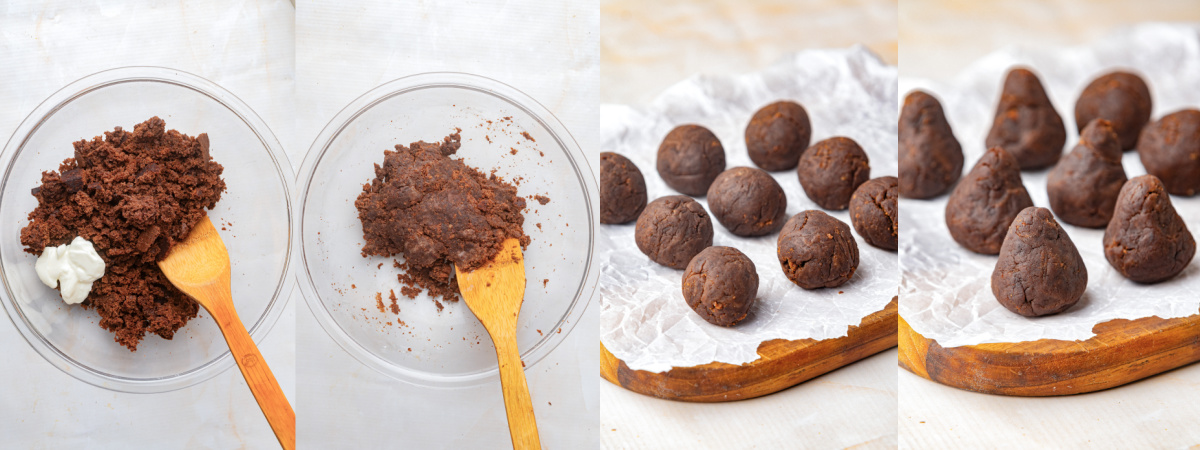
For the truffle mixture, tear the brownie or chocolate cake into pieces over a large bowl. When no large pieces remain add the softened cream cheese. Combine until the mixture clumps together.
When it holds a ball shape, it is ready. The mixture should be mouldable but not dry. If it is dry, mix in 1 teaspoon of cream cheese at a time until the desired consistency occurs.
Cover and refrigerate the mixture for 20-30 minutes so the mixture firms up even more.
Shape the Truffles
To make the truffles, divide the chocolate cream cheese mixture into 18-22 equal portions. Next, use your hands to roll and press each portion, forming it into a ball.
Gently shape each ball into an elongated oval with one pointy end and one rounded end. No need to make them perfect, they’ll be covered in cereal soon.
Decorate the Pinecones
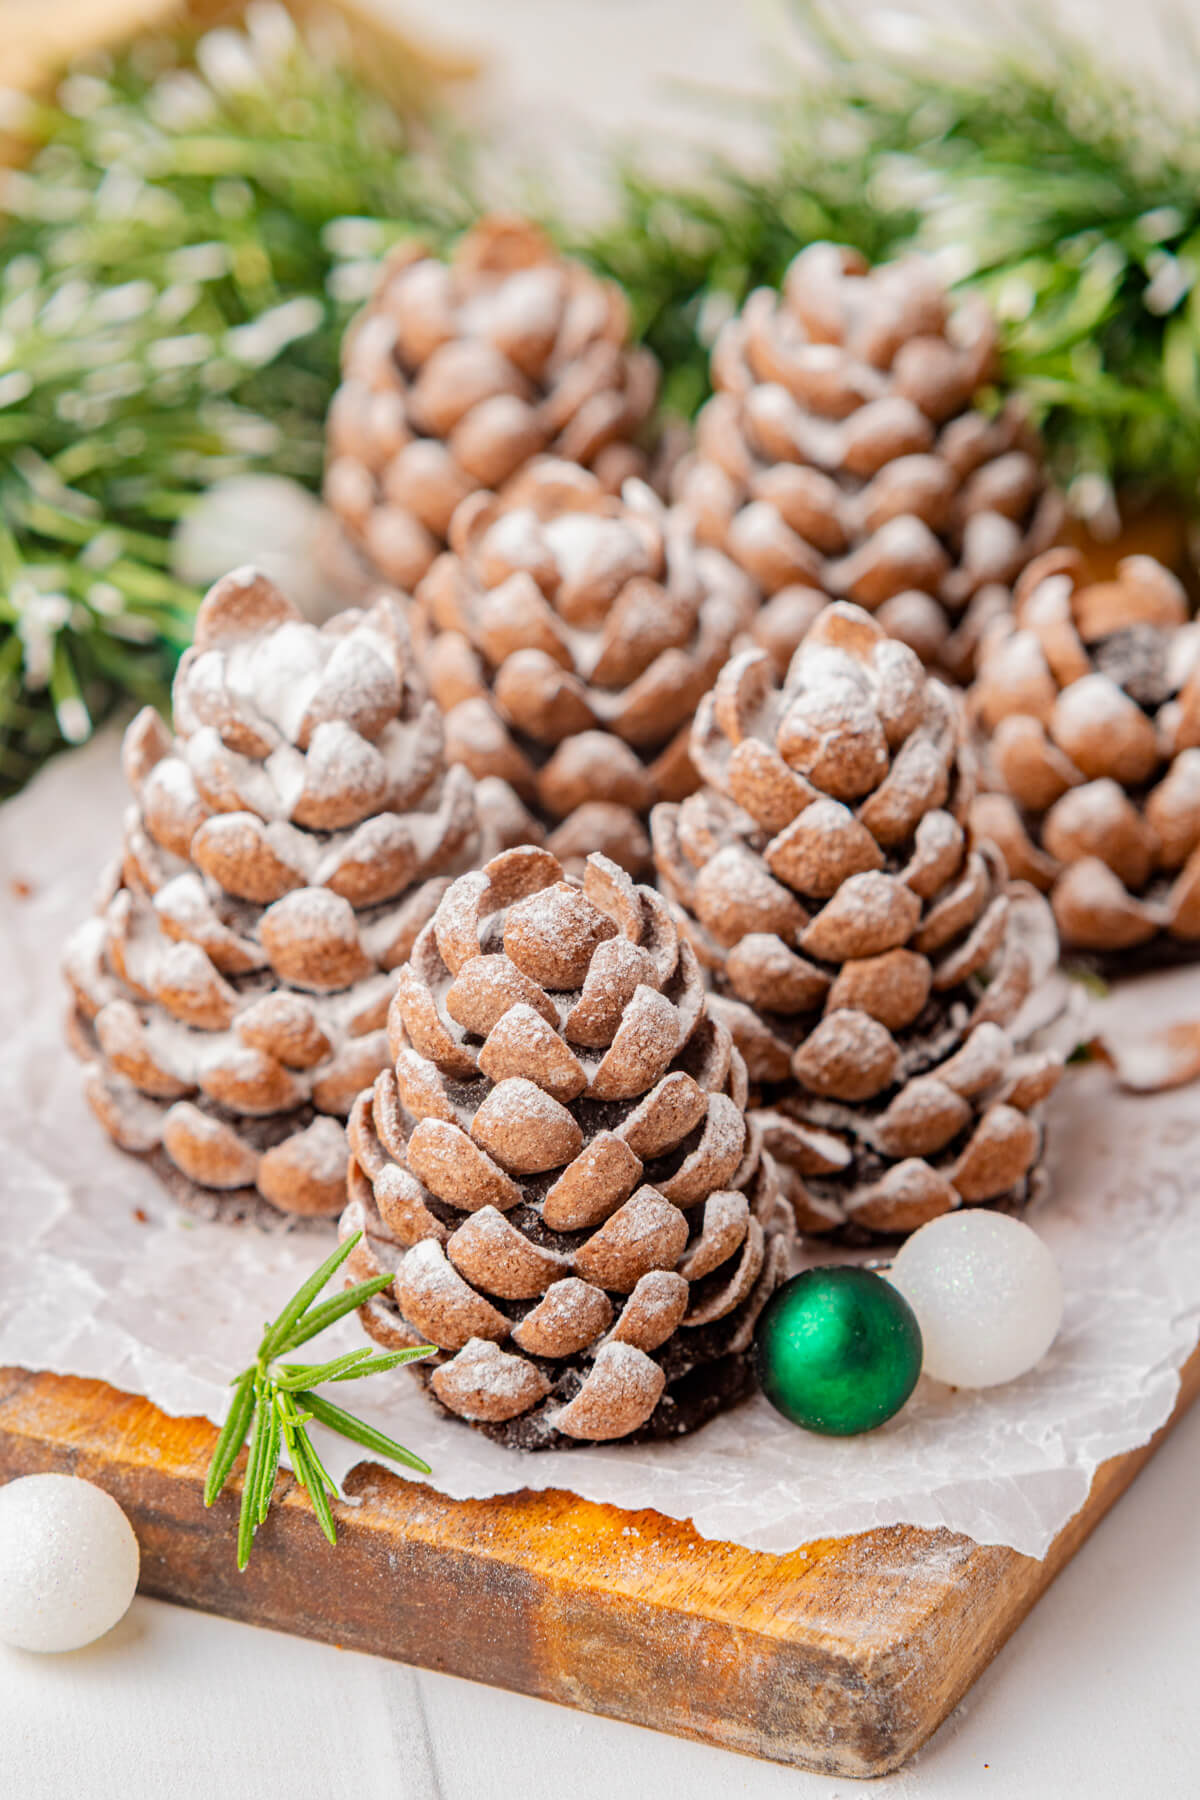
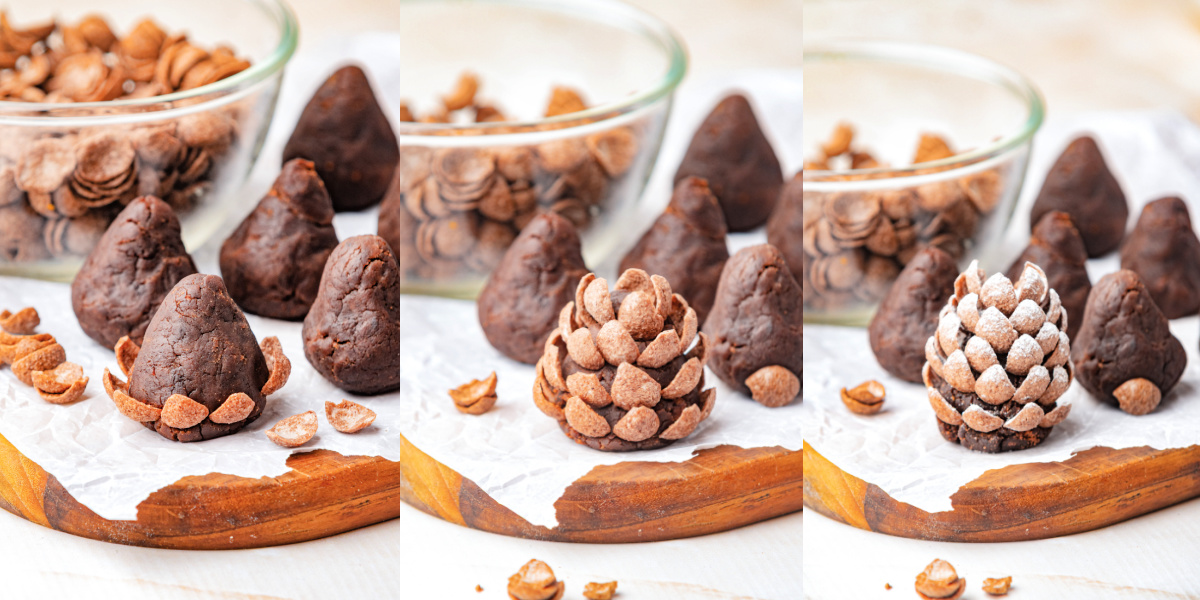
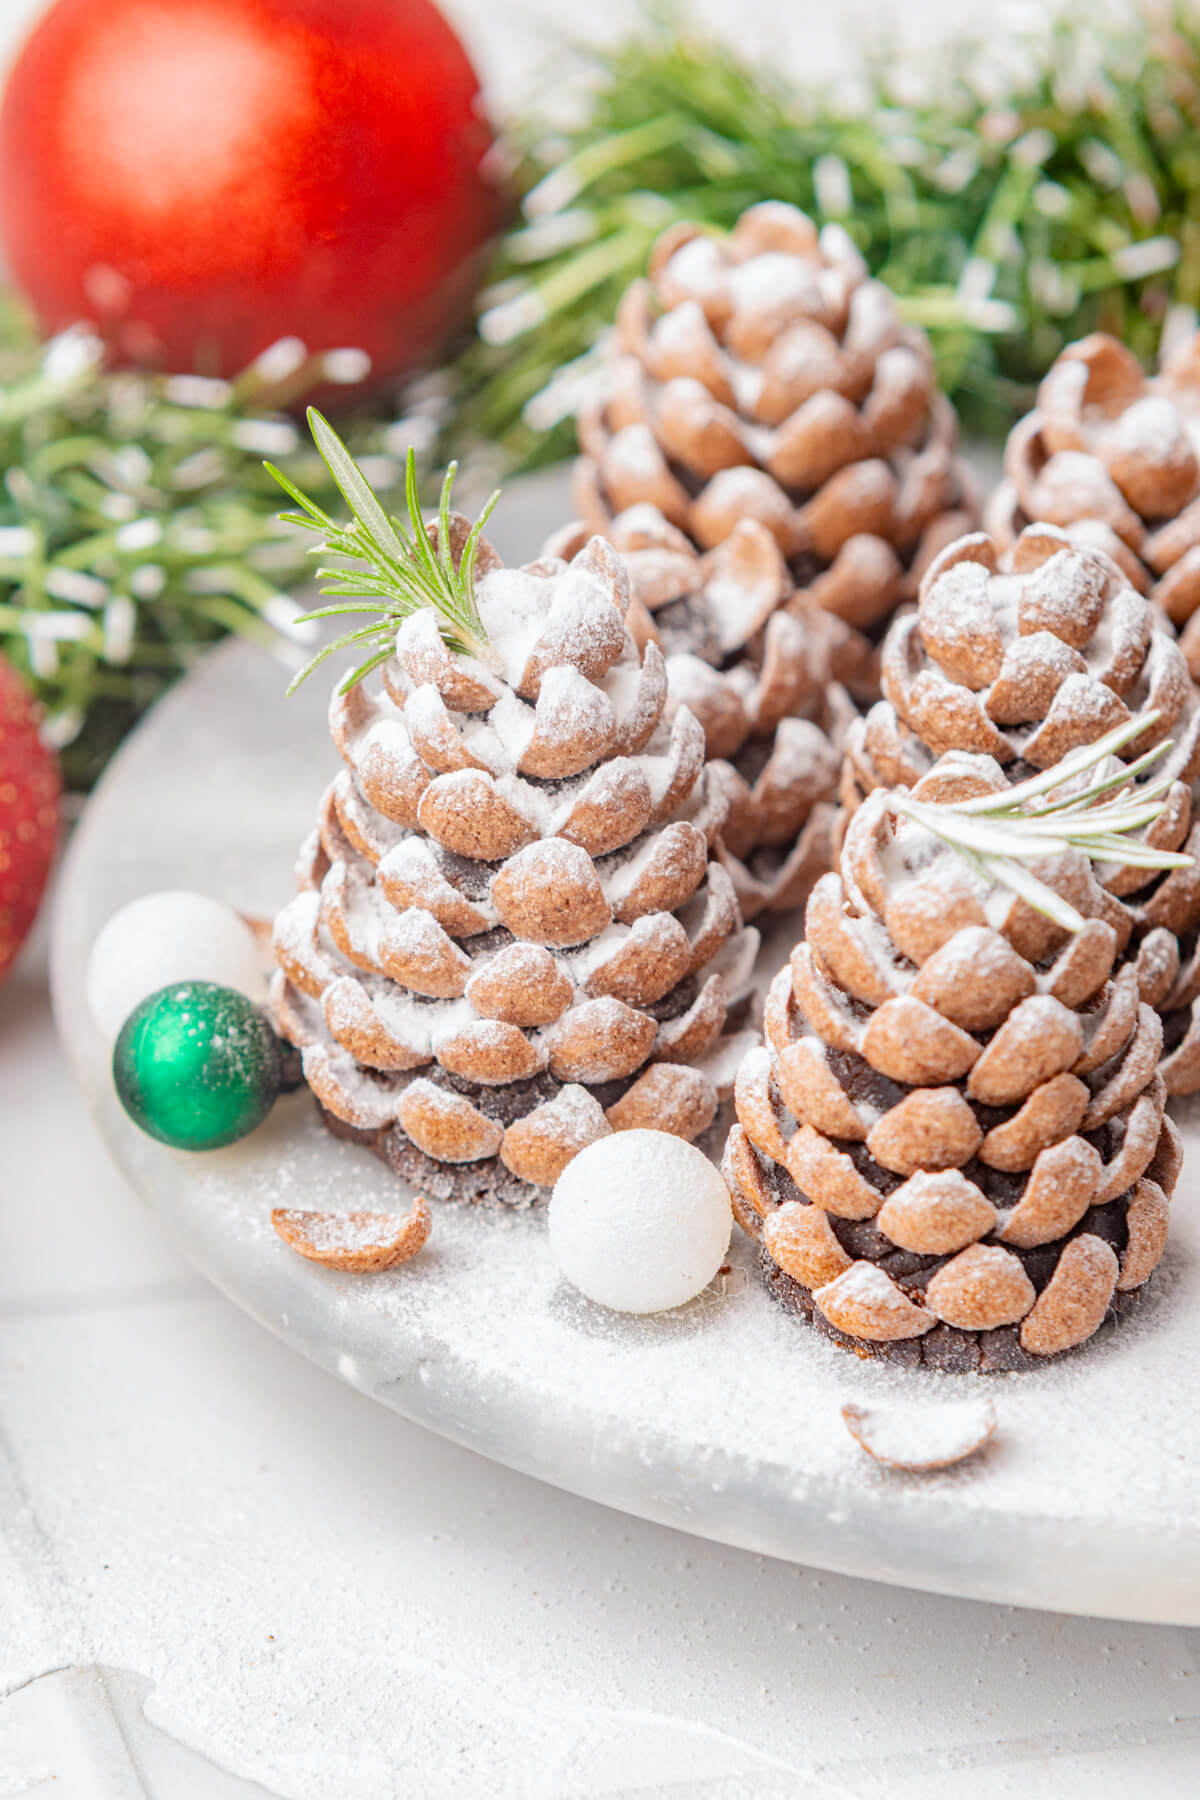
To decorate, gently press one Coco Pops Choco piece, concave side up, into the chocolate base starting at the bottom. Continue adding gently Coco Pops Choco in overlapping rows, staggering and angling the cereal as you go.
Pro tip: Choose incrementally smaller pieces as you build the pinecone upward to give it a more realistic look.
Once the pinecone is done start on another until all the pinecone truffles are covered in cereal. Place truffles on a parchment lined baking sheet a chill for at least 30 minutes, or until firm.
Before serving lightly dust pinecone truffles with powdered sugar for a snow effect. Serve chilled or at room temperature.
Optional Chocolate Coating
For even more chocolate flavour, you can coat the truffles in melted chocolate before decorating with cereal. This extra step also creates a more stable base for the decorating. Work with a few truffles at a time or the chocolate will set before you add the cereal!
- Melt 200 grams of chopped chocolate in the microwave in 15–20 second intervals, stirring between each interval (or use the double boiler method).
- Stir in 1 teaspoon of coconut oil.
- Dip two undecorated truffles into the melted chocolate and allow any excess to drip off before placing them on a piece of parchment paper.
- Immediately decorate the coated truffles with the Coco Pops, as described above.
- Return to the parchment paper and dip another two truffles. Continue working in pairs until all the truffles are dipped and decorated.
- When all the truffles are dipped and decorated, refrigerate for 20–30minutes, or until the chocolate has set.
- Before serving, allow refrigerated dipped truffles to warm up to room temperature for 10 minutes.
Recipe Tips and Tricks
- When buying a cake for this recipe, choose one that isn’t excessively moist or heavily frosted. Too much moisture can make the truffle mixture difficult to shape.
- This is a great way to repurpose leftover brownies. Note that they will produce a denser and fudgier truffle than if you used cake.
- If the cake mixture feels too sticky, refrigerate for 20-30 minutes or add more cake/brownie crumbs.
- Getting the right consistency is a delicate balance. It should resemble soft modeling clay firm enough to hold a shape but still tender enough to bite through easily.
- Moisture levels vary between cakes and brownies so you may need to adjust the amount of cream cheese.
- Chilling time is important as it firms up the fats in the crumb mixture, allowing it to be shaped and decorated.
Variations
- Add 2 tablespoons peanut butter or chocolate hazelnut spread to the cake mixture.
- Just like in real life, pinecones come in many sizes… make different sized truffles to reflect nature.
- Add 2 tablespoons shredded coconut to the cake mixture for coconut flavoured truffles.
- Use white chocolate or dark chocolate for the optional coating to change the flavour and appearance.
Make Ahead and Storage
If you wish to make the truffles ahead of time, freeze undecorated truffles in an airtight container for up to 1 month. Thaw overnight in the fridge then (dip in melted chocolate) decorate as instructed above.
Place decorated Pine cone Truffles in a single layer in an airtight container and refrigerate for 4-5 days.
Hi! I’m Bernice Hill, the heart and soul behind Dish ‘n’ the Kitchen. It is my pleasure to share easy to follow recipes that are delicious, nutritious, and approachable for the whole family.
If you make this Chocolate Pinecone Truffles recipe, I’d love to hear about it in the comments section or in a recipe rating. Be sure to follow me on Facebook and Pinterest for my latest recipes. Also, if you do make this recipe, please share your photos and tag me on Instagram. I hope you like this recipe!
Chocolate Pinecone Truffles
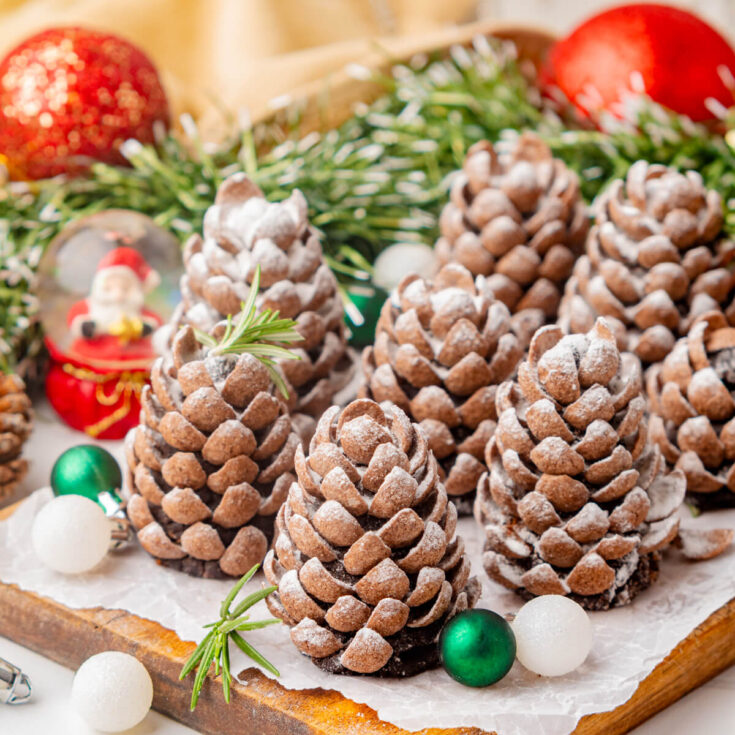
Deck the halls, or your holiday table with these festive Chocolate Pinecone Truffles. This no bake cake pop style treat is easy to make using store-bought cake or brownies, cream cheese, and chocolatey Coco Pops Choco Cereal. Decorate these edible pinecones with a light dusting of powdered sugar and sprigs of fresh rosemary for a snowy forest effect.
Ingredients
- 17.6 oz (about 500 g) Brownie or Chocolate Cake; cut into pieces
- 6 Tablespoons (85 g) Cream Cheese; softened
- ¼ cup (30 g) Powdered Sugar; optional
- 3.5–5.3 oz (about 100–150 g) Coco Pops Choco Cereal; as needed
Instructions
THE TRUFFLE MIXTURE
- Crumble the brownie or chocolate cake pieces in a large bowl until no large pieces remain.
- Add the softened cream cheese then mix until the mixture clumps together.
- When it holds a ball shape, it is ready. The mixture should be moldable but not dry. If it is dry, mix in 1 teaspoon of cream cheese at a time until the desired consistency occurs.
- Cover and refrigerate the mixture for 20-30 minutes so the mixture firms up even more.
SHAPE THE PINECONES
- Start by dividing the mixture into 18-22 equal portions.
- Next, use your hands to roll and press each portion, forming it into a ball.
- Gently shape each ball into an elongated oval with one pointy end and one rounded end. No need to make them perfect, they'll be covered in cereal soon.
DECORATE THE PINECONES
- Gently press one Coco Pops Choco piece, concave side up, into the chocolate base starting at the bottom.
- Continue adding gently Coco Pops Choco in overlapping rows, staggering and angling the ceral as you go. Choose incrementally smaller pieces as you build the pinecone upward.
- Once the pinecone is done start on another until all the pinecone truffles are covered in cereal. Place truffles on a parchment lined baking sheet a chill for at least 30 minutes, or until firm.
- Before serving lightly dust pinecone truffles with powdered sugar for a snow effect. Serve chilled or at room temperature.
OPTIONAL CHOCOLATE COATING
For even more chocolate flavour, you can coat the truffles in melted chocolate before decorating with cereal. This extra step also creates a more stable base for the decorating. Work with a few truffles at a time or the chocolate will set before you add the cereal!
- Melt 200 grams of chopped chocolate in the microwave in 15–20 second intervals, stirring between each interval (or use the double boiler method).
- Stir in 1 teaspoon of coconut oil.
- Dip two undecorated truffles into the melted chocolate and allow any excess to drip off before placing them on a piece of parchment paper.
- Immediately decorate the coated truffles with the Coco Pops, as described above.
- Return to the parchment paper and dip another two truffles. Continue working in pairs until all the truffles are dipped and decorated.
- When all the truffles are dipped and decorated, refrigerate for 20–30minutes, or until the chocolate has set.
Nutrition Information:
Yield:
18Serving Size:
1Amount Per Serving: Calories: 138Total Fat: 7gSaturated Fat: 3gUnsaturated Fat: 5gCholesterol: 11mgSodium: 111mgCarbohydrates: 18gFiber: 1gSugar: 15gProtein: 1g
Nutritional calculation was provided by Nutritionix and is an estimation only. For special diets or medical issues please use your preferred calculator.