Welcome to my beginner-friendly guide to making soft, fluffy Shokupan, or Japanese Milk Bread using the tangzhong method. This easy homemade bread recipe uses simple ingredients to create a pillowy soft loaf that stays fresh for days.
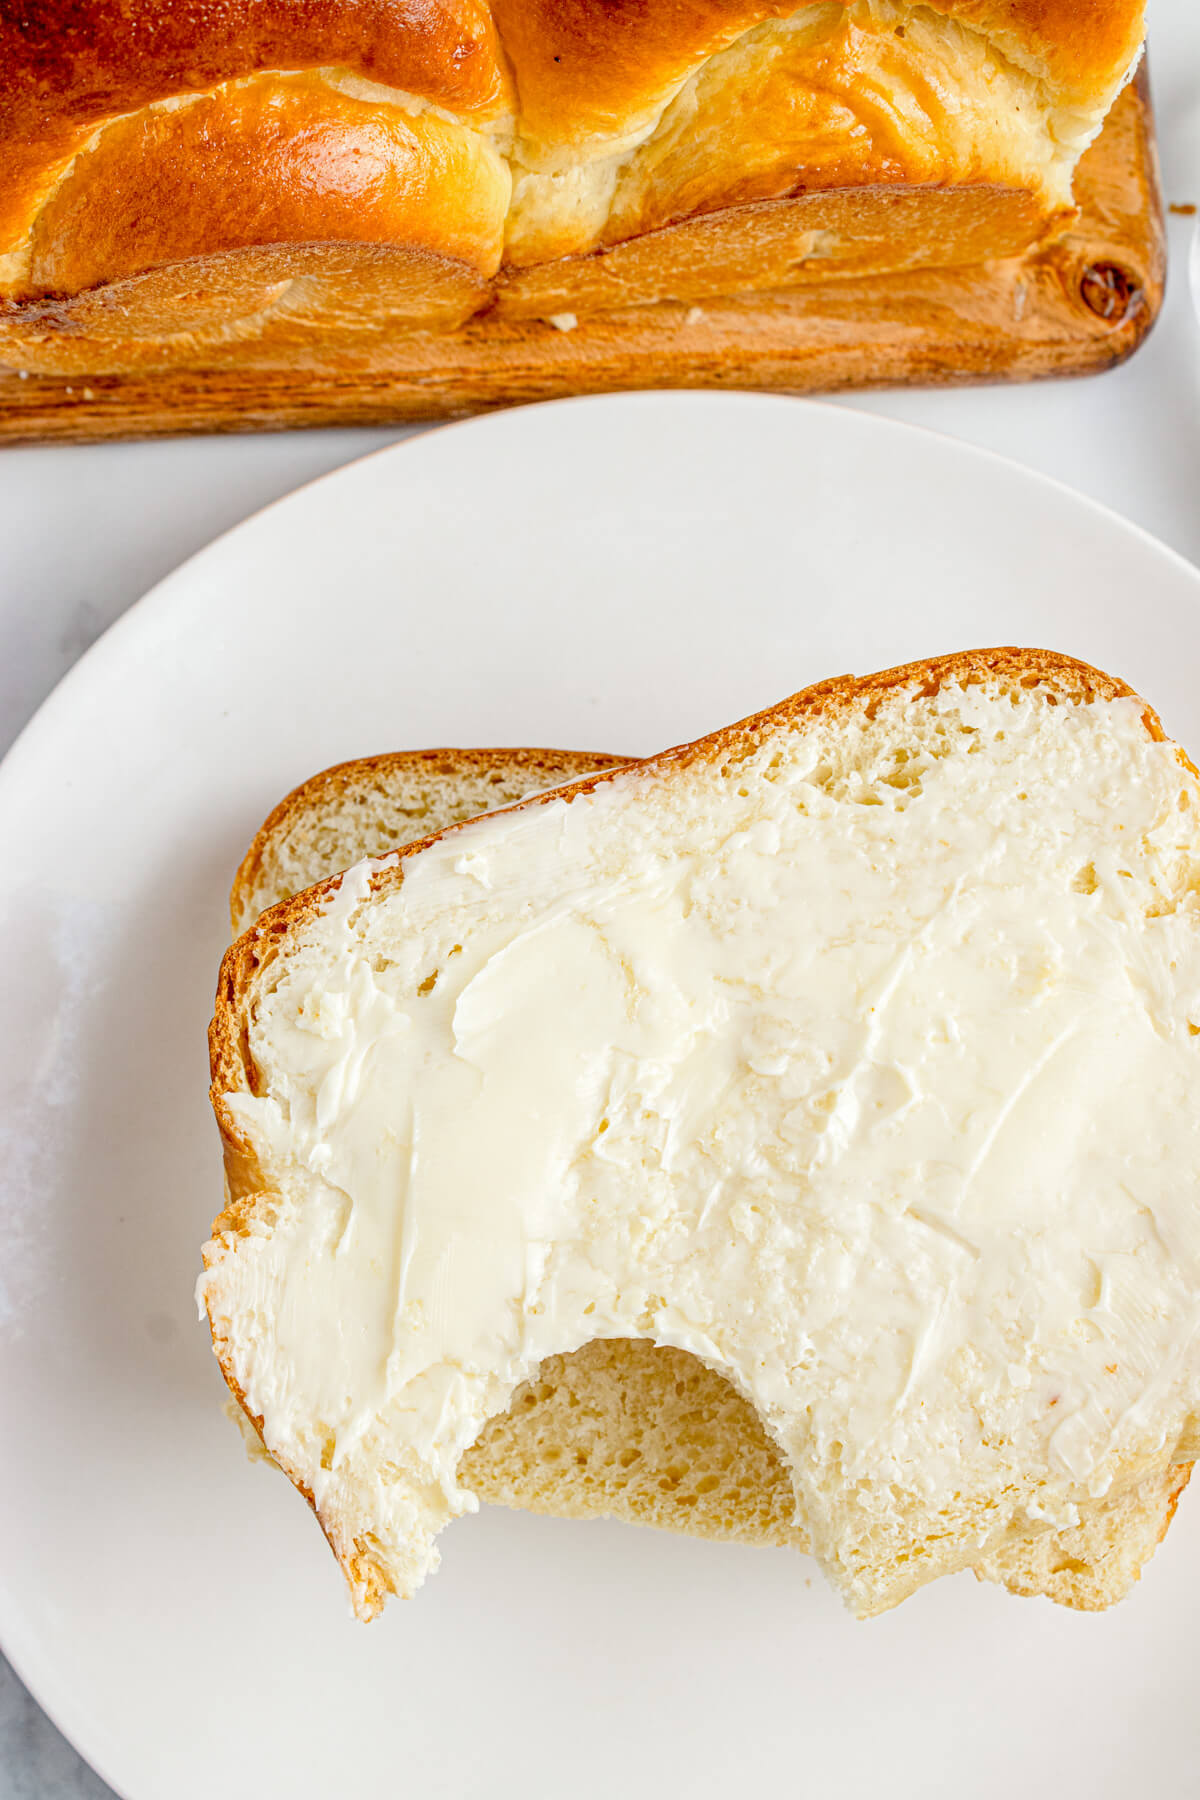
Once you make your very own loaf of shokupan, you’ll find the most delicious ways to enjoy it. Rich and creamy Japanese Egg Salad Sandos are top of my list. However, it’s also great as thick toast topped with butter and Homemade Raspberry Jam.
Want to save this recipe?
Enter your email below and get this post sent straight to your inbox. Plus, I’ll send you my weekly newsletter featuring the newest and best Dish ‘n’ the Kitchen recipes every week!
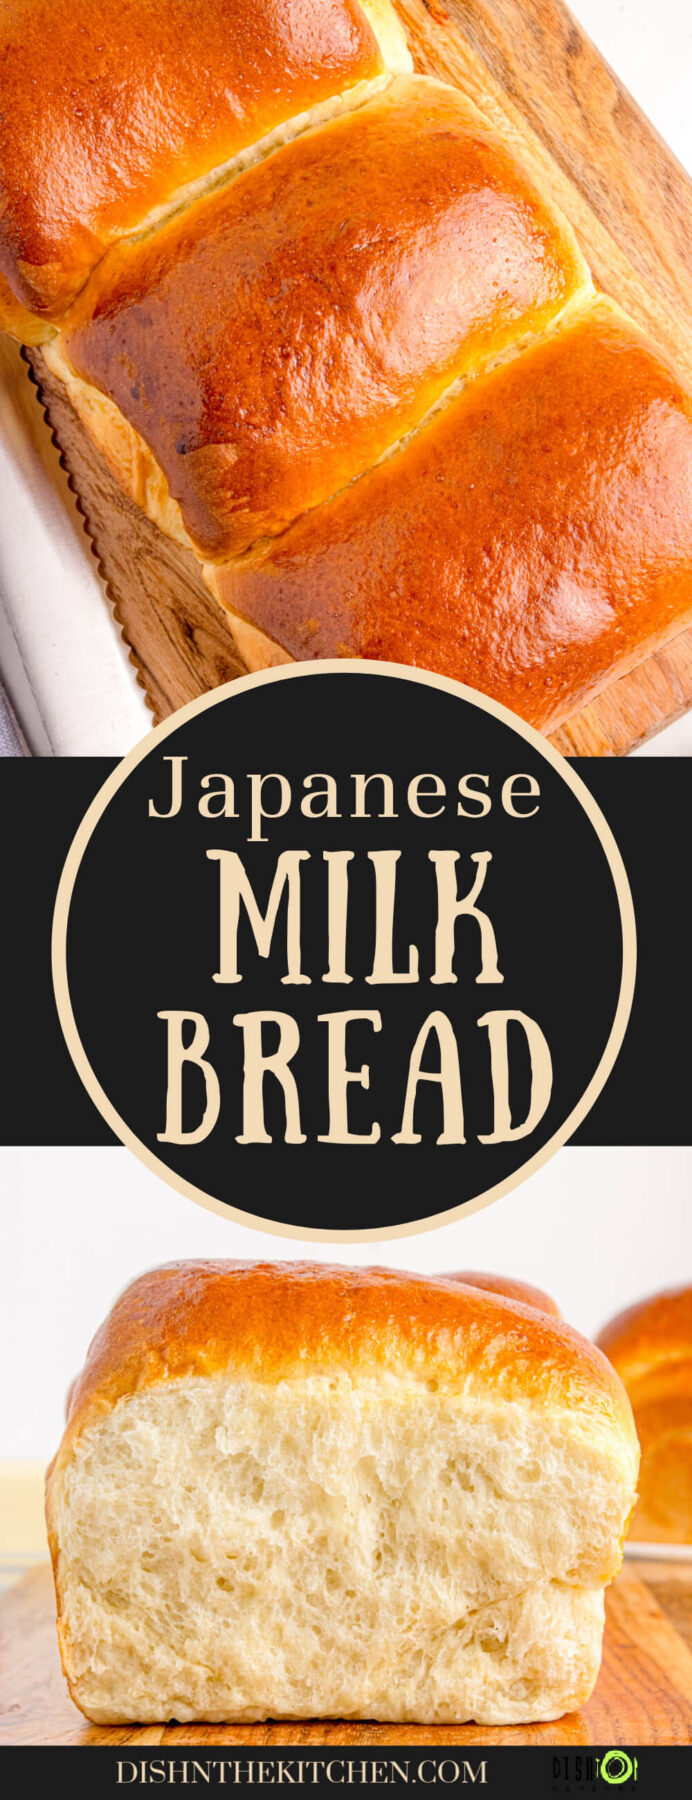
Japanese Milk Bread
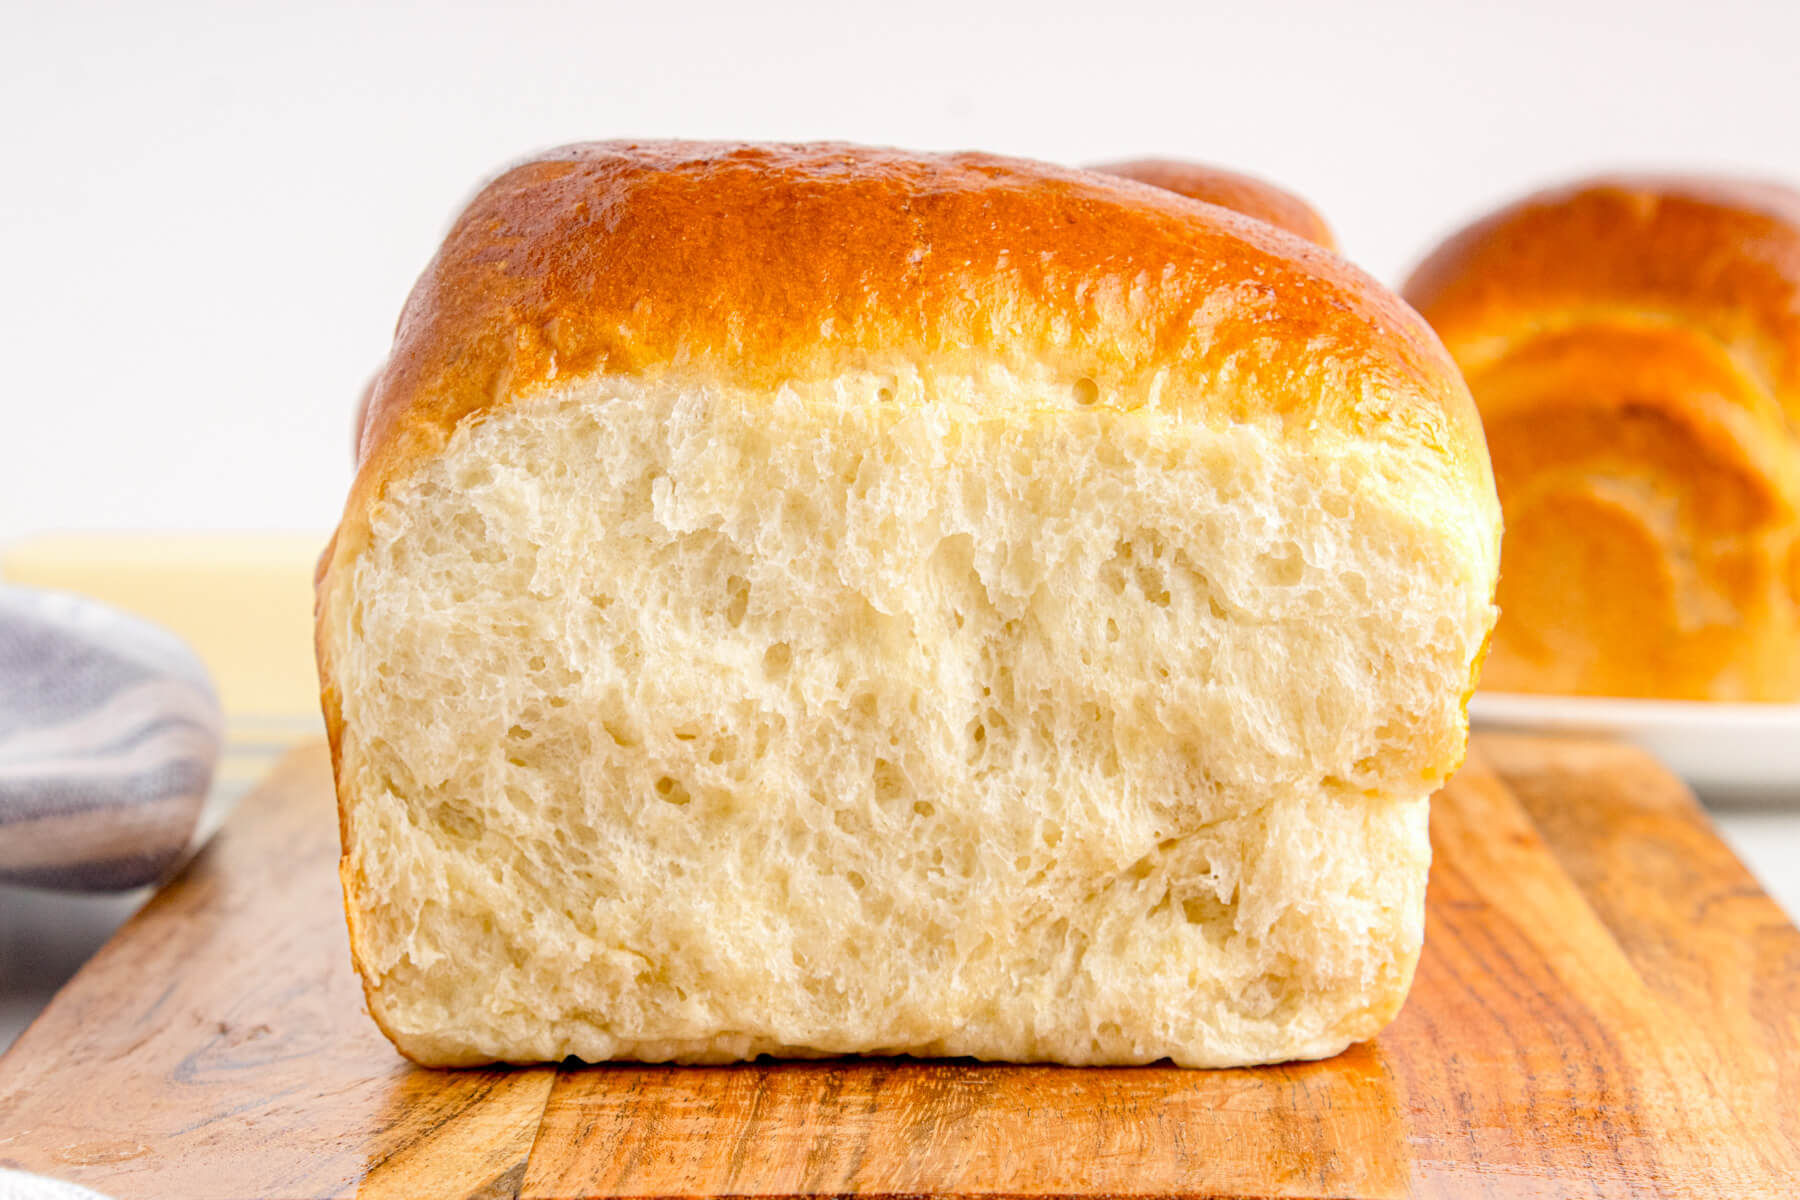
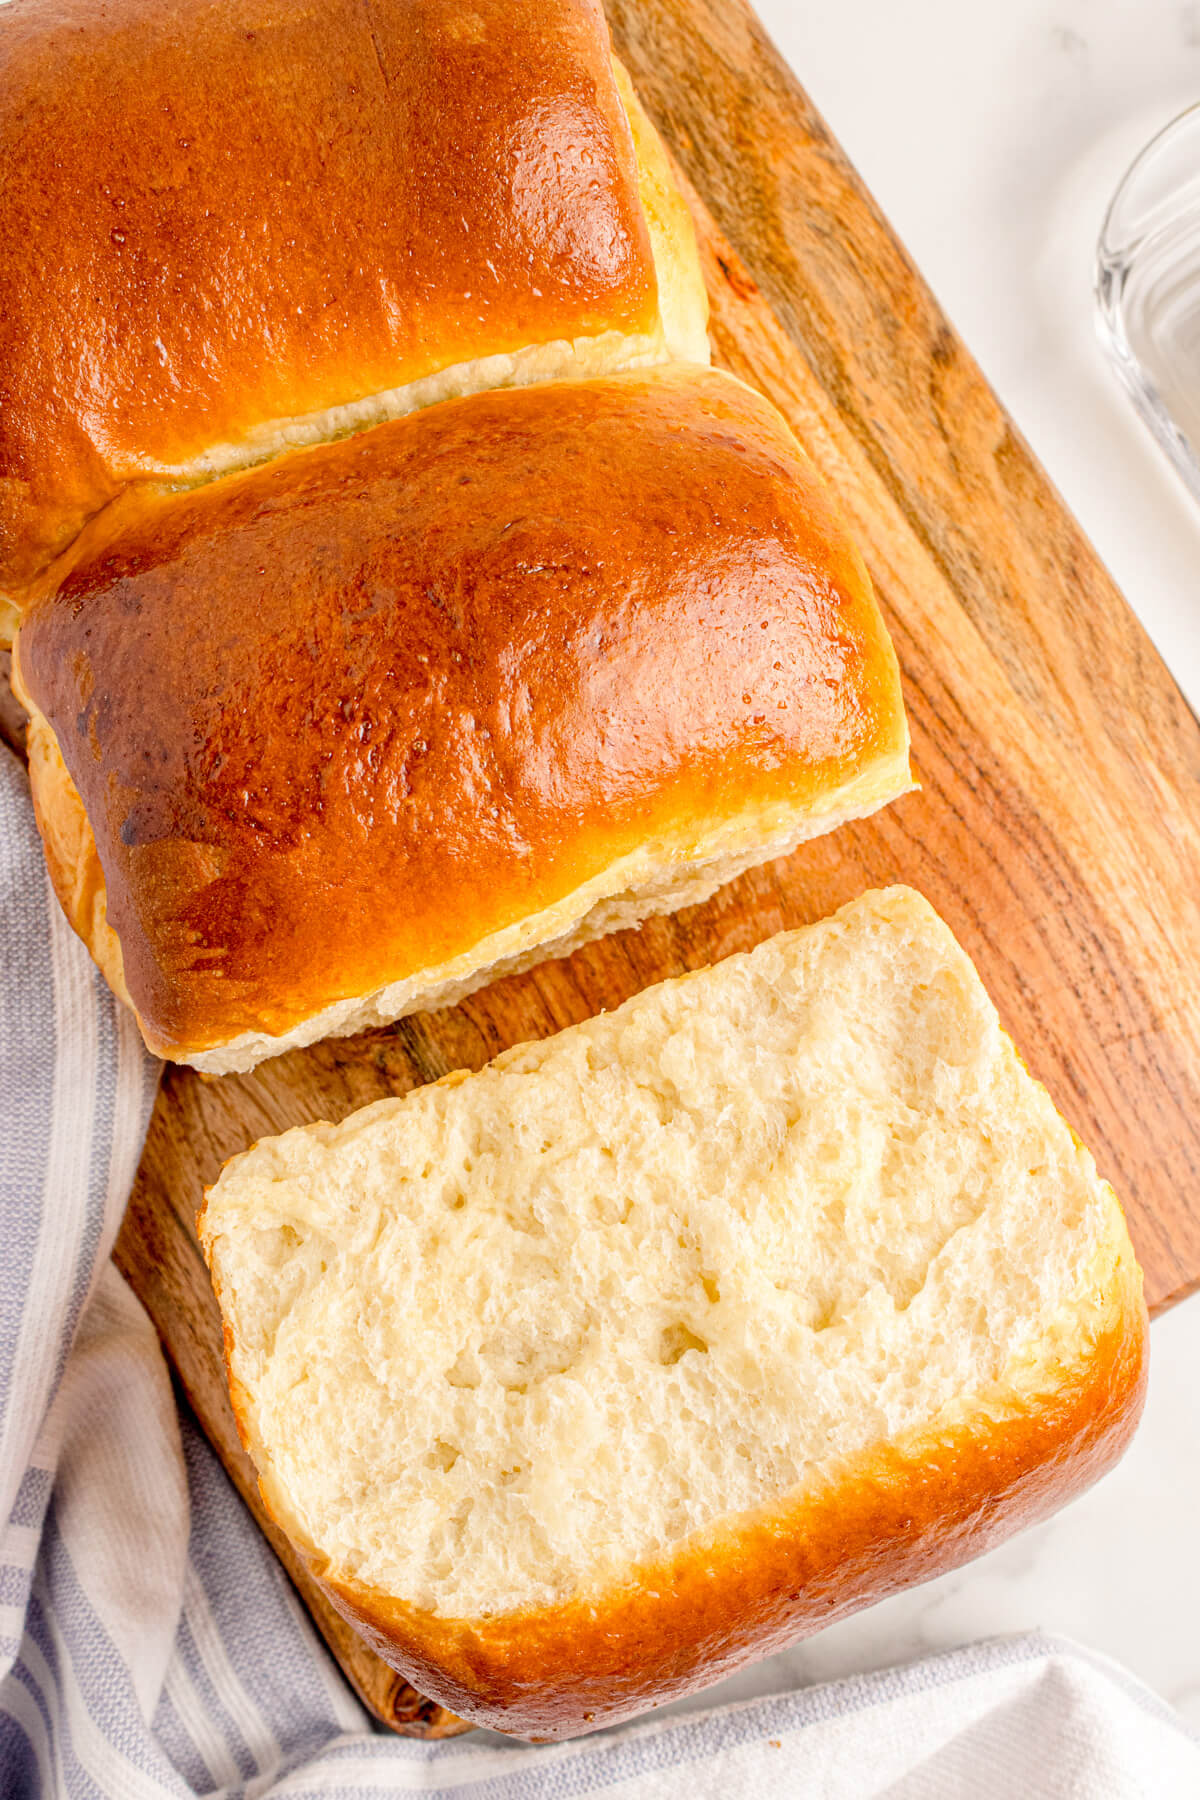
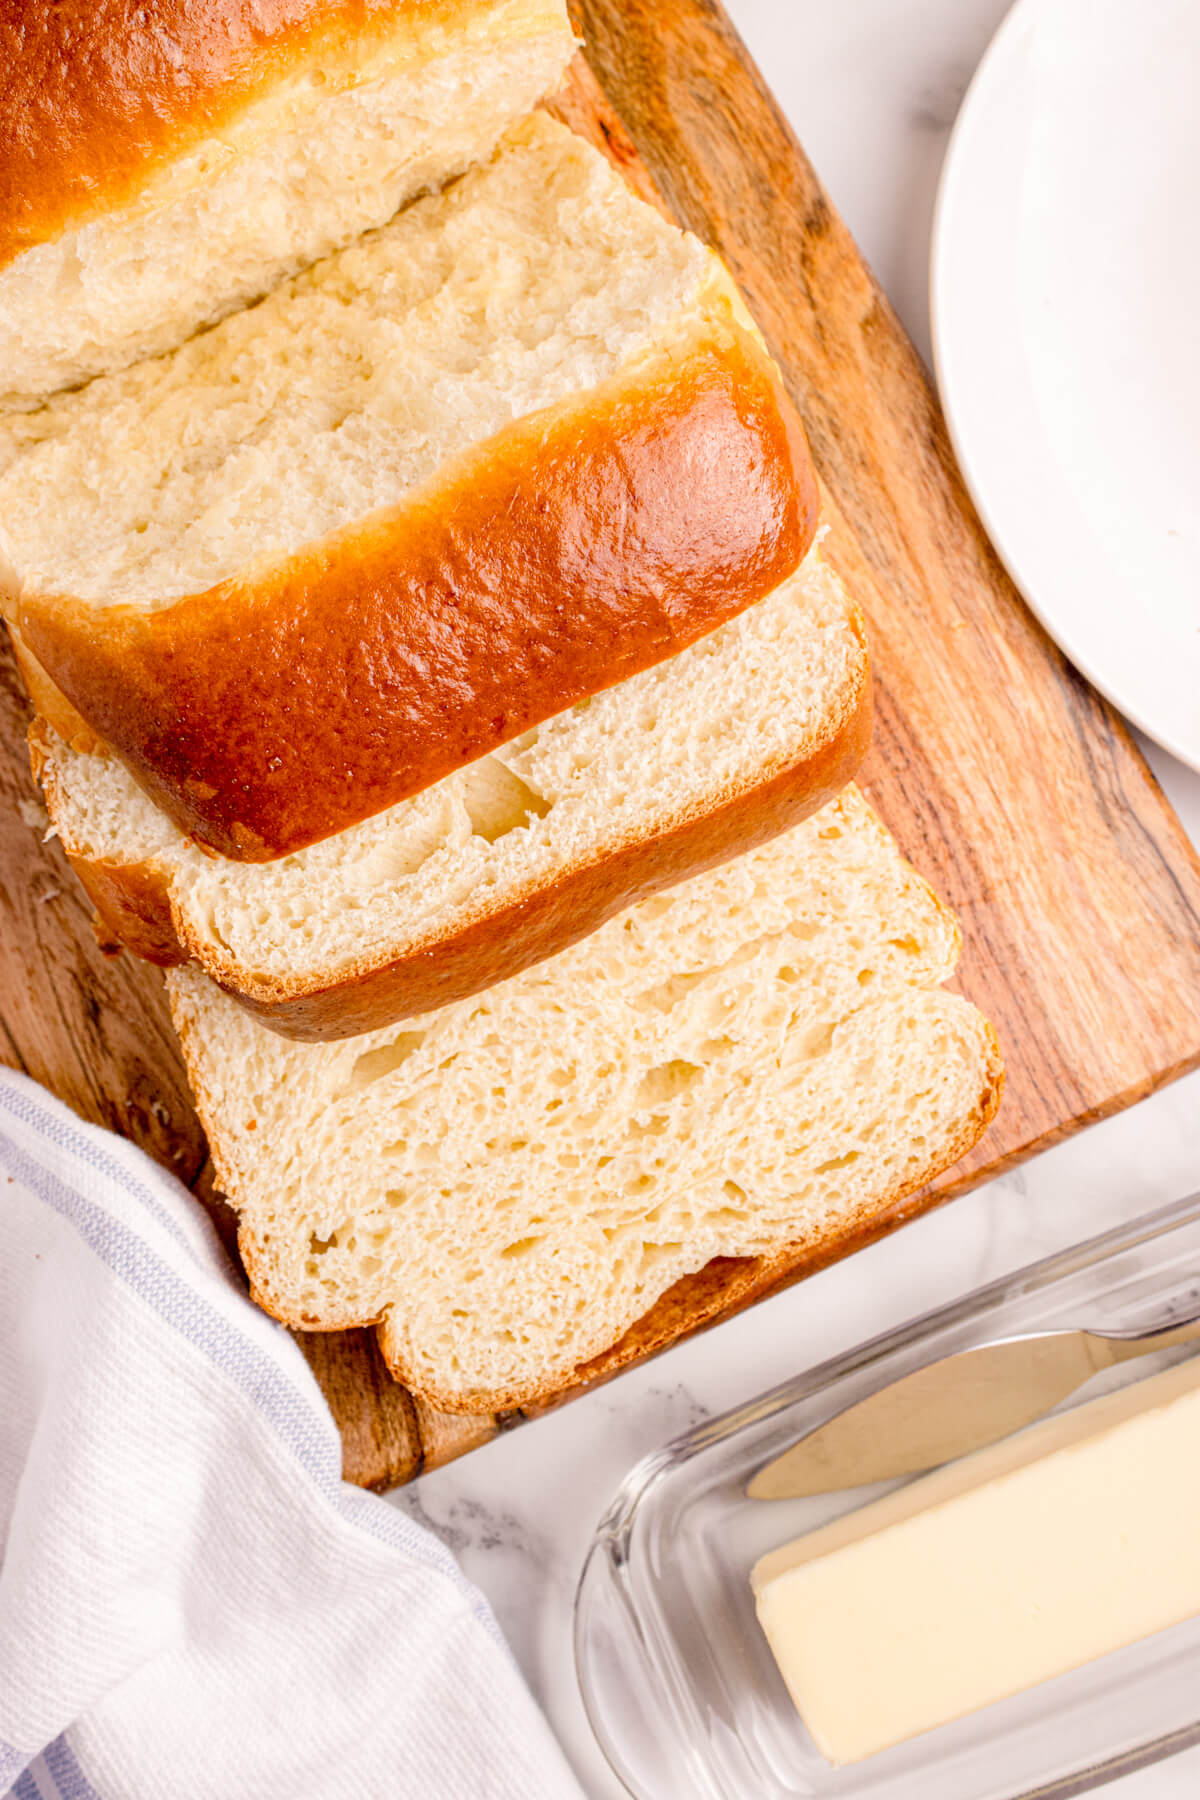
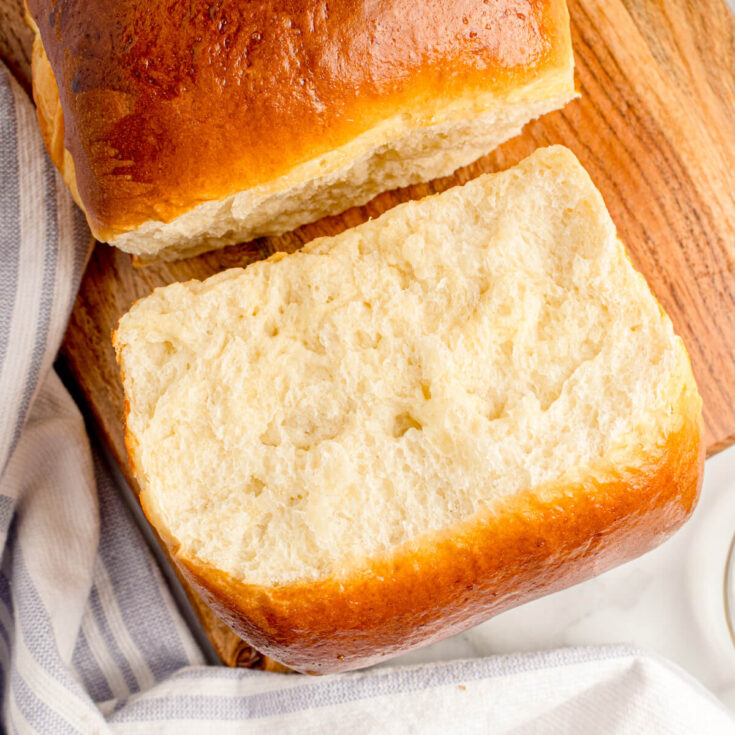
In Japanese, Shokupan translates simply into ‘eating bread’. However, this gold standard of bread baking is anything but ordinary. It’s famous for its snowy white interior, tender crust, and a texture often described as “feathery” or “silk-like”. When you pull a slice apart, it should “shred” into long, wispy fibers rather than crumbling.
Unlike a crusty sourdough or a standard Western sandwich loaf, Shokupan is a highly enriched bread that is prized for its softness above all else. This unique texture and tender crust are a result of a unique technique to Asian baking, the tangzhong method.
The tangzhong method may be an extra step in this unique bread recipe, but the resulting bread texture is worth it. If you have never baked using this distinctive technique, it is easier than you think. Follow this step-by-step method to bake your perfect Shokupan bread loaf.
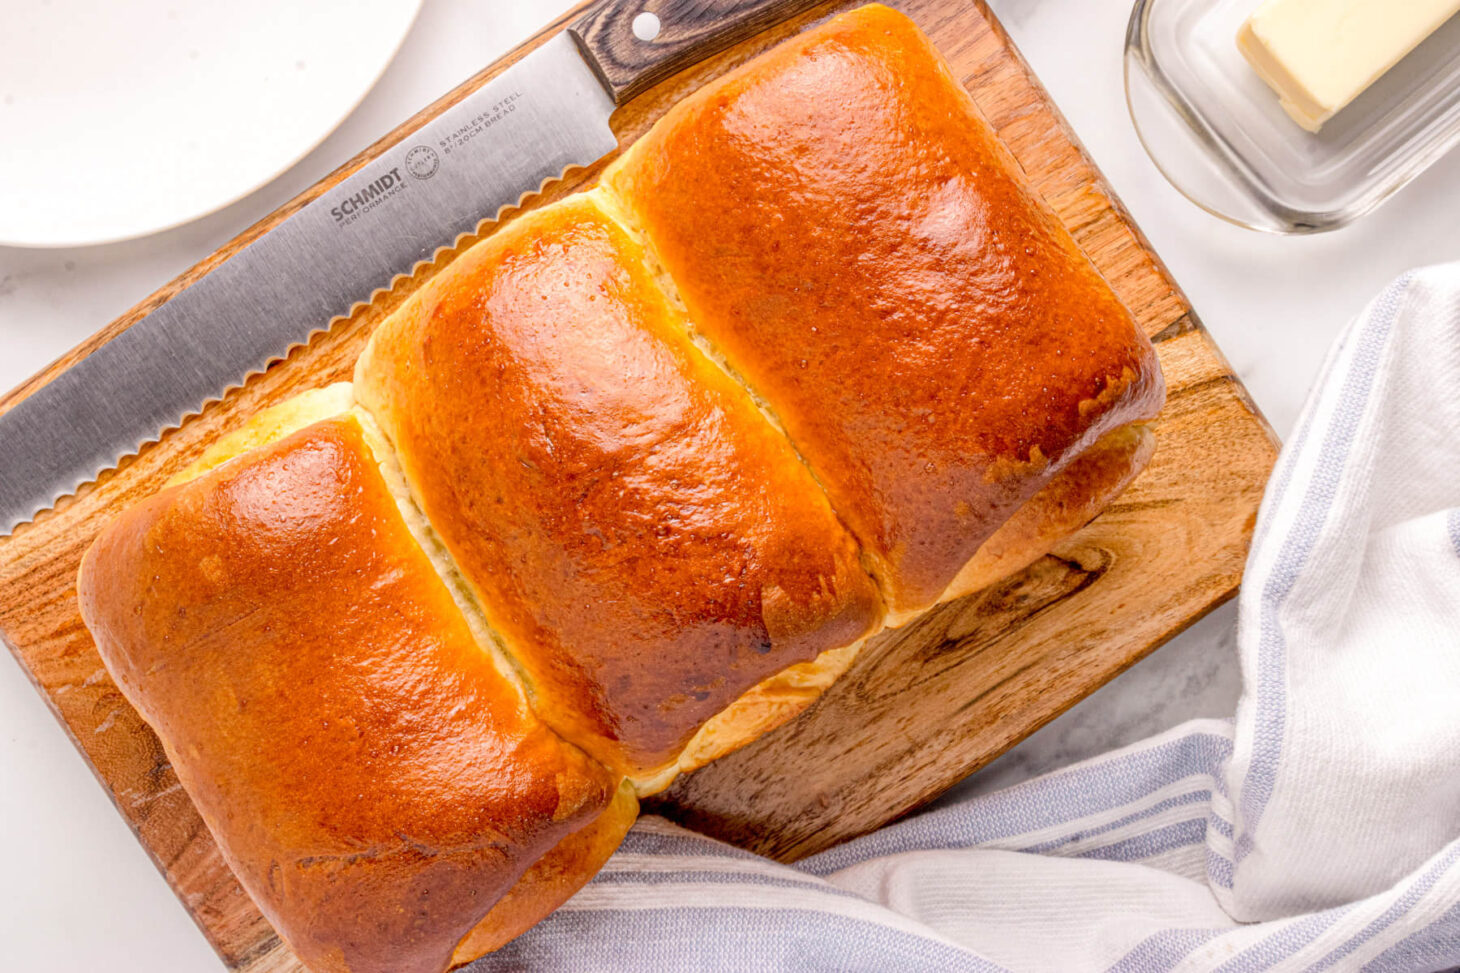
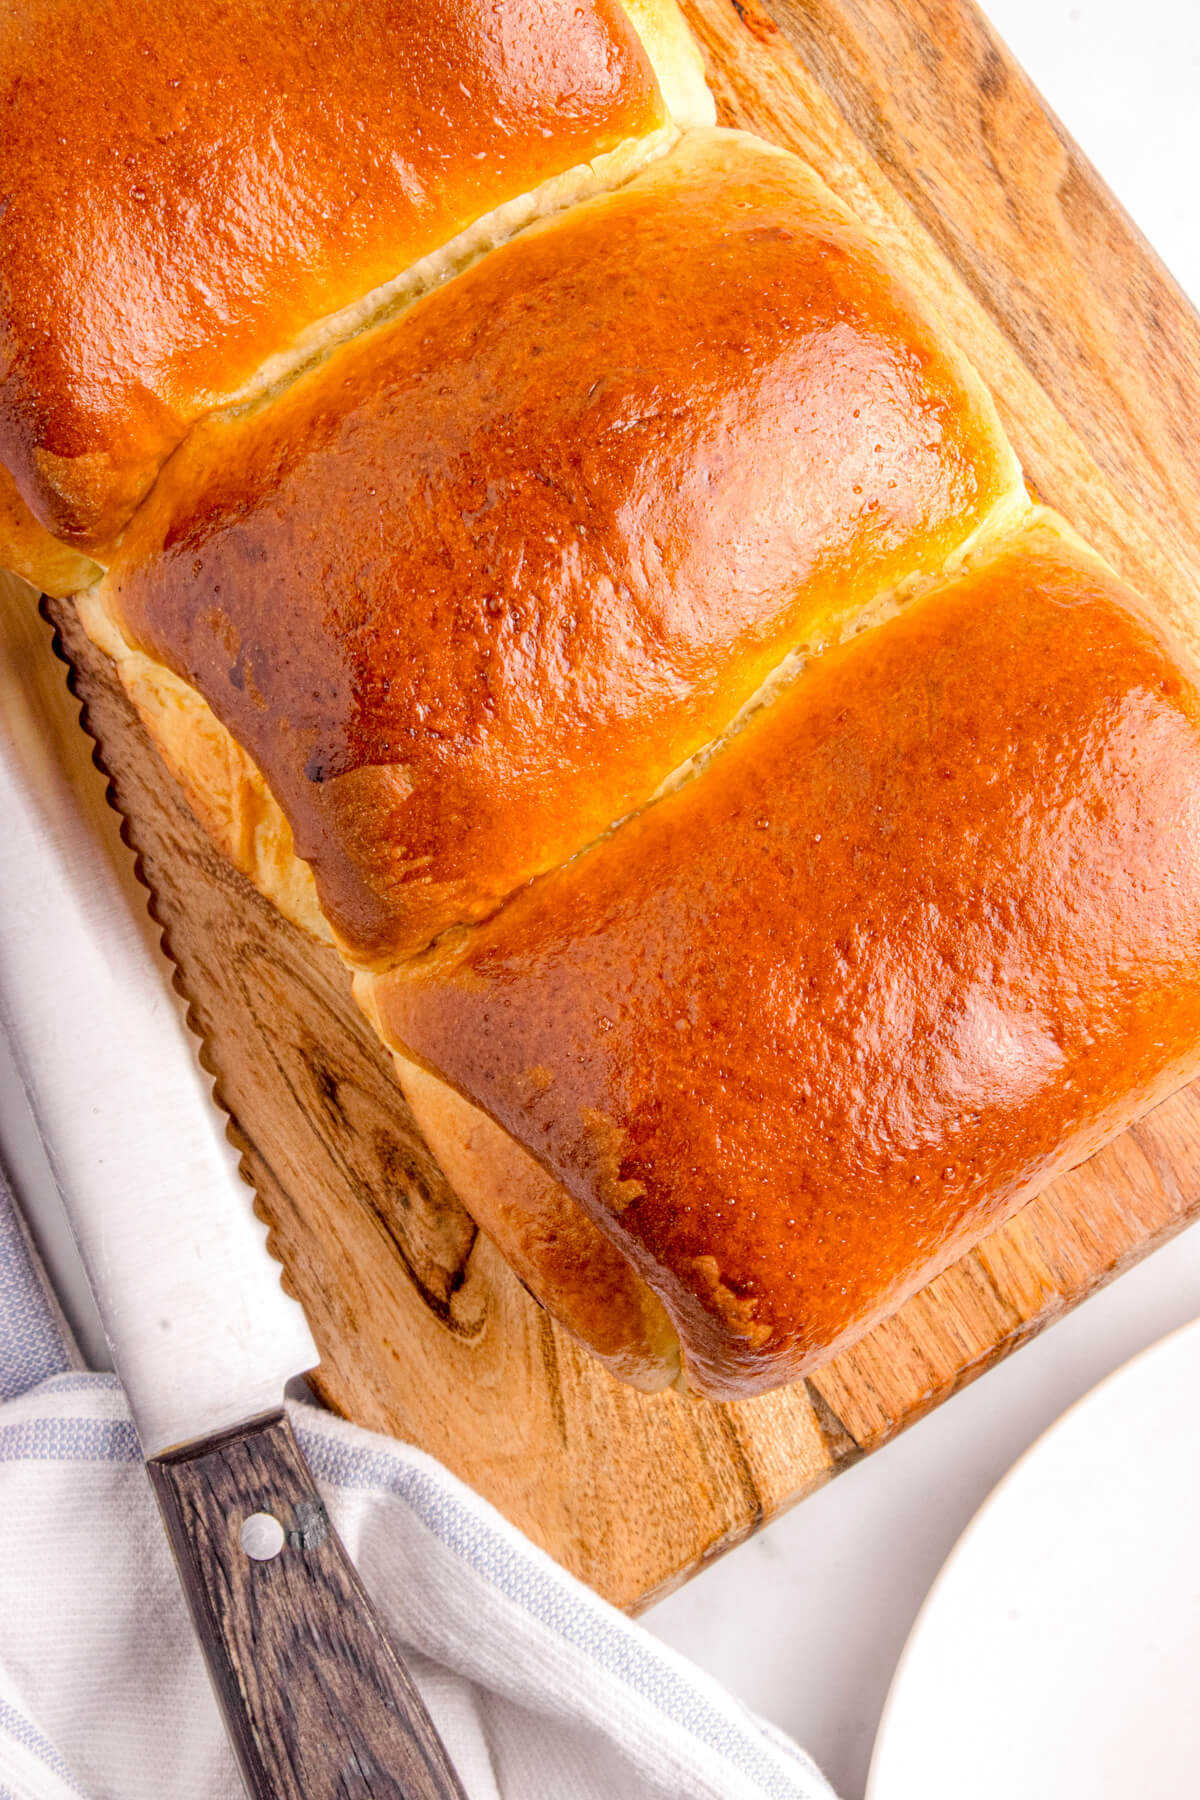
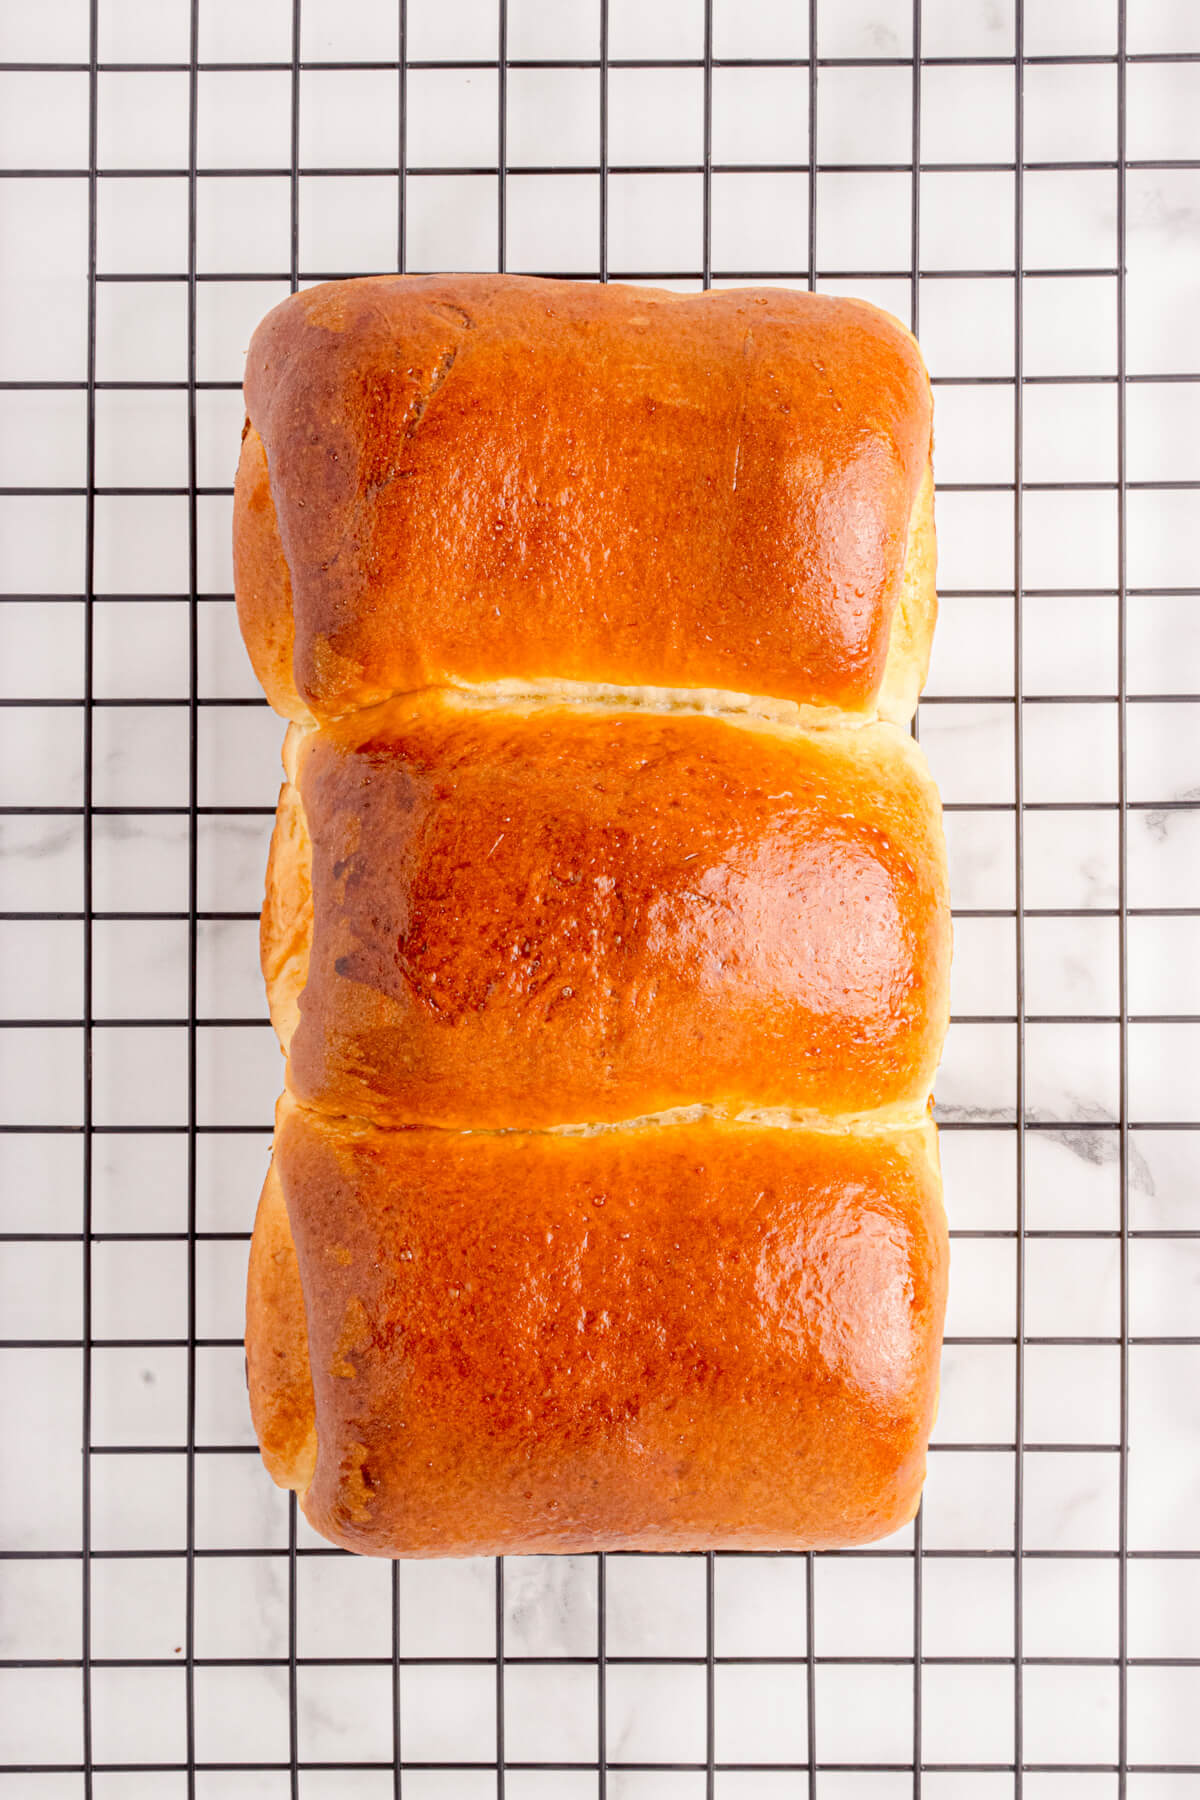
This recipe makes one incredibly fluffy Yama-shoku (Mountain) shaped shokupan loaf. The mounded shape is a result of the shaping and free rise during lidless baking. For a perfectly square shape (Kaku-shoku) that is perfect for sandwiches, bake this loaf in a Pullman pan with a lid.
Tangzhong vs. Yudane Method
In Asian baking, both the Tangzhong and Yudane methods are pre-cooking techniques used to create bread that is incredibly soft, fluffy, and stays fresh for days. While both methods essentially gelatinize the flour starches, improving gluten development and increasing hydration, there are a few key differences between the two.
The Tangzhong method is Chinese in origin and requires less time overall. It uses a flour to liquid ratio of 1:5 where the liquid (water or milk) is cooked on a stove until it is thick and gelatinous. While it cooks quickly, it does require time to cool to room temperature before being added to the bread dough.

Alternatively, the slower Yudane method is Japanese in origin and uses a flour to liquid ratio of 1:1 where boiling water is mixed into the flour. The mixture is then aged 8–24 hours before it is added to the bread dough.
For this Japanese bread recipe, I use the quicker Tangzhong method to save a bit of time while still creating an incredible light and airy loaf of bread.
Ingredients in Shokupan
For this shokupan recipe, you’ll need a saucepan, a whisk, a 9×5 inch loaf pan, a rolling pin, and ideally a stand mixer with dough hook attachment. You can find these simple baking ingredients at any grocery store.
- Water
- Bread Flour
- Whole Milk
- Sugar
- Salt
- Instant Yeast
- Eggs
- Butter
For baking recipes, it is always best to use unsalted butter so you can control how much salt is added to the recipe. I have included instructions for using either instant yeast or active dry yeast.
For the best, fluffiest, and most pull-apart shokupan, use a high-quality, high-protein bread flour (roughly 11.5–13% protein) to ensure a strong, lofty rise.
How to Make Shokupan (Japanese Milk Bread)
Making the Tangzhong
To make the tangzhong, whisk together 25g flour and 60g water in a small saucepan over medium low heat, until it becomes smooth.
Stir the mixture constantly, until it thickens and becomes an opaque paste. Remove it from the heat and let it cool to room temperature. The ideal temperature for making tangzhong is 65°C/149°F.
Make the Bread Dough
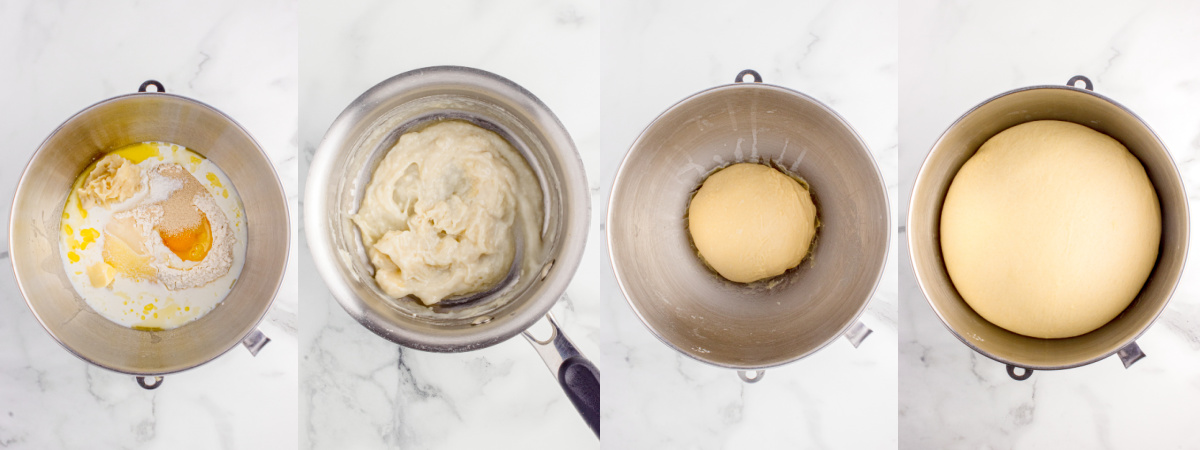
To make the bread dough, combine 350g flour, 100g milk, 1 egg, 50g sugar, 5g salt, 5g yeast*, melted butter, and cooled tangzhong in a stand mixer bowl (see recipe notes for mixing by hand).
Using the dough hook attachment, mix the dough on the low-speed setting to combine, then knead it on medium speed for 8–10 minutes, or until the dough is smooth and elastic.** Test the dough using the windowpane test*** after about 8 minutes.
Windowpane test: Stretch a section of the dough between your fingers. If it stretches thin enough to see light through it without tearing, it’s most likely ready. If the dough is too sticky, add 1 tablespoon of flour at a time.
First Rise and Shaping the Shokupan
After the dough passes the windowpane test, shape it into a ball then place it in a bowl that has been lightly greased. Cover it with plastic wrap or a damp kitchen towel and let the bread rise in a warm place until it doubles in size.
When the dough has doubled in size, it’s time to shape it and fit it into the bread pan. To do this, turn the dough out onto a lightly floured surface and gently deflate it by pressing it down. Divide the dough into 3 equal pieces.
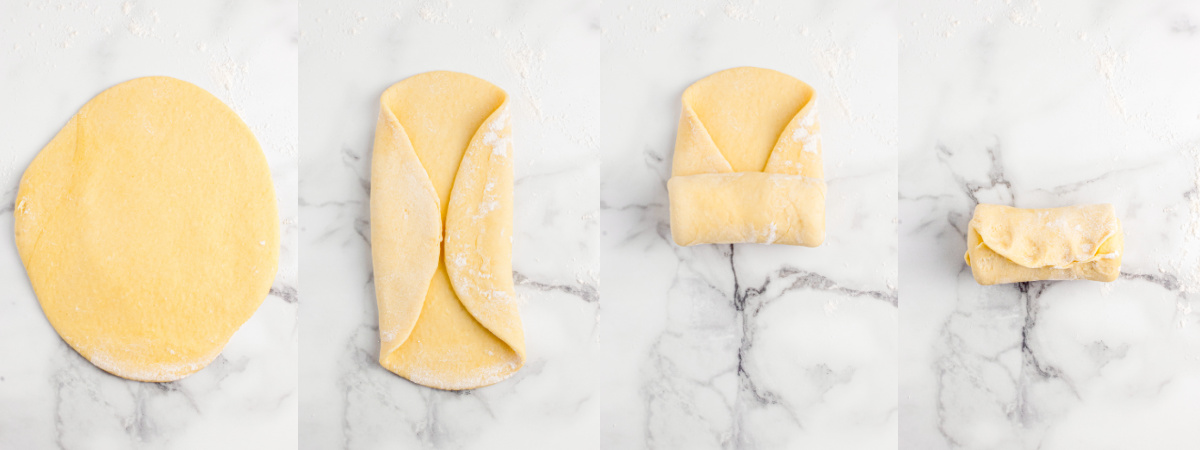
Shape each piece into a ball. Cover and let them rest for about 10 minutes. After ten minutes, use a rolling pin to gently roll each ball into a 7×8 inch oval.
Fold long sides of one oval toward the center then from the end, roll it tightly into the shape of a log. Be sure to pinch the seam together so it closes. Place the log seam-side down into a prepared (lightly greased) 9×5 inch loaf pan. Repeat this with the other two pieces.
Second Rise and Baking
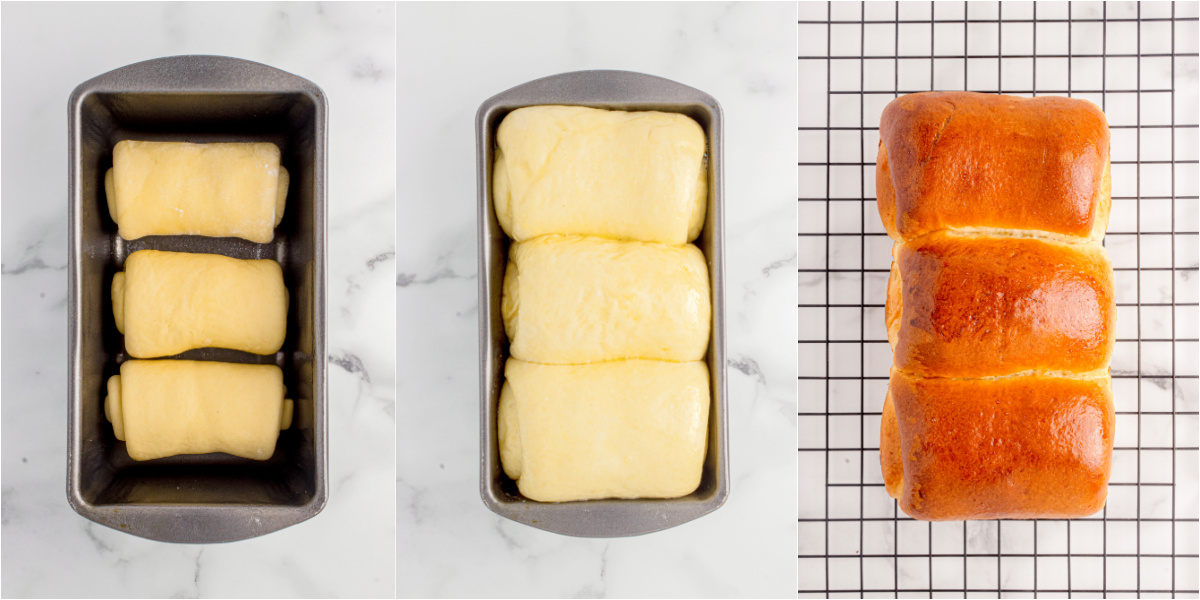
For the second rise, cover the pan with a damp cloth or plastic wrap. Allow the bread dough to rise in a warm spot until the dough rises above the rim of the pan by about 1 inch (about 45–60 minutes).
Preheat the oven to 350°F (175°C). Gently brush the top with egg wash and bake the bread for 30–35 minutes, or until it turns golden brown.
Allow bread to cool in the pan for 15 minutes then turn it out onto a wire rack and let it cool on the rack (about 1 hour).
How to Store Shokupan
Store leftover bread, well wrapped, at cool room temperature for 5 to 7 days; freeze 1-3 months for longer storage.
Hi! I’m Bernice Hill, the heart and soul behind Dish ‘n’ the Kitchen. It is my pleasure to share easy to follow recipes that are delicious, nutritious, and approachable for the whole family.
If you make this Shokupan (Japanese Milk Bread) recipe, I’d love to hear about it in the comments section or in a recipe rating. Be sure to follow me on Facebook and Pinterest for my latest recipes. Also, if you do make this recipe, please share your photos and tag me on Instagram. I hope you like this recipe!
Shokupan (Japanese Milk Bread)
Welcome to my beginner-friendly guide to making soft, fluffy Shokupan, or Japanese Milk Bread using the tangzhong method. This easy homemade bread recipe uses simple ingredients to create a pillowy soft loaf that stays fresh for days.
Ingredients
FOR THE TANGZHONG
- 3 Tablespoons (25g) Bread Flour
- 1/4 cup (60g) Water
FOR THE DOUGH
- 2¾ cups (350g) Bread Flour
- scant ½ cup (100g) Whole Milk (plus more as needed)
- ¼ cup (50g) Sugar
- 1 teaspoon (5g) Salt
- 1½ teaspoons (5g) Instant Yeast (see note if using active dry)
- 2 large Eggs
- 4 Tablespoons (56g) unsalted Butter; melted and cooled until just warm
- Extra butter or oil for greasing pan
- 1 Tablespoon Water (for egg wash)
Instructions
FOR THE TANGZHONG
- In a small saucepan over medium low heat, whisk together 25g flour and 60g water until it becomes smooth.
- Stir the mixture constantly, until it thickens and becomes an opaque paste. Remove it from the heat and let it cool to room temperature. The ideal temperature for making tangzhong is 65°C/149°F.
FOR THE DOUGH
- In the bowl of a stand mixer, combine 350g flour, 100g milk, 1 egg, 50g sugar, 5g salt, 5g yeast*, melted butter, and cooled tangzhong.
- Using the dough hook attachment, mix the dough on the low speed setting to combine, then knead it on medium speed for 8–10 minutes, or until the dough is smooth and elastic.** Test the dough using the windowpane test*** after about 8 minutes.
NOTE: To mix the dough by hand, add 100g milk, 1 egg, 50g sugar, 5g yeast, cooled tangzhong, and melted butter to a large mixing bowl and whisk until well combined. Stir in 350g flour and 5g salt and mix them together with a wooden spoon until a shaggy dough forms.* Turn the dough out onto a lightly floured surface and knead it for 15–20 minutes, or until the dough is smooth and elastic. Test the dough with the windowpane test after 15 minutes.
FIRST RISE
- Shape the dough into a ball and place it in a bowl that has been lightly greased. Cover it with plastic wrap or a damp kitchen towel and let the bread rise in a warm place until it doubles in size.
SHAPE THE DOUGH
- Turn the dough out onto a lightly floured surface and gently deflate it by pressing it down. Divide the dough into 3 equal pieces.
- Shape each piece into a ball. Cover and let them rest for about 10 minutes.
- Working with one piece at a time, roll each ball into a 7x8 inch oval.
- Fold both long sides toward the center. Beginning from the end, roll it tightly into the shape of a log. Be sure to pinch the seam so it closes.
- Place the log seam-side down into a prepared 9x5 inch loaf pan. Repeat this with the other two pieces.
SECOND RISE
- Cover the pan with a damp cloth or plastic wrap. Allow the bread dough to rise in a warm spot until the dough rises above the rim of the pan by about 1 inch (about 45–60 minutes).
BAKE THE BREAD
- Preheat the oven to 350°F (175°C). Gently brush the top with egg wash and bake the bread for 30–35 minutes, or until it turns golden brown.
- Allow bread to cool in the pan for 15 minutes then turn it out onto a wire rack and let it cool on the rack (about 1 hour).
Notes
*If you are using active dry yeast instead of instant, dissolve it in the warm milk (around 110°F/43°C) with a pinch of sugar and let it foam for 5 minutes before adding it to the other wet ingredients.
**If the dough is too sticky, add 1 tablespoon of flour at a time. If it's a big too dry, mix in 1 tablespoon of milk at a time.
***To do the windowpane test, stretch a section of the dough between your fingers. If it stretches thin enough to see light through it without tearing, it's most likely ready. If the dough is too sticky, add 1 tablespoon of flour at a time.
Nutrition Information:
Yield:
12Serving Size:
1Amount Per Serving: Calories: 288Total Fat: 6gSaturated Fat: 3gUnsaturated Fat: 3gCholesterol: 41mgSodium: 196mgCarbohydrates: 51gFiber: 2gSugar: 5gProtein: 9g
Nutritional calculation was provided by Nutritionix and is an estimation only. For special diets or medical issues please use your preferred calculator.