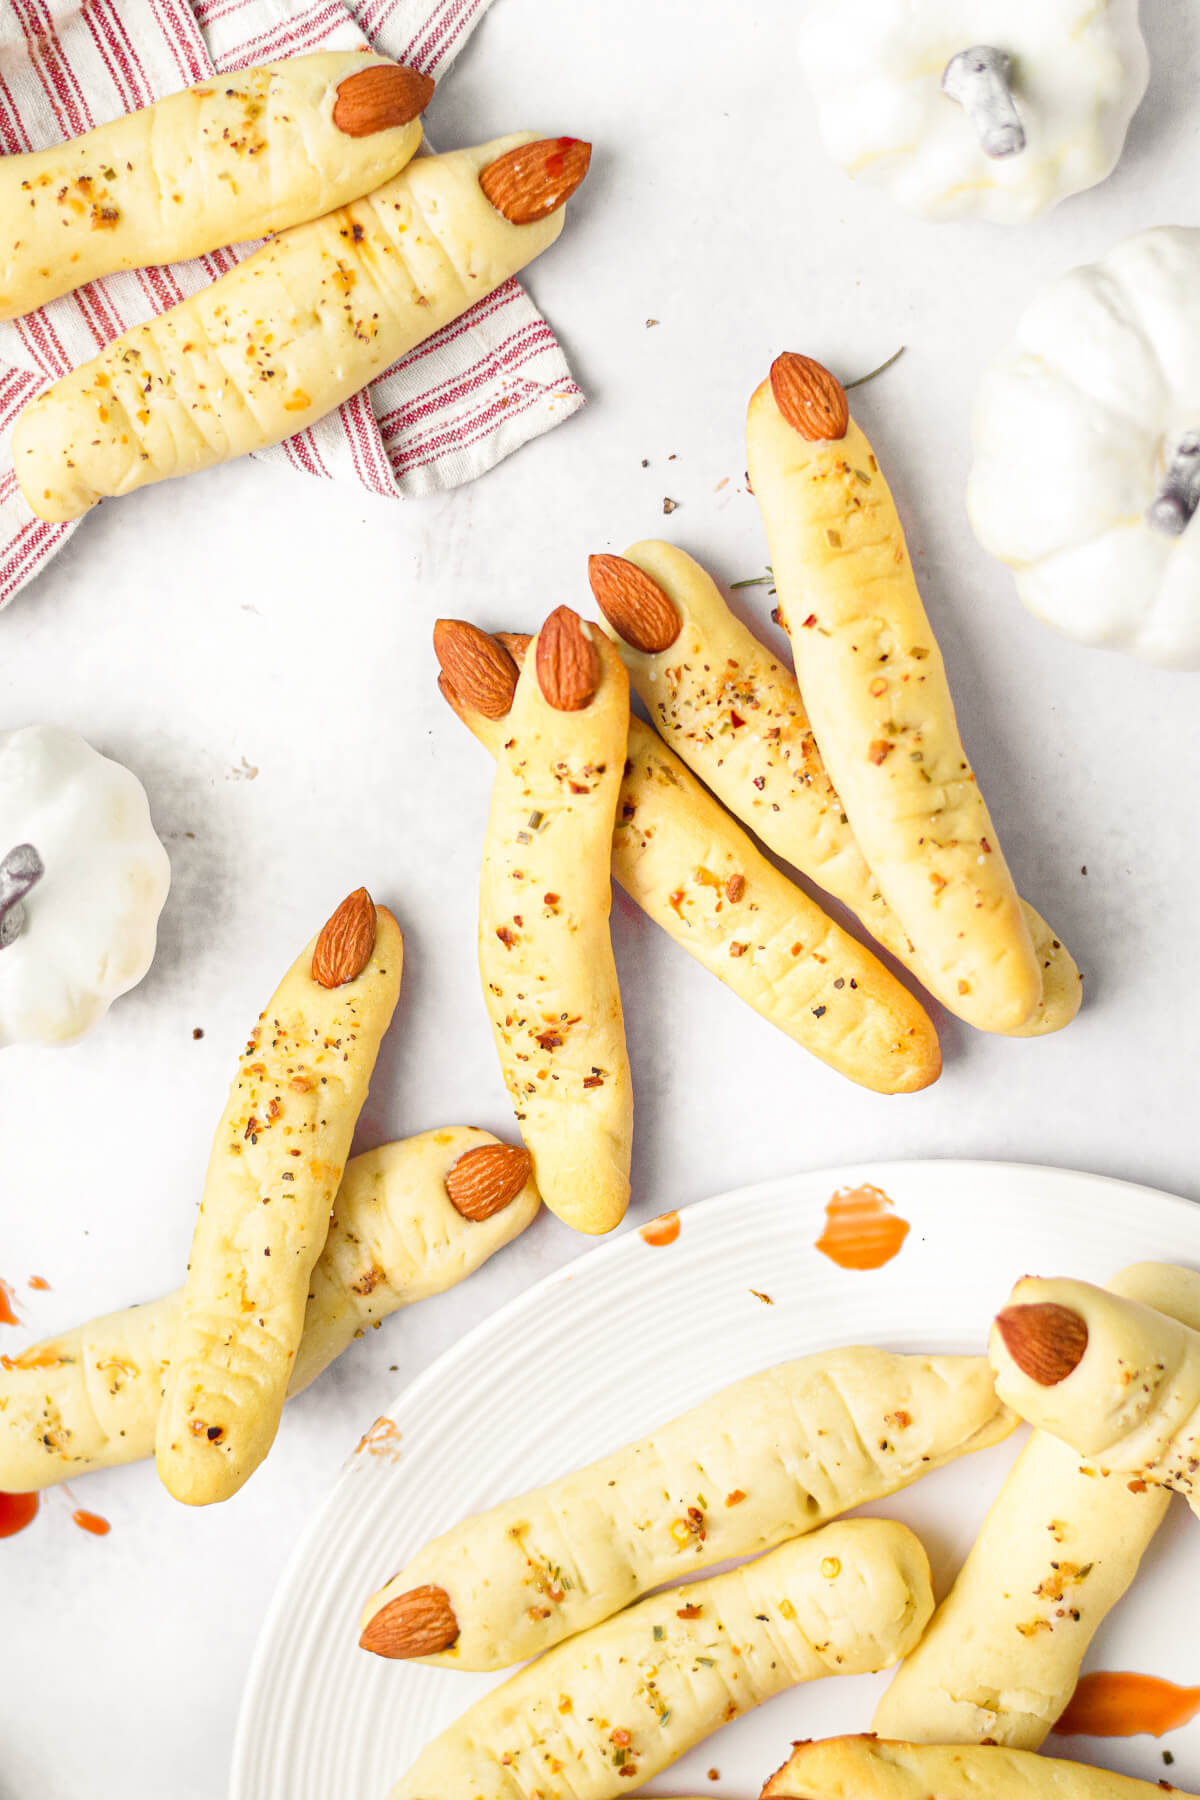
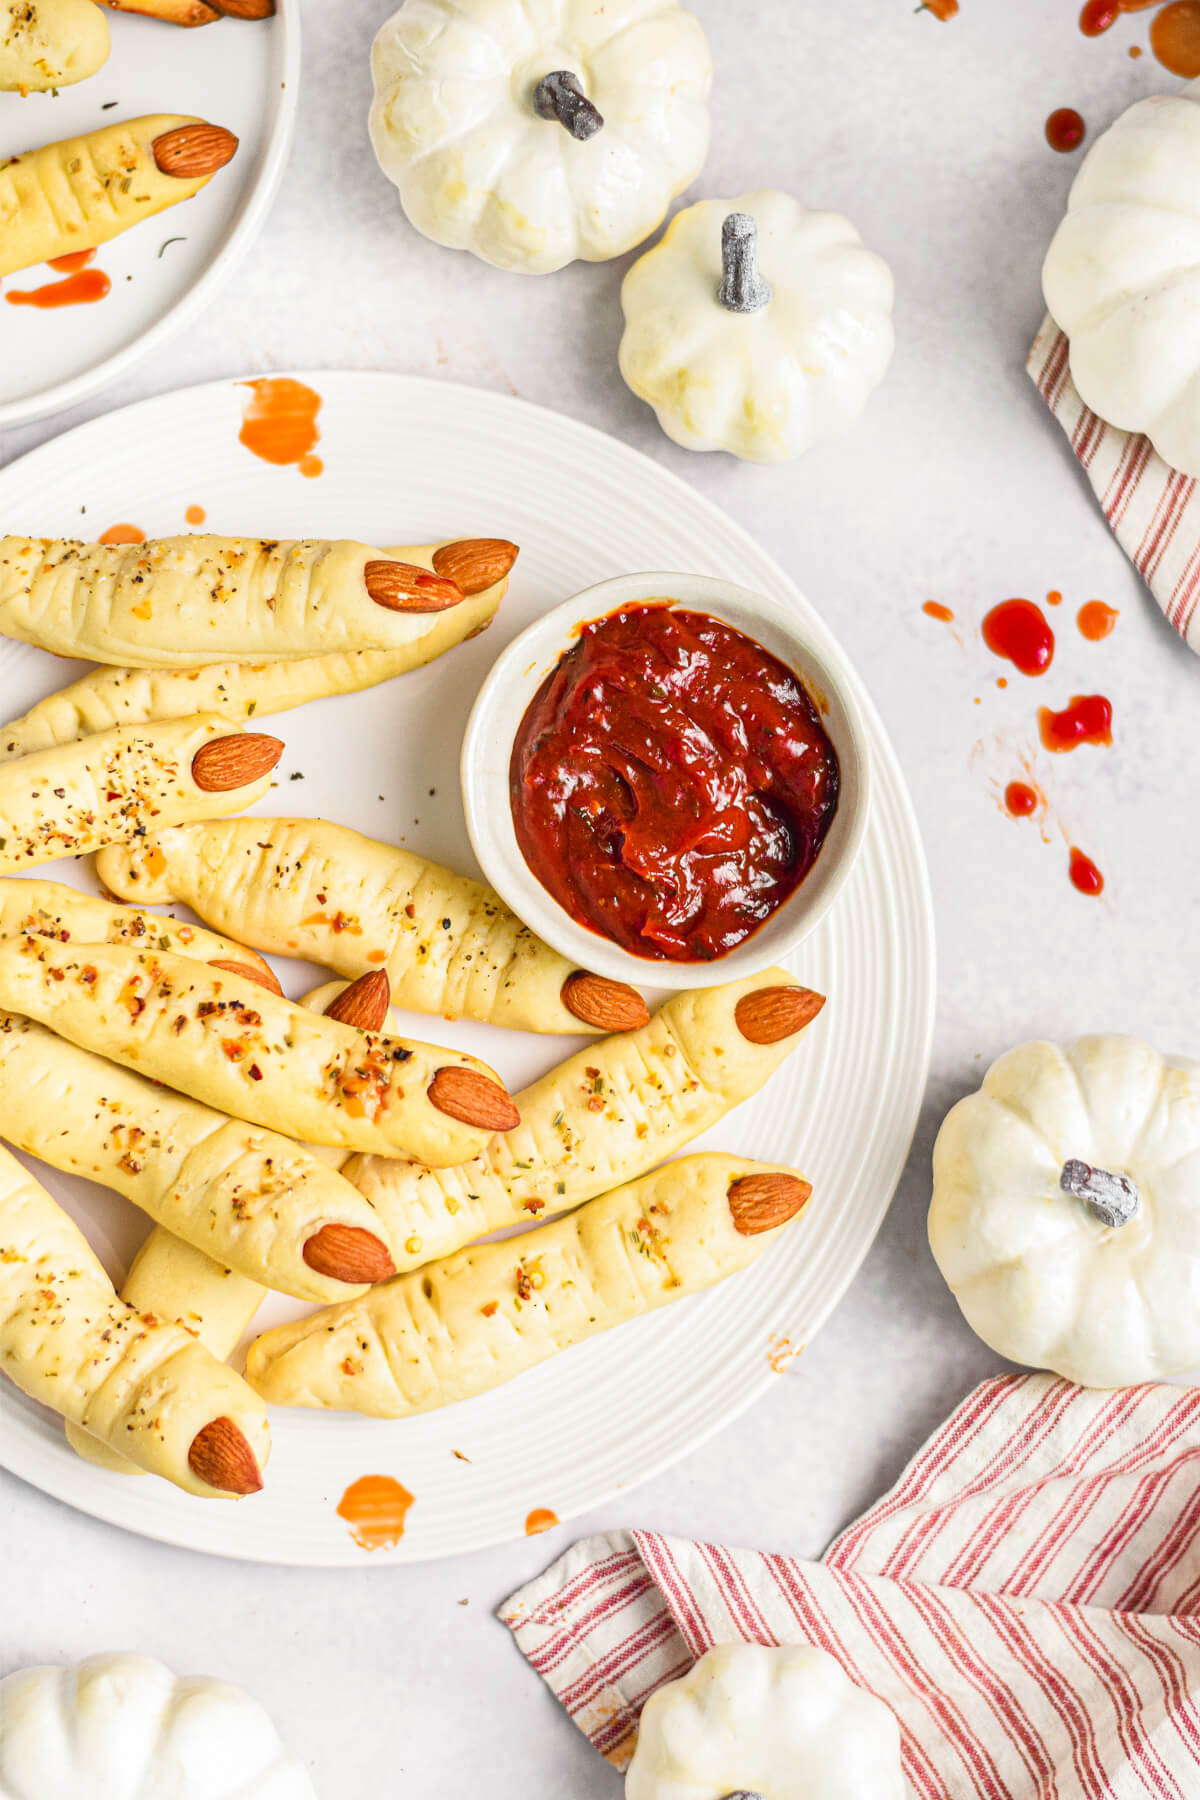
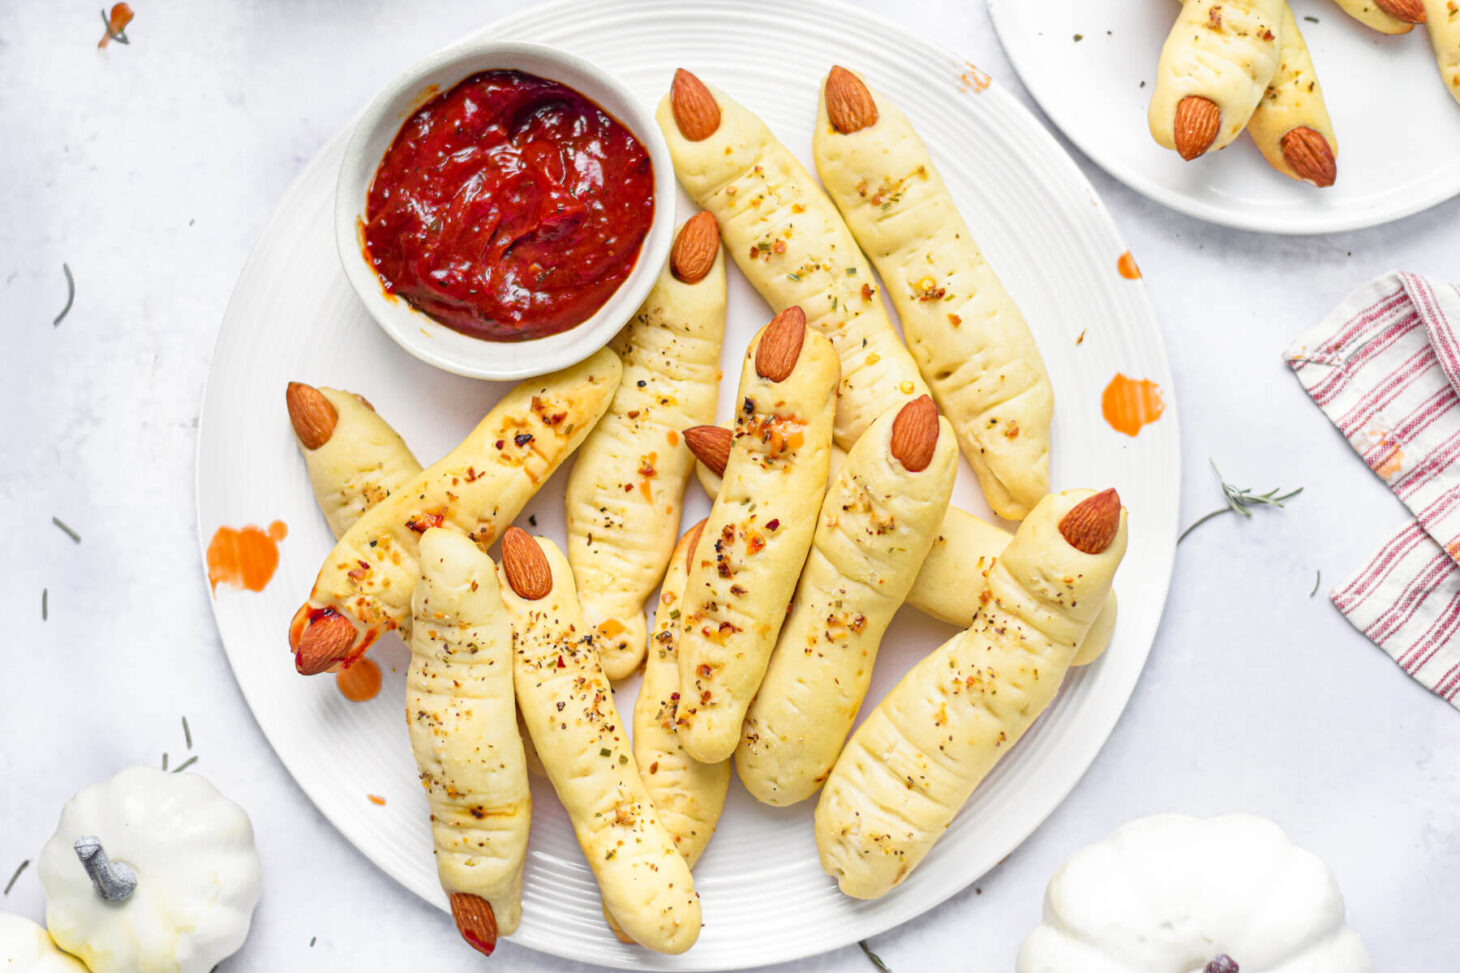
Here’s how to transform homemade soft Italian breadsticks into a frightfully tasty Halloween appetizer. Serve these eerily easy witch finger breadsticks with ‘bloody’ marinara sauce for dipping and elevate the ‘creepy’ factor of your Halloween party table.
There’s nothing like the smell of freshly baked bread. If you love to bake (and eat) bread as much as I do, have a look at a just a few of the many bread recipes available on this blog. From overnight No Knead Whole Wheat Bread to quick Air Fryer Pretzel Bites, I’m here to help you every step of the way!
Want to save this recipe?
Enter your email below and get this post sent straight to your inbox. Plus, I’ll send you my weekly newsletter featuring the newest and best Dish ‘n’ the Kitchen recipes every week!
Creepy Witch Fingers (Italian Breadsticks)
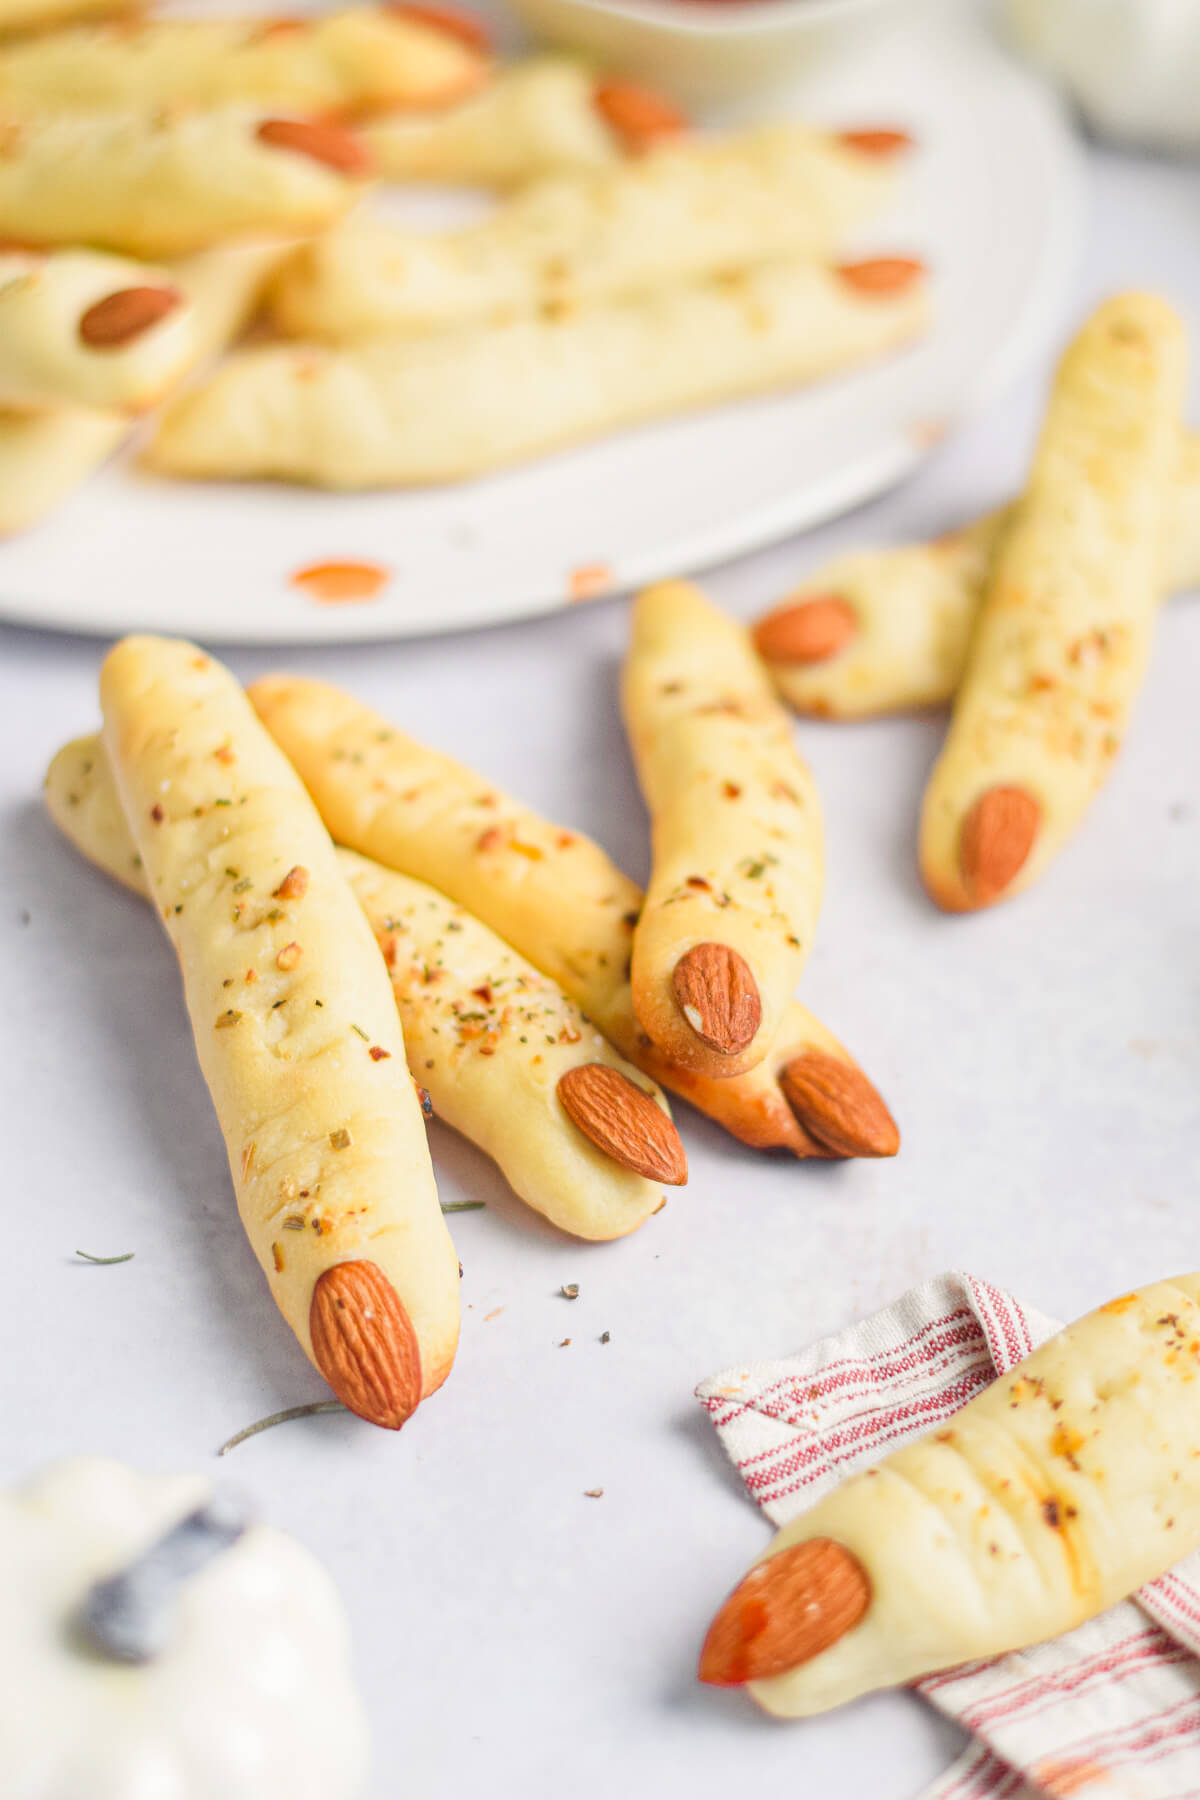
Are you ready to sink your teeth into a ghoulishly delightful treat? Well, get your cauldrons ready because I have the perfect recipe for your Halloween party: Witch Finger Italian Breadsticks!
These creepy breadsticks are sure to cast a spell on your taste buds and add a spooky touch to your party spread. Just imagine sinking your teeth into these eerie finger-shaped delights, complete with almond fingernails. They’ll send shivers down your spine – in a deliciously good way, of course!
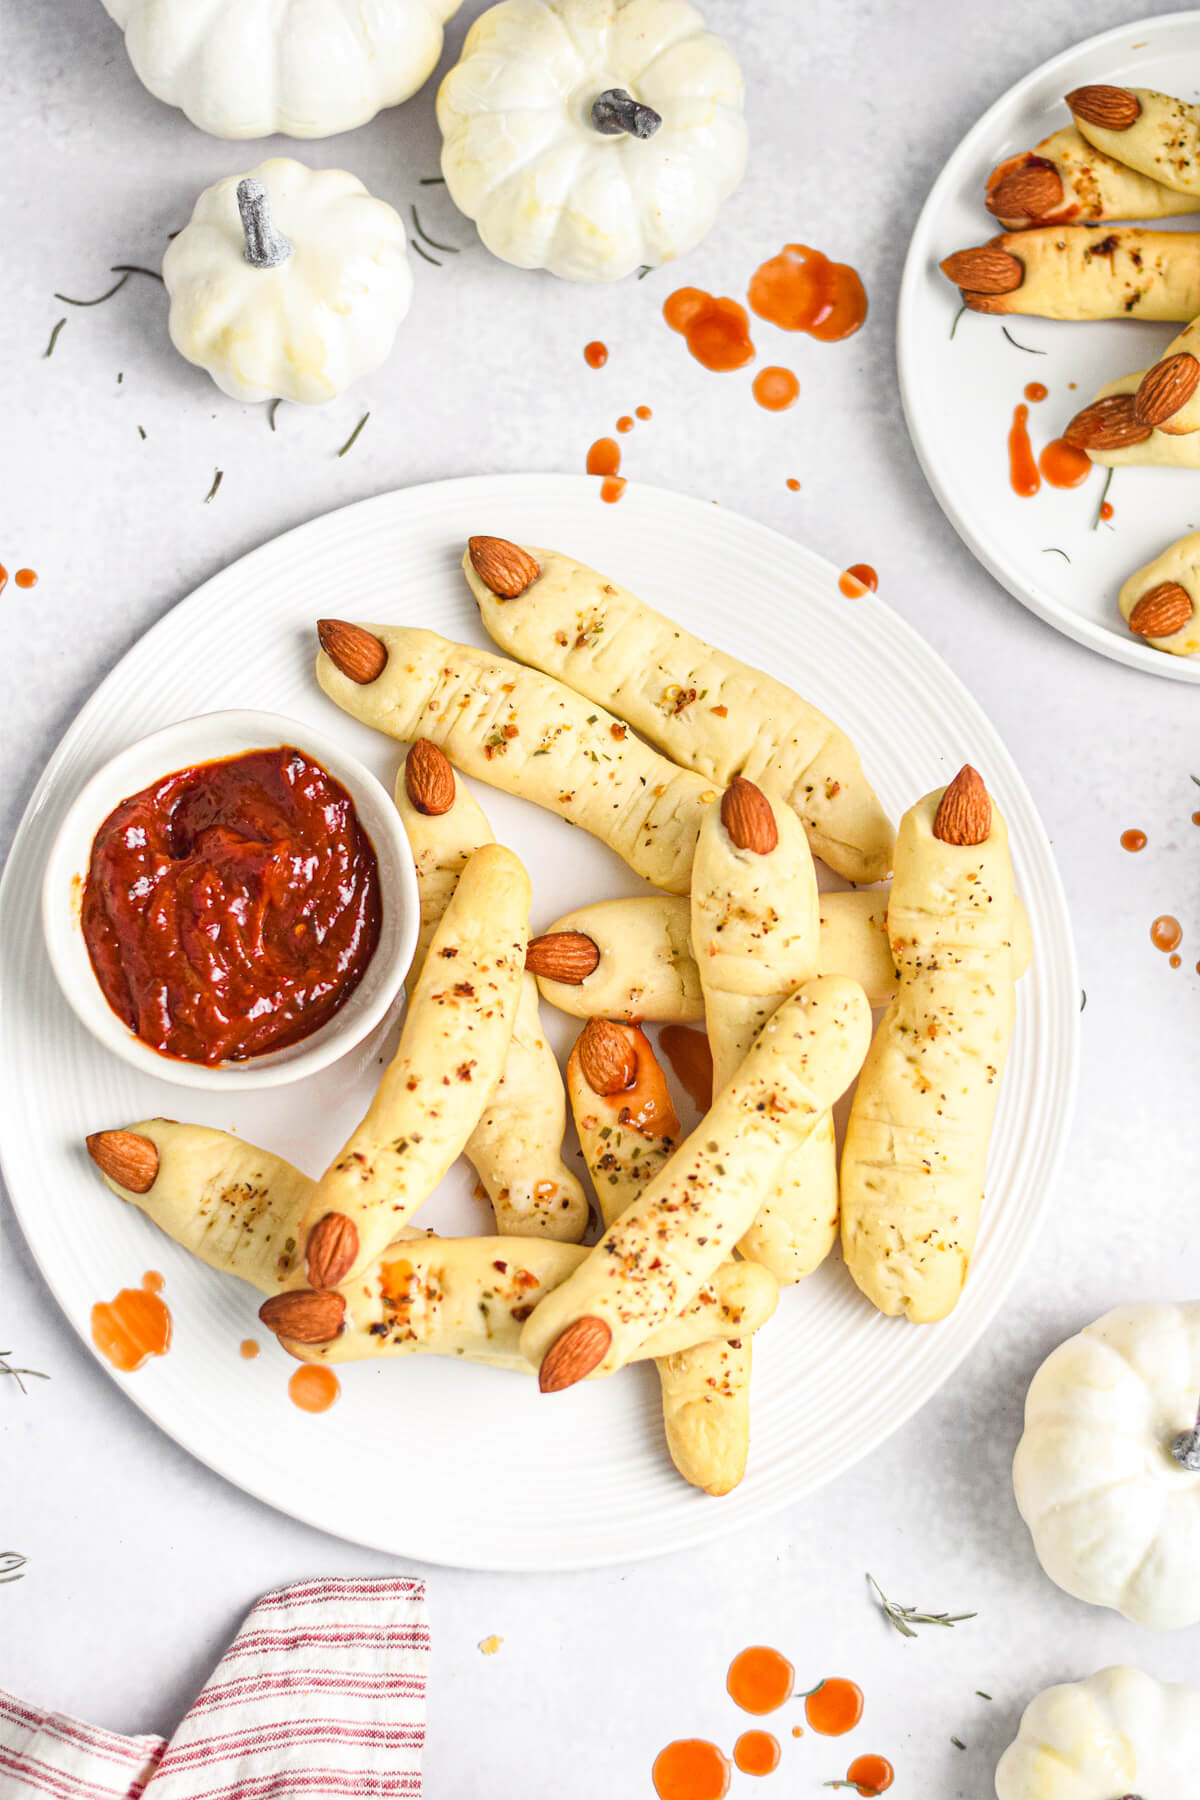
To make these witchy wonders, you’ll need some basic ingredients and a dash of magic. Simply roll out the dough into long, thin strips and shape them into finger-like forms then add an almond at the tip to create those spine-chilling fingernails.
Once you’ve shaped the breadstick fingers, pop them into the oven until they’re golden brown and frightfully crispy. The aroma that fills your kitchen will enchant your senses, and you’ll be eager to sink your teeth into these spooky treats.
Soft Italian Breadsticks vs. Grissini
This recipe will yield 18-20 soft Italian breadsticks. They have a soft chewy interior and are great for dipping into sauces and soups. Alternatively Grissini (or Grissini Torinesi) are crispy Italian breadsticks served with a meal or on an antipasti platter.
While both types of Italian breadsticks are made using the same ingredients, they differ in shaping and baking techniques. Soft breadsticks are thicker and shorter and bake at a low temperature (375 F.) while Grissini Italian breadsticks tend to be stretched out and have a more rustic shape. They bake at a higher temperature (400 F.) for a much longer baking time.
Ingredients for Italian Breadsticks
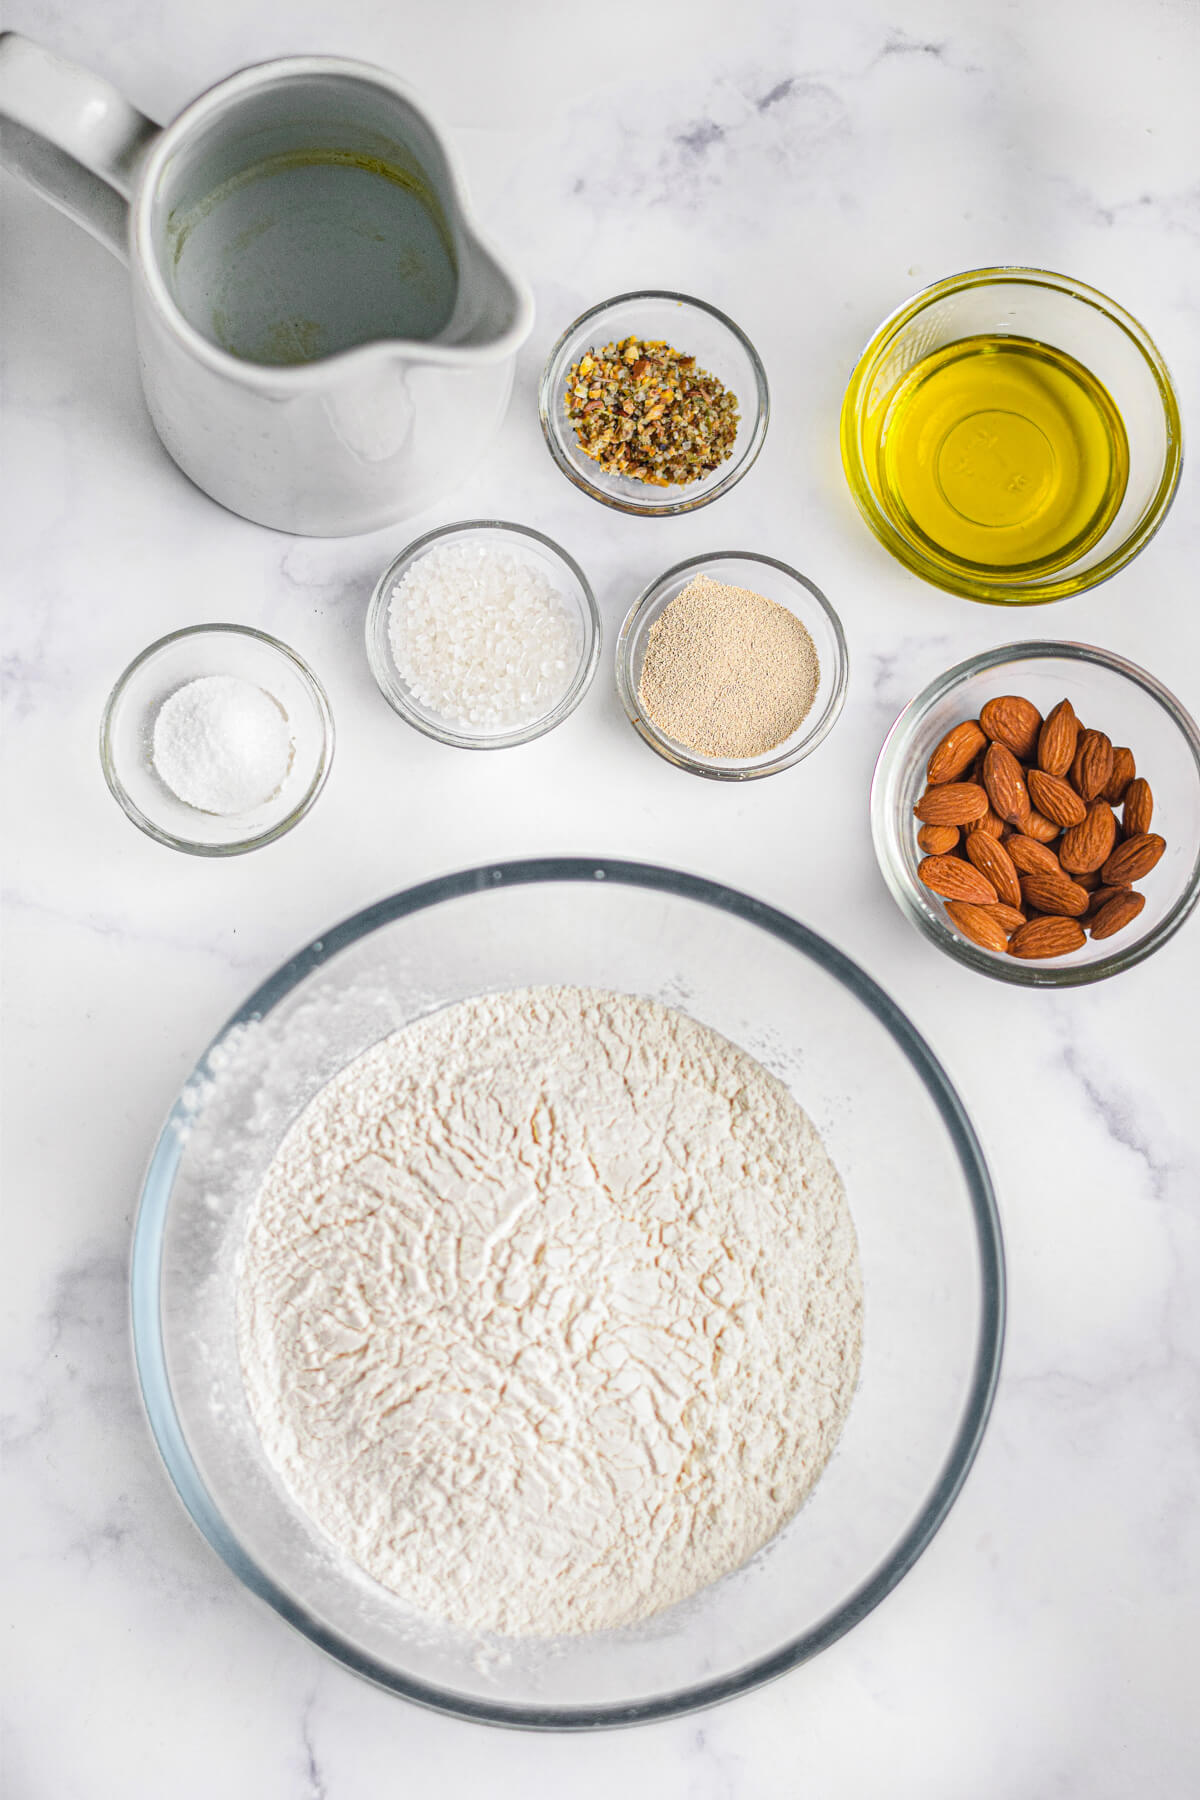
This Italian bread sticks recipe features a simple bread dough containing the usual ingredients used to make bread. You’ll need one more special ingredient (and a particular shaping technique) to transform the breadsticks into creepy witch fingers.
- Water
- Yeast
- Sugar
- Flour
- Salt
- Olive Oil
- Italian Seasoning Mix
- Almonds
Let’s start with the yeast. This recipe requires active dry yeast as it is the most common yeast used in bread baking. It has small granules and requires warm water to become activated.
When it is activated in warm water with food, it creates frothy bubbles so you will know if it is active or not. If no bubbles have formed after 5-6 minutes, discard it and buy a new jar of yeast.
During activation, the water must be warm enough to activate the yeast but not too hot or it will kill the living yeast cells. The ideal water temperature for proofing active dry yeast is between 105° and 110°F.
The small amount of granulated sugar in this recipe provides food energy for the yeast. It helps to keep them active and happy. Happy yeast equals great bread!
All purpose flour, strong bread flour, or a combination of half whole wheat with half all purpose flour works well in this recipe.
Finally, use whole skin-on almonds for the ‘nails’ on the witch finger breadsticks. They are the perfect shape and add a fun crunch factor.
What really makes these breadsticks ‘Italian’ is the seasoning. Feel free to use either an Italian seasoning mix or pizza seasoning mix as they are very similar. If you want to make your own Italian seasoning blend, refer to the recipe card for recommended combinations of herbs and spices.
How to Make Italian Breadsticks
The Dough
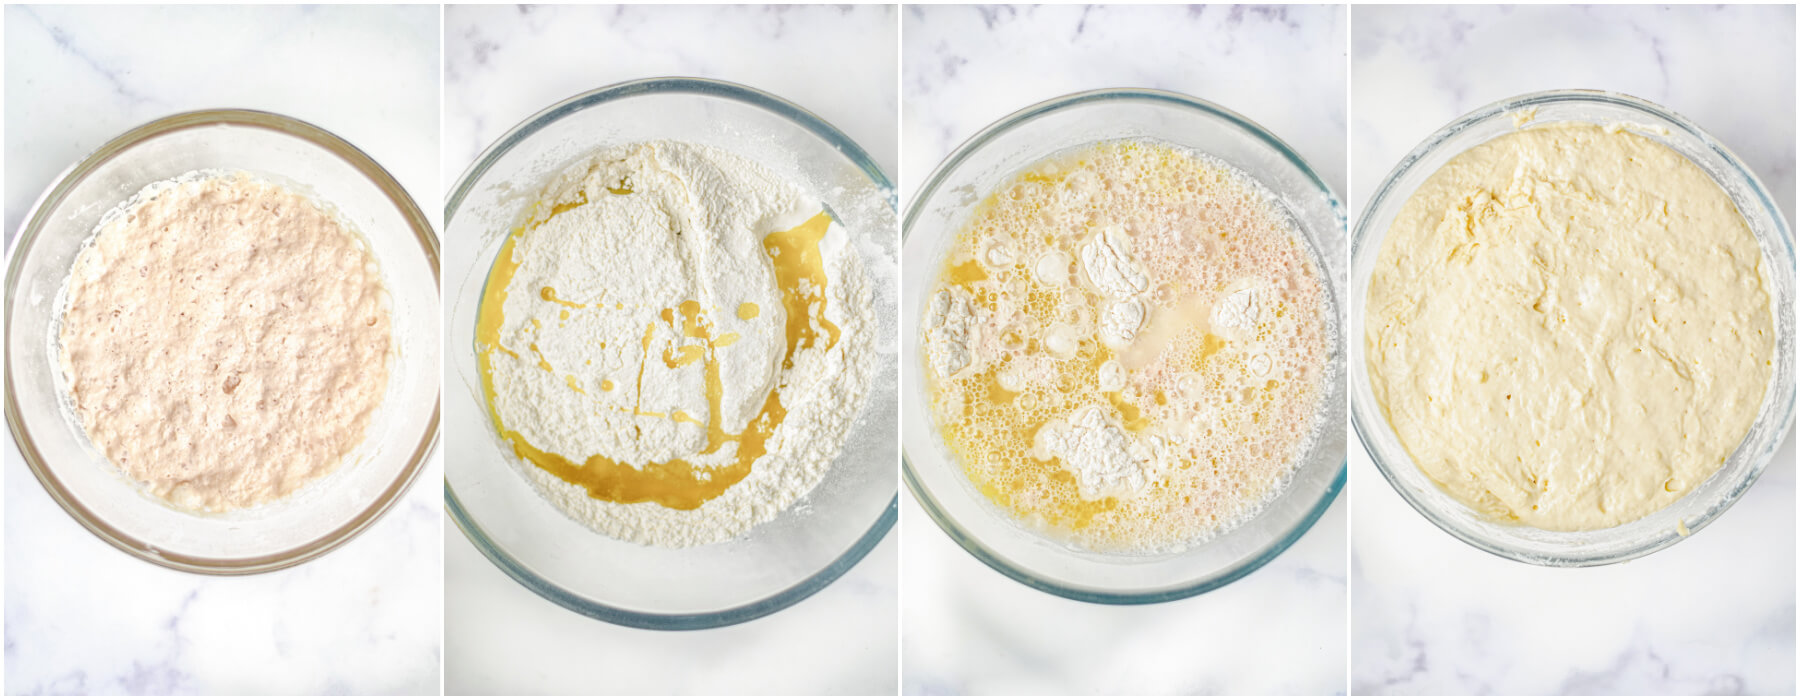
To begin, proof the yeast by placing warm water in a small bowl or measuring cup. Stir in the sugar and sprinkle yeast evenly over the surface of the water. Stir well and set aside for 10 minutes. If the yeast is bubbling and active, proceed to mixing the dough.
For the dough, mix all purpose flour, salt, and olive oil together in a large mixing bowl. Gradually stir in the proofed yeast mixture. Stir with a wooden spoon until a sticky dough forms.
Next, transfer the dough to a lightly floured surface and knead for about 5-7 minutes or until the dough becomes smooth and elastic. Place the dough back in the bowl. Cover with plastic wrap and let the dough rise in a warm, draft free place for an hour or until the dough doubles in size.
Preheat oven to 375 F. and line two baking sheets with parchment paper.
How to Shape Breadsticks
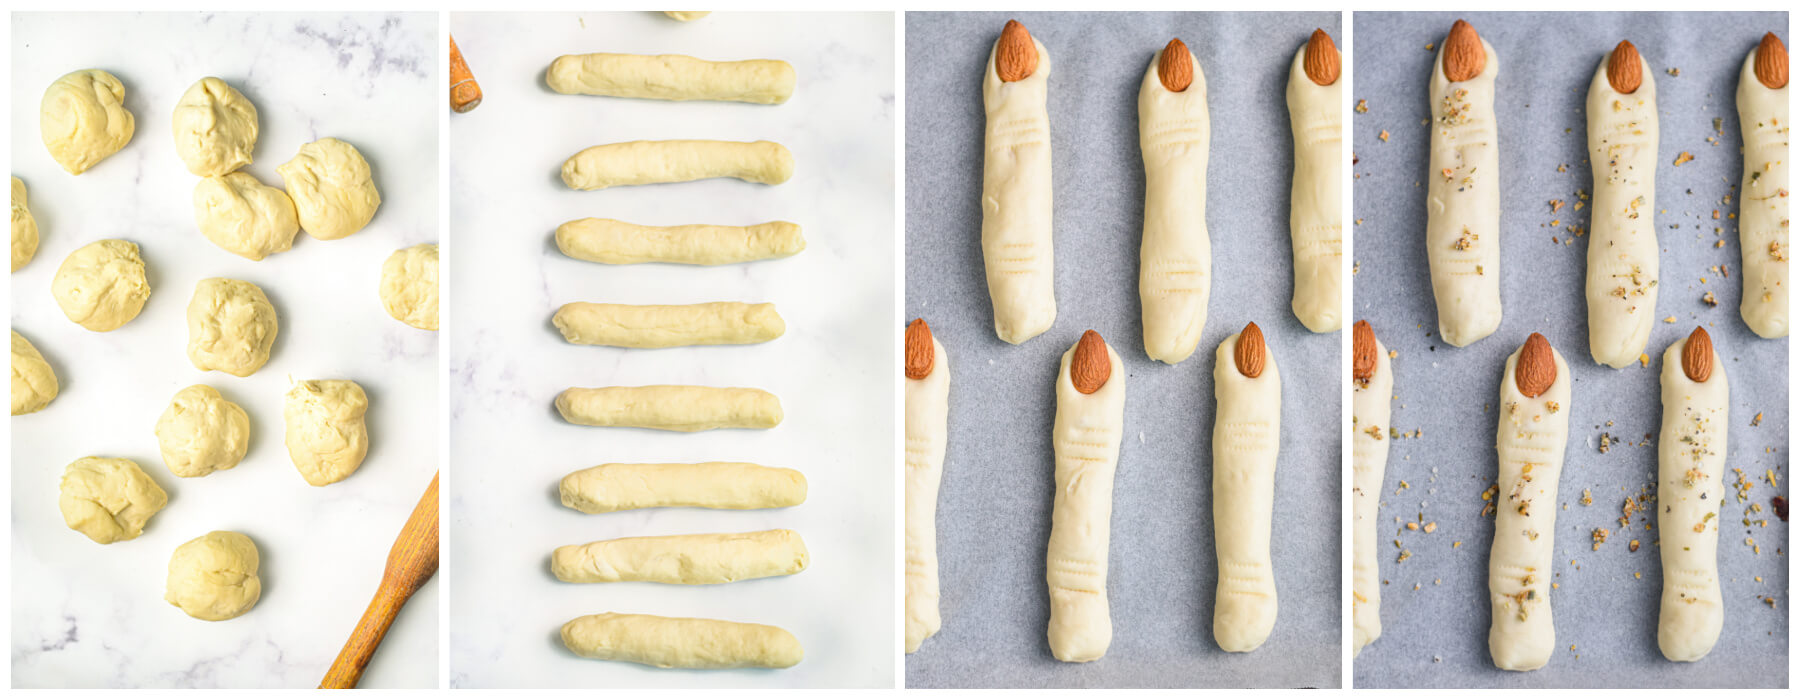
When the dough has roughly doubled in size, punch it down to release any air bubbles. Next, divide the dough into small pieces, about the size of a golf ball.
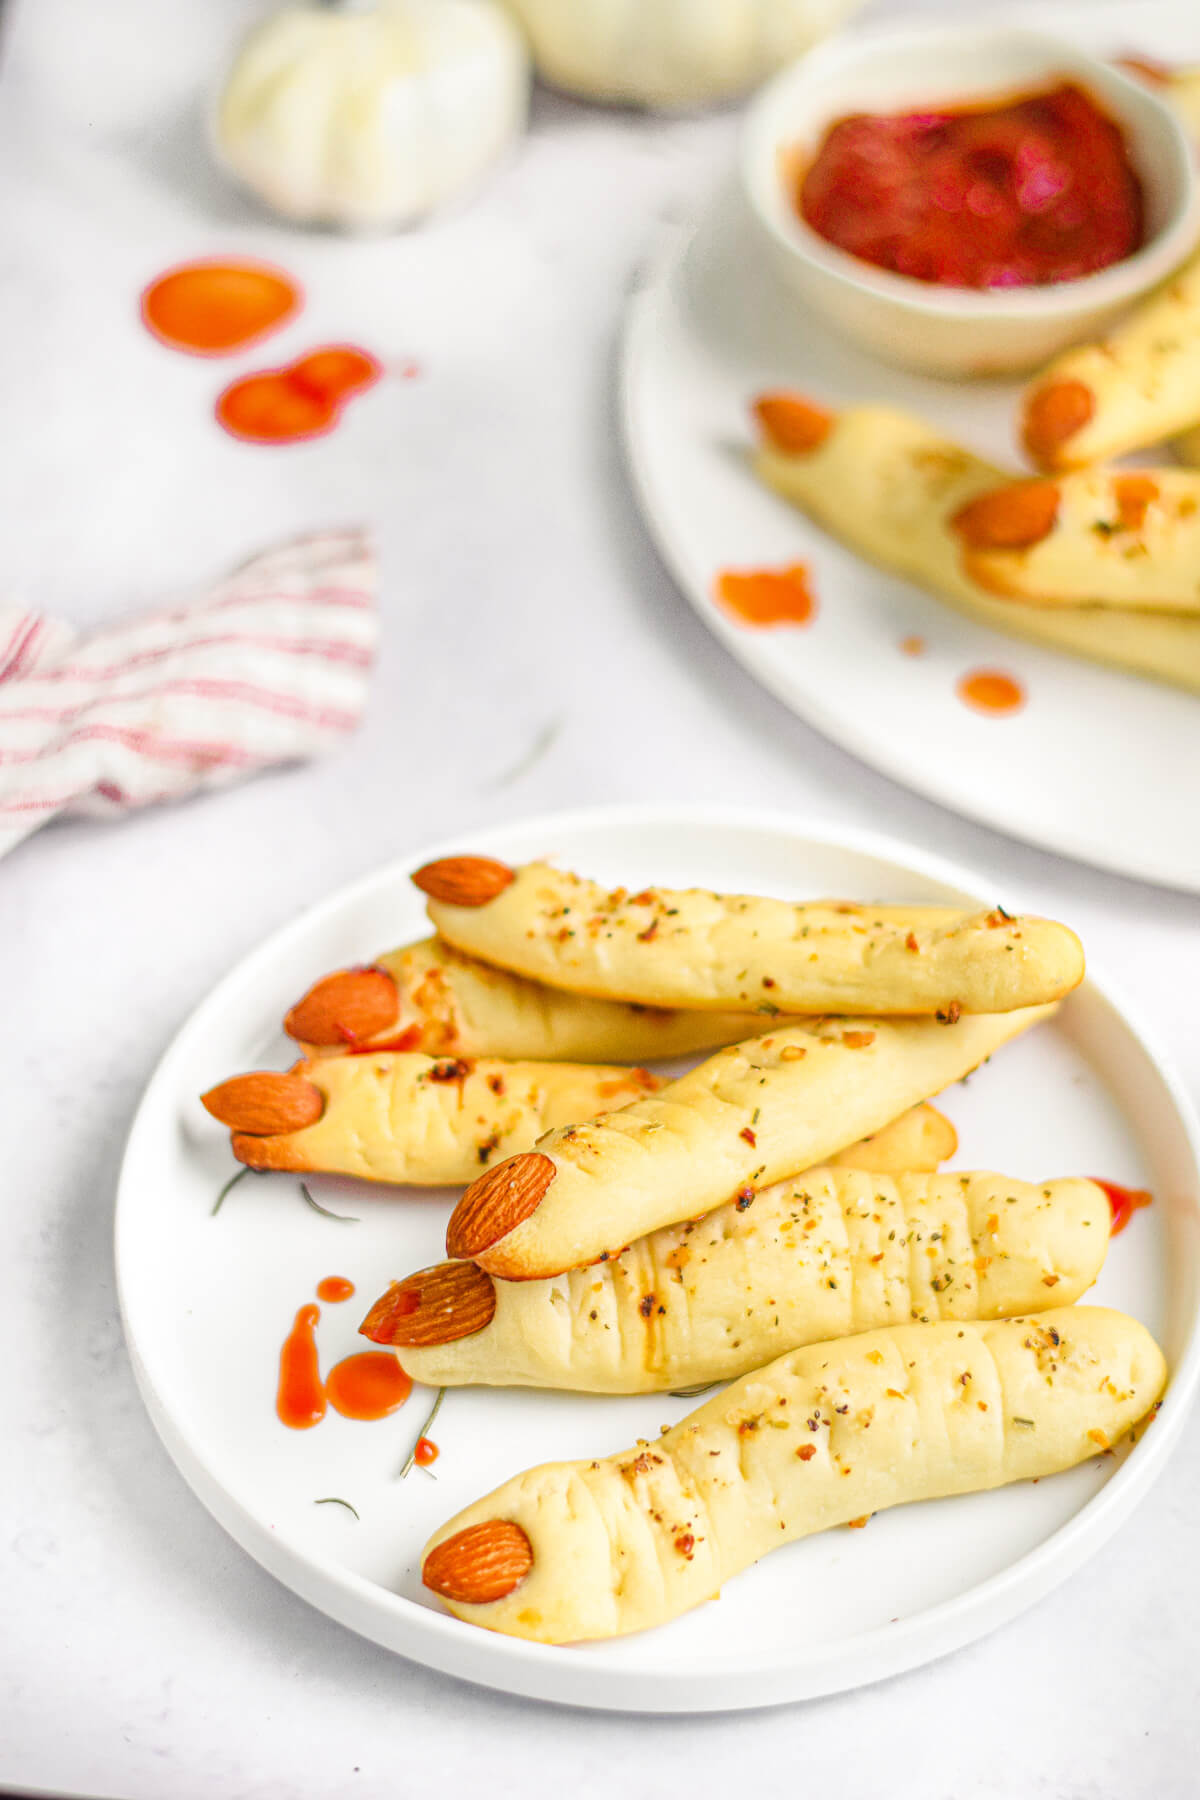
Roll each piece into a thin finger-like shape, about 4-5 inches long. Place each breadstick onto the prepared baking sheet, leaving some space in between each one. To make regular breadsticks, skip the next step.
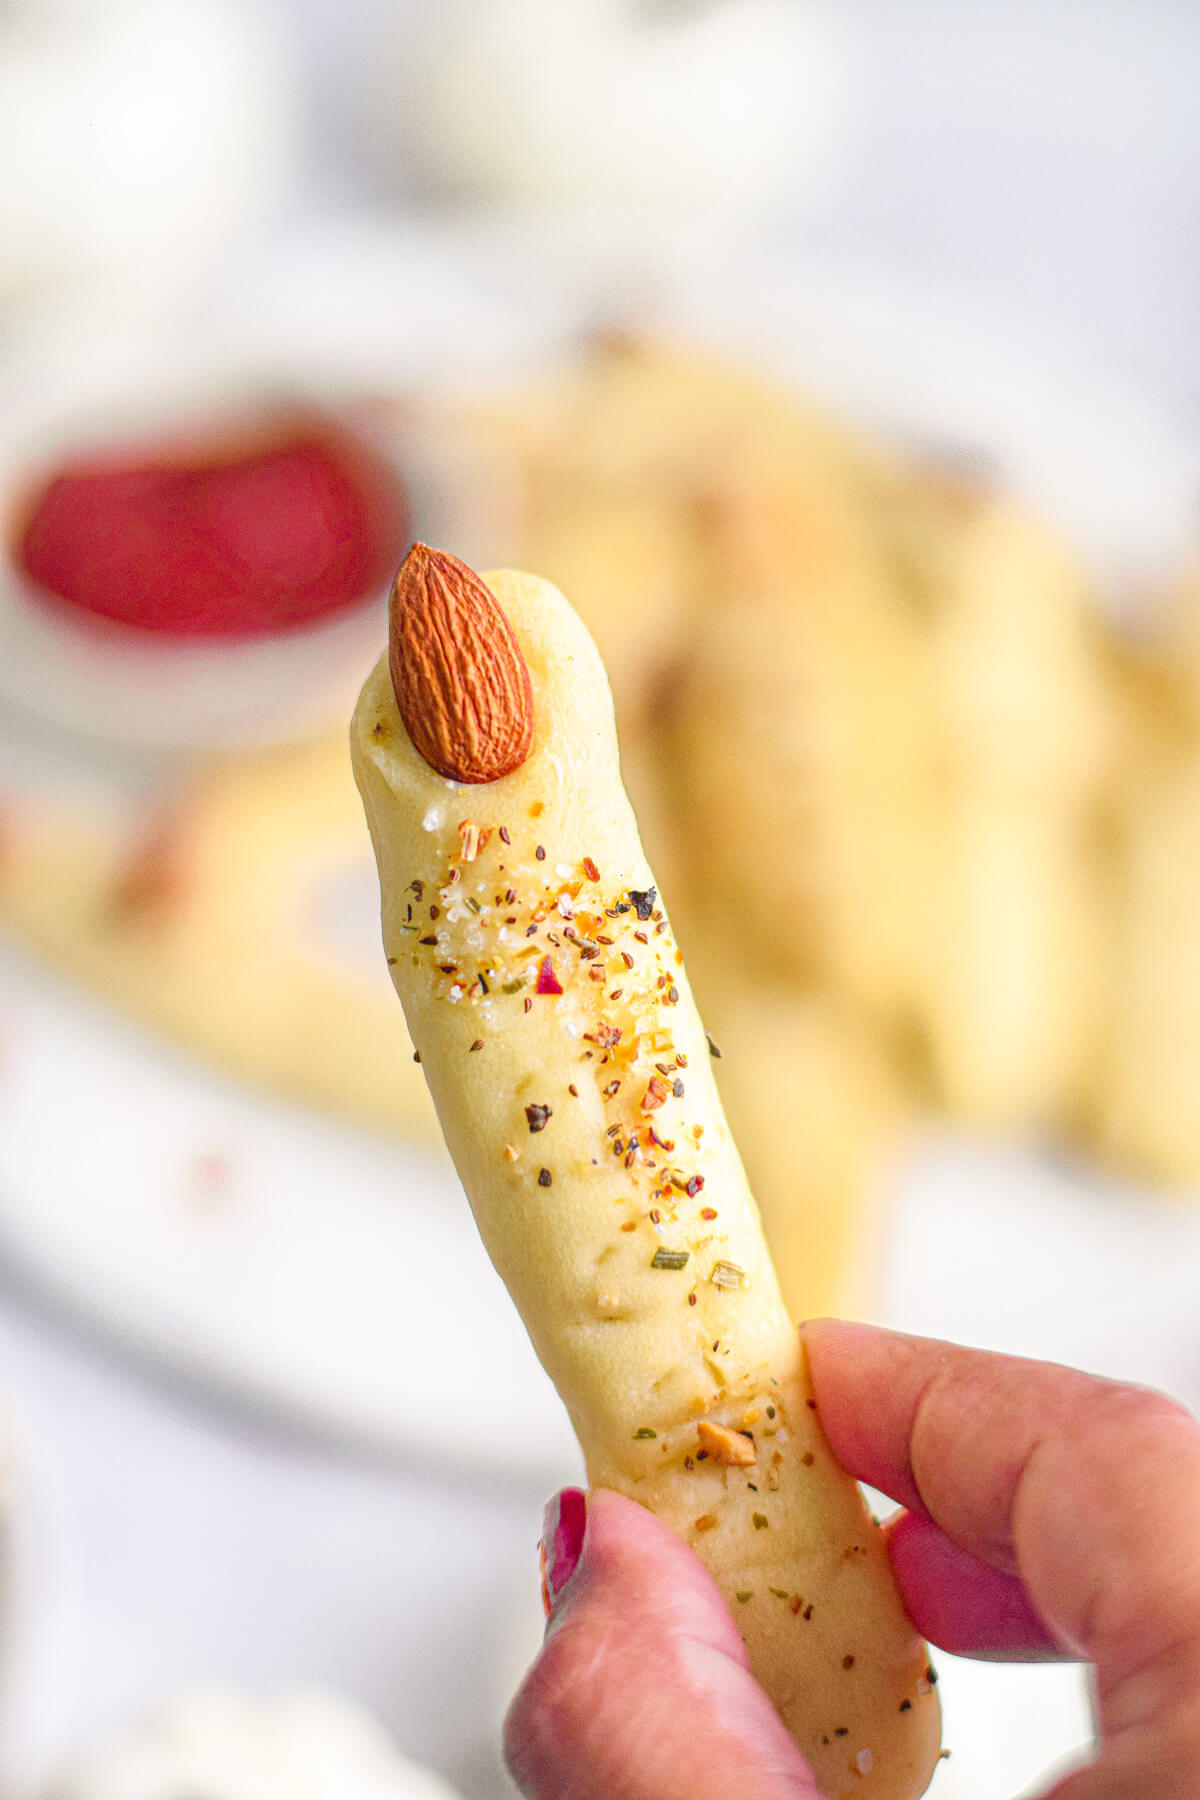
To shape the witch fingers, use a sharp knife to make cuts or indents on each breadstick to resemble knuckles. Press an almond into the top of each breadstick to create a fingernail.
Brush the top of each breadstick with a tiny amount of olive oil then sprinkle pizza seasoning on top. Repeat with all the breadsticks. If you prefer a plain breadstick, sprinkle the tops with fine semolina flour, sesame seeds, or coarse salt.
Bake the Breadsticks
Place the baking sheet in the 375 F. oven and bake the breadsticks for about 12-15 minutes or until golden brown in colour.
How to Serve and Store Italian Breadsticks
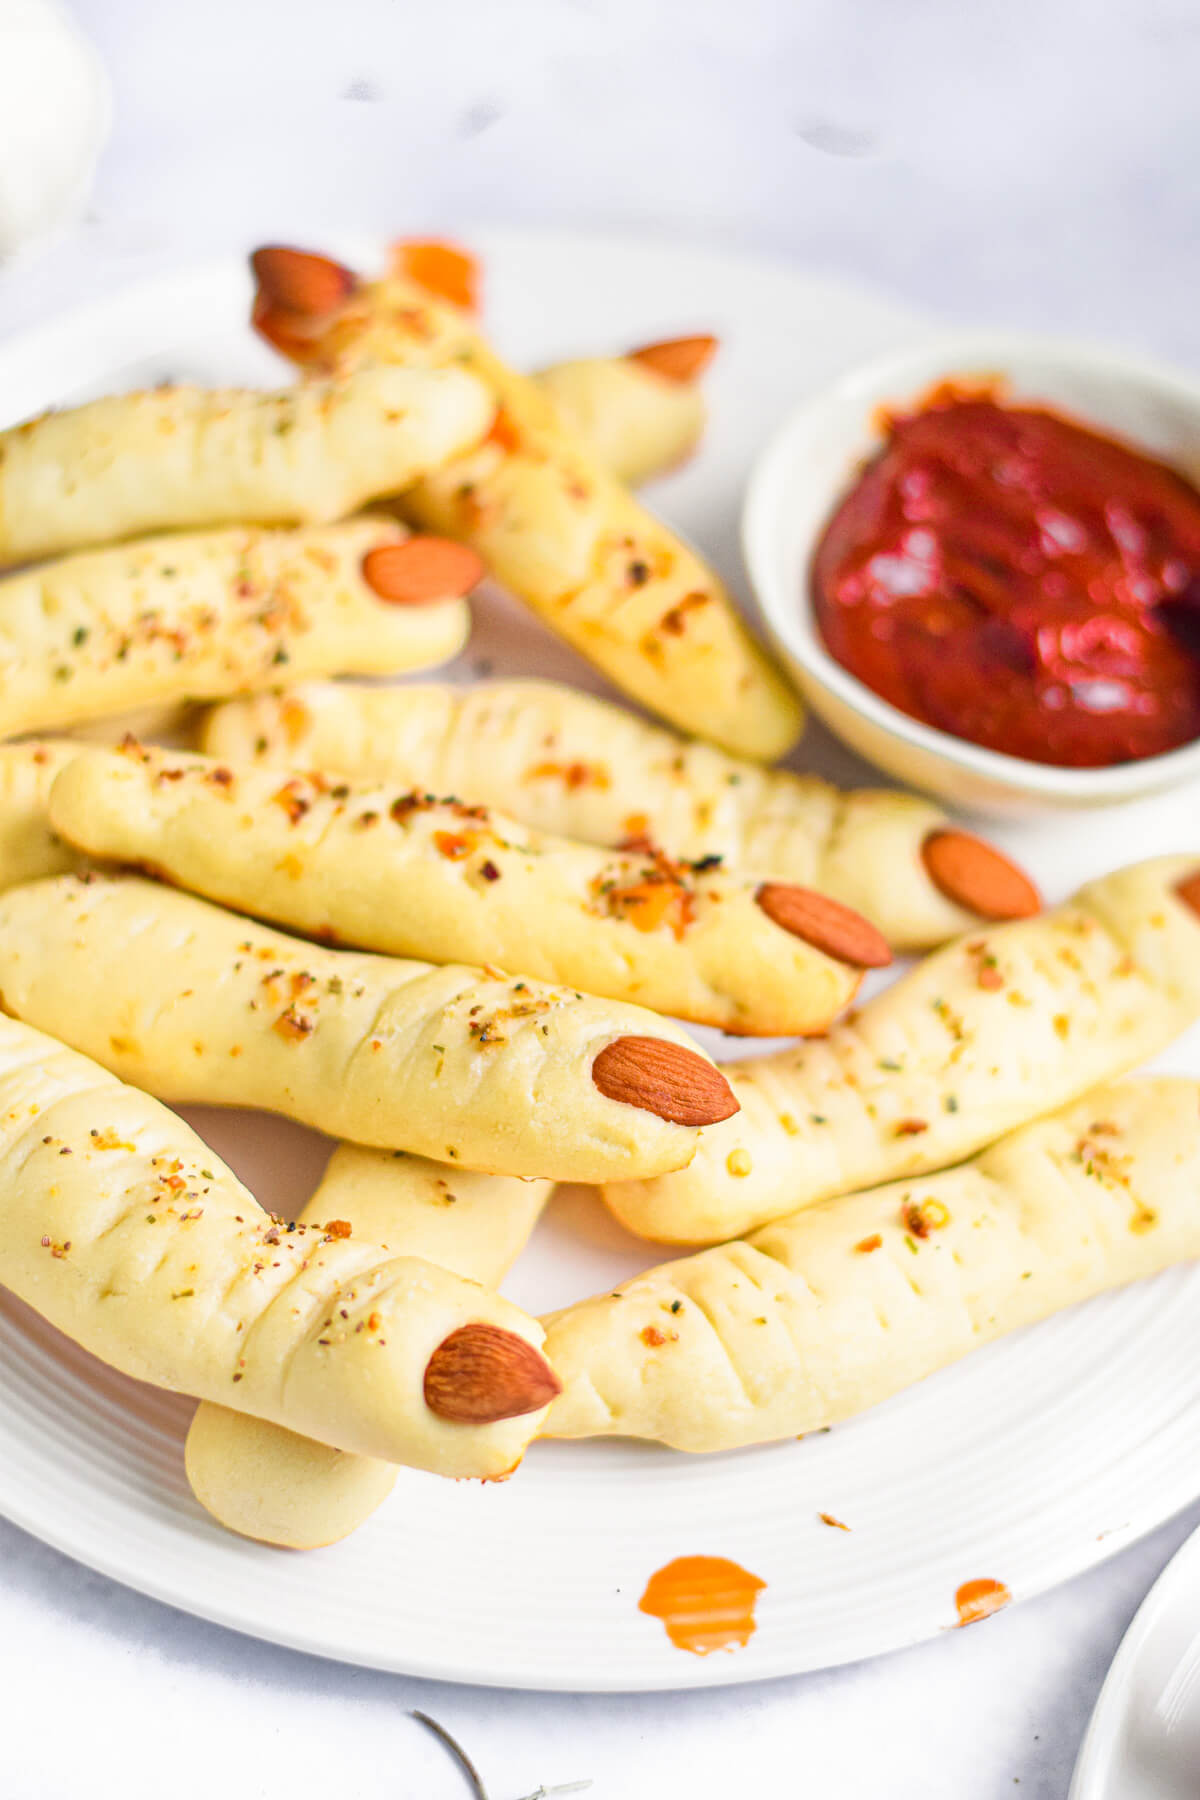
Remove breadsticks from the oven and allow to cool slightly before serving. To make ‘hairy’ witch fingers, sprinkle finely grated Parmesan cheese over the hot breadsticks right after removing from the oven.
Serve with marinara sauce, Romesco sauce, or your favourite dipping sauce or soup.
Store leftover Italian breadsticks in an airtight container for up to 3 days.
Hi! I’m Bernice Hill and I’ve been the sole recipe developer, photographer, and writer at Dish ‘n’ the Kitchen for the past eleven years. It is my pleasure to share easy to follow recipes that are delicious, nutritious, and approachable for the whole family.
If you make this Creepy Witch Finger Italian Breadsticks recipe, I’d love to hear about it in the comments section or in the ratings. Be sure to follow me on Facebook and Pinterest for my latest recipes. Also, if you do make this recipe please share your photos and tag me on Instagram. I hope you like this recipe!
Witch Finger Italian Breadsticks
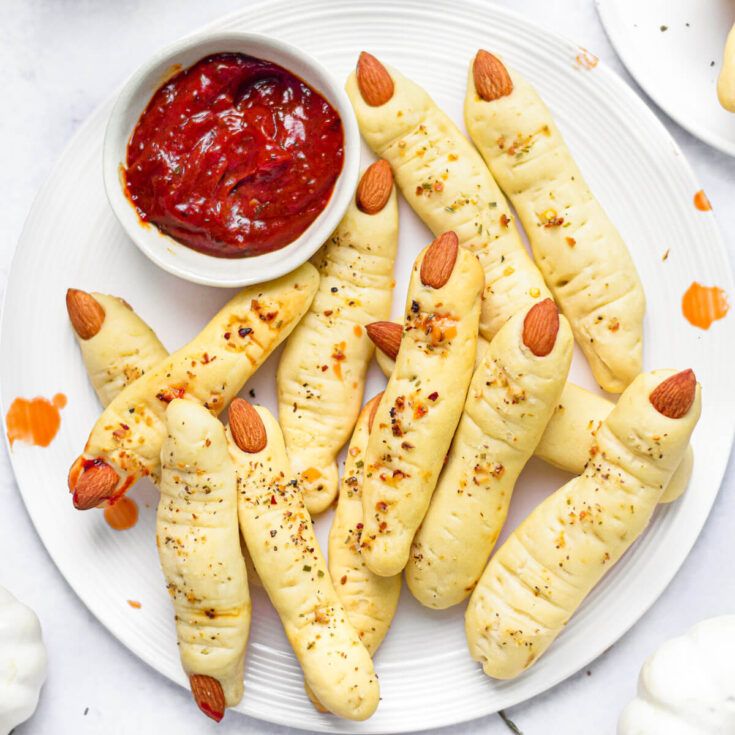
Here's how to transform homemade soft Italian breadsticks into a frightfully tasty Halloween appetizer. Serve these eerily easy witch finger breadsticks with 'bloody' marinara sauce for dipping and elevate the 'creepy' factor of your Halloween party table.
Ingredients
- 1 cup warm Water
- 1 Tablespoon Sugar
- 1 ½ teaspoons Active Dry Yeast
- 2 ¼ cups all-purpose Flour
- 1 teaspoon salt
- 2 Tablespoons Olive Oil
- 1/2 cup whole Almonds; skin on
- 2 Tablespoons Italian seasoning or pizza seasoning*
Instructions
- Place warm water in a small bowl or measuring cup. Stir in the sugar and sprinkle yeast evenly over the surface of the water. Stir well and set aside for 10 minutes.
- Mix all purpose flour, salt, sugar, and olive oil together in a large mixing bowl. Gradually stir in the proofed yeast mixture. Stir with a wooden spoon until a sticky dough forms.
- Transfer the dough to a clean surface and knead for about 5-7 minutes or until the dough becomes smooth and elastic.
- Place the dough back in the bowl. Cover and set in a warm, draft free place for an hour or until the dough doubles in size.
- Pre heat oven to 375 F. and line a baking sheet with parchment paper.
- Once the dough has risen, punch it down to release any air bubbles.
- Divide the dough into small pieces, about the size of a golf ball. Roll each piece into a thin finger-like shape, about 4-5 inches long. Place each breadstick onto the prepared baking sheet, leaving some space in between each one.
- **Use a sharp knife to make cuts or indents on each breadstick to resemble knuckles. Press an almond into the top of each breadstick to create a fingernail.
- Brush the top of each breadstick with a tiny amount of olive oil then sprinkle pizza seasoning on top. Repeat with all the breadsticks.
- Place the baking sheet in the preheated oven and bake the breadsticks for about 12-15 minutes or until golden brown in colour.
- Remove breadsticks from the oven and allow to cool slightly before serving. Serve with marinara sauce or your favourite dipping sauce.
Notes
*Italian seasoning contains mostly dried herbs like basil, oregano, rosemary, thyme and marjoram although sometimes it also contains sage and fennel seeds. For an easy Italian seasoning mix, combine 1 Tablespoon dried Basil, 1 Tablespoon Dried Oregano, 1/2 Tablespoon dried Rosemary with a pinch each of Thyme and Marjoram.
Pizza seasoning contains some or all of these dried herbs plus other ingredients like dried chili flakes, salt, garlic powder, and onion flakes. For an easy pizza seasoning mix, combine 2 teaspoons dried Oregano, 1 teaspoon dried Basil, 1/2 teaspoon dried Onion Flakes, 1/2 teaspoon Garlic Powder, 1/2 teaspoon dried Thyme, 1/2 teaspoon dried Fennel, 1/2 teaspoon Paprika, and 1/2 teaspoon Red Pepper Flakes.
**To make regular Italian breadsticks, skip step 8.
Nutrition Information:
Yield:
20Serving Size:
1Amount Per Serving: Calories: 102Total Fat: 4gSaturated Fat: 1gTrans Fat: 0gUnsaturated Fat: 3gCholesterol: 1mgSodium: 175mgCarbohydrates: 14gFiber: 1gSugar: 1gProtein: 3g
Nutritional calculation was provided by Nutritionix and is an estimation only. For special diets or medical issues please use your preferred calculator.

You listed sugar only once in the ingredients list, but mentioned it in both Steps 1 and 2. Is the 1 tbsp of sugar supposed to be divided between those 2 steps?
Good catch! Please ignore the second mention of sugar and add the entire tablespoon in step 1.
These fingers look so artistic and the pictures are stunning. The almonds for the finger nails is a great idea.
Thank you Fouzia! Another trick is to add green food colouring to the dough… it makes them look even creepier.
These breadsticks were fun to make, and delicious to eat and the kids had a blast playing with them! Can’t get any better. Another hit recipe Bernice! Thank you.
I love it! Food SHOULD be fun! Thanks for trying out these breadsticks Jenny.
This is such a unique and festive recipe and I think using almonds for the finger nails is really creative.
Thank you so much Moop!
Cute cute cute! This is going on my Halloween party menu for next year. Love how easy these are!
So very easy! Plus you can serve them with dip or enjoy them with soup. I also make the recipe year round but leave them as regular Italian breadsticks for non Halloween days.
I made these finger breadsticks for a recent halloween party. The kids especially enjoyed them.
So glad to hear they were a hit Asha, thanks for letting me know!
We were looking for some new Halloween recipes to try this year and decided on these witch bread sticks. They turned out great – the kids just thought they were so fun!
Great! Thanks for letting me know Lauren. I love it when kids get cooking in the kitchen.
Made these as one of the foods for our halloween party over the weekend, they were just creepy enough and they tasted good!
Boo-tiful! PS they make great ‘normal’ Italian breadsticks too.
Don’t take it the wrong way but …What a creepy recipe! I know deep down they taste fantastic and kids would dig them! Fun Halloween treat!
hahaha. Totally awesome. Thank you Marie-Pierre!
This witch fingers are so cute and perfect for the family halloween party! My cousins will love them.
Yes, I know they will too. Happy haunting Sean!
These are the cutest for Halloween! I can’t wait to bring these to our friends as an appetizer, the kids will LOVE them 🙂
They’re so much fun Kathryn. Happy Halloween!
these fingers are so creepy they are brilliant! Perfect for the season!
They really are! It’s such a fun activity with kids too. I bet your daughter would love them!
My kiddos hosted an early Halloween party for their college friends and we made these witch finger Italian breadsticks to serve with our “bloody” pasta. I was laughing at how into the whole thing these college kids were. They loved them and it was the only time I allowed playing with one’s food at the table, LOL!
Aw that’s so cute. They are still kiddos trapped in adult bodies. I remember that time of life. I’m so glad they’re having fun and not taking life too seriously. Thanks for letting me know Marta.
What a fun Halloween idea. Perfect for parties. I think I will get the grandkids to help make some this weekend.
They’re going to have so much fun Gloria! A friend of mine also mentioned when they were young, they also added green food colouring to make them extra witchy!