
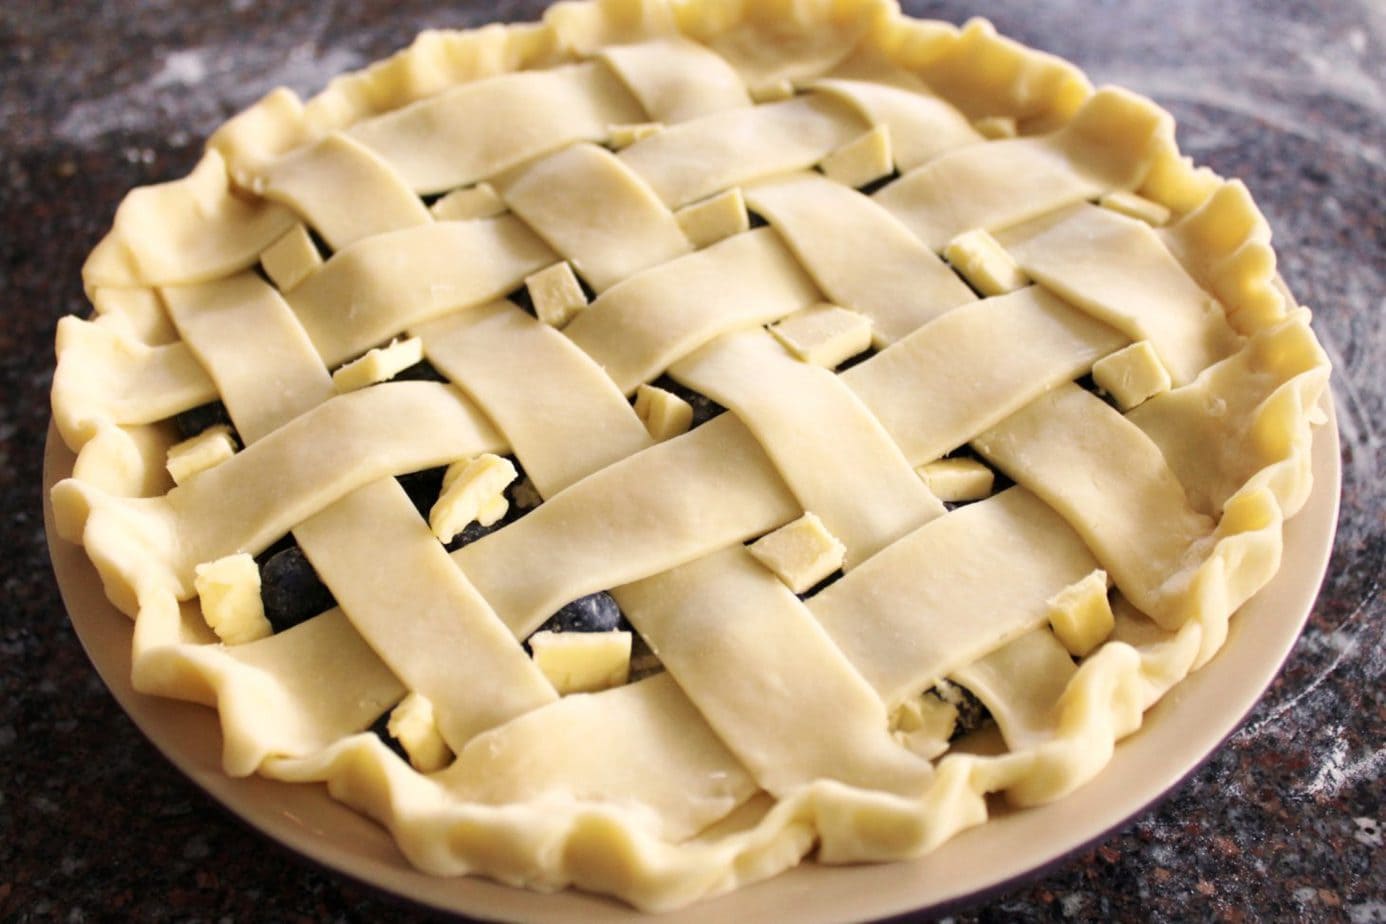
Food Processor Pie Pastry is a fool proof recipe for creating an easy, super flaky and light pie pastry in mere minutes using a food processor. Easy and fuss-free.
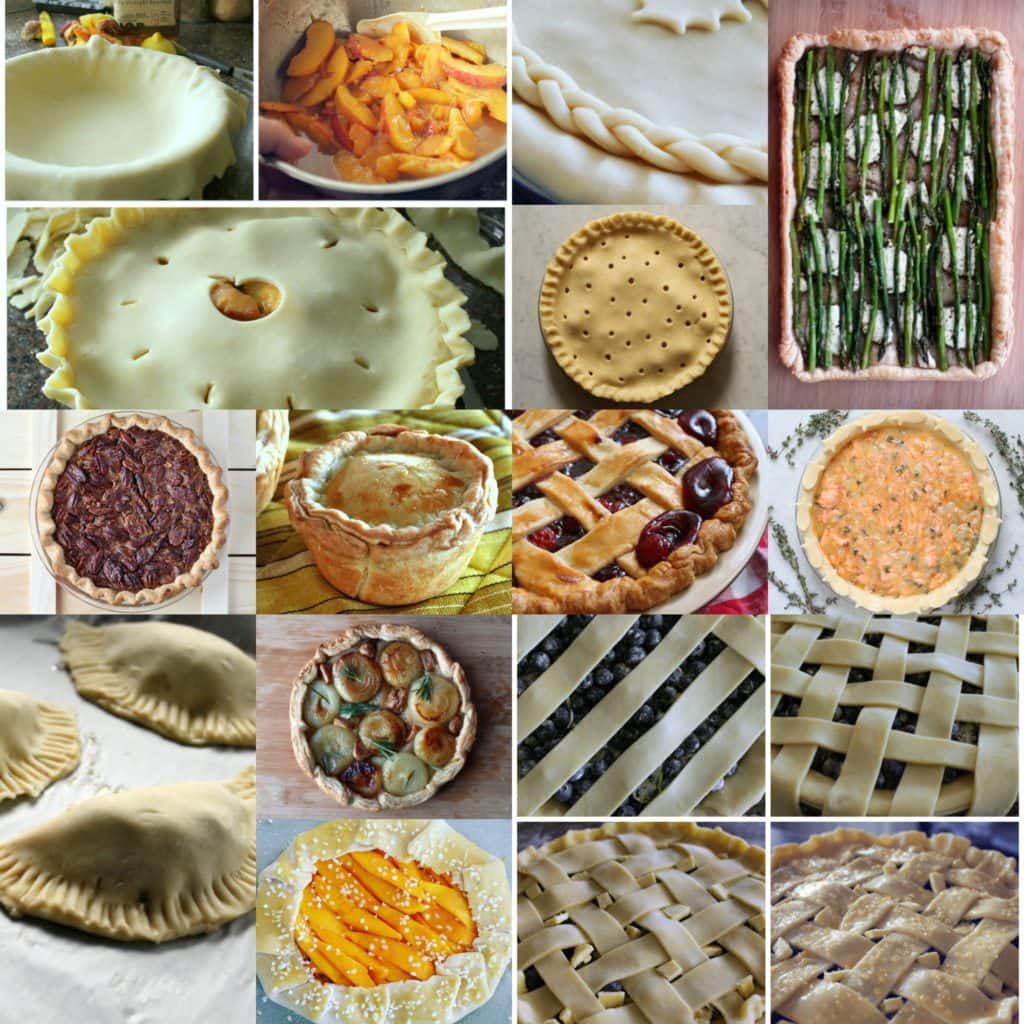
Once you have found your pastry groove, a whole new world of pie is open to you! You can make sweet or savoury pies, two crusts pies or open pies, hand pies, galettes, quiches, Peach Custard Pies, cream pies, fruit pies, chocolate pies…
Find a Pastry Recipe That Works for YOU
I am always surprised when people tell me they’ve never baked a pie is because they aren’t good at working with pastry. I’ve been there too but in the end, my love for pie won out over my fear. I searched high and low until I found a pastry recipe that worked for me EVERY. DAMN. TIME.
There are a lot of pastry recipes out there on the internet and I highly encourage you to try as many as you can. Who knows? The 7 Up or Vodka recipe might work for you. Or, maybe you’ll prefer a mixer recipe instead of a food processor recipe. I bet you could even find a great recipe for doing it the old fashioned way…by hand!
The most important thing is (and I can’t stress this enough) that you give it your best shot. Believe me when I say this, pastry dough can smell your fear. Have confidence and make that pastry behave!
Want to save this recipe?
Enter your email below and get this post sent straight to your inbox. Plus, I’ll send you my weekly newsletter featuring the newest and best Dish ‘n’ the Kitchen recipes every week!
How to Make Food Processor Pie Pastry
Add 1 1/2 cups flour and salt to a food processor. Pulse 2 to 3 times until combined. Scatter cold butter cubes over flour and pulse until the flour becomes ‘sandy’; maybe 5-6 times.
Next, add the remaining cup of flour, and replace the processor lid. Remove the small chute blocker and begin drizzling cold water in, a little at a time, while processing. It might take a while to get the dough to clump together and you may or may not use all of the water.
Once the dough starts clumping together, stop pouring the water and allow the processor to run. The dough should come together in one large ball. Remove dough from bowl and place in a mound on a clean surface. Cut dough in half then form each half into discs.
Wrap each disc with plastic wrap and refrigerate at least 30 minutes, and up to 2 days. You can also freeze it for up to 3 months (just thaw it overnight in the fridge before using).
Before rolling, lightly flour a clean work surface and begin rolling one disk of dough. Start from the middle and roll outward, picking up the dough and turning it a quarter turn each time. Repeat until the pastry reaches your desired thickness.
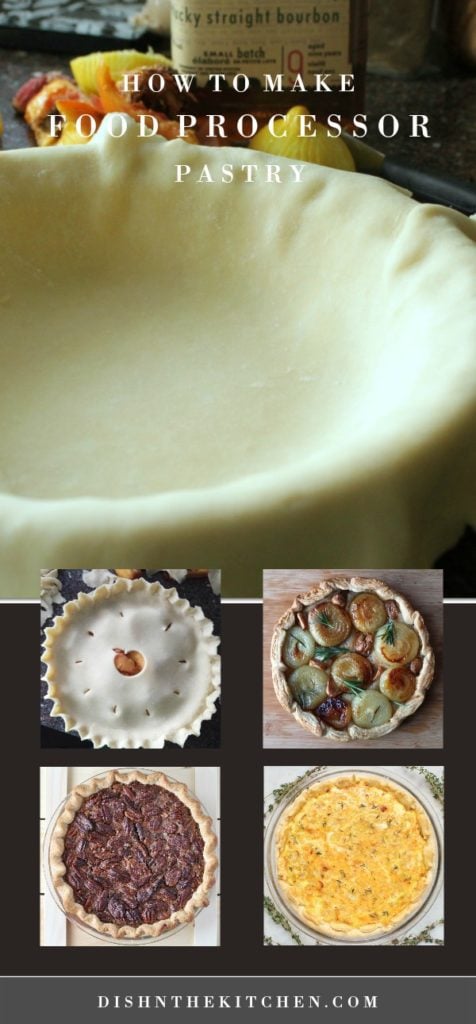
or PIN it here
If you make this Food Processor Pastry recipe, please be sure to leave a comment and/or give this recipe a rating! Be sure to follow me on Facebook and Pinterest for my latest recipes. Also, if you do make this recipe, please tag me on Instagram, I’d love to see what you guys are making! Thank you so much for reading my blog.
Food Processor Pie Crust

Food Processor Pie Crust is a fool proof recipe for creating an easy, super flaky and light pie pastry in mere minutes using a food processor.
Ingredients
- 2 1/2 cups flour; divided
- 1 tsp kosher salt (if making savoury pastry) OR 1 tbsp granulated sugar (if making sweet pastry)
- 1 cup very cold unsalted butter; cut into cubes
- 6-8 tbsp ice water
Instructions
- Add 1 1/2 cups flour and the salt (or sugar) to a food processor. Pulse 2 to 3 times until combined.
- Scatter cold butter cubes over flour and pulse a few times until the flour becomes 'sandy' in texture.
- Add the remaining cup of flour. Have your cold water ready and begin processing.
- With the processor running, drizzle the water in a little at a time. It might take a while to get the dough to clump together and you may or may not use all of the water.
- Remove dough from bowl and place in a mound on a clean surface. Cut dough in half then form each half into discs.
- Wrap each disc with plastic wrap and refrigerate at least 1 hour, and up to 2 days. You can also freeze it for up to 3 months (just thaw it overnight in the fridge before using).
- Before rolling, take pastry out and let sit for ten minutes. Flour your work surface and roll one disk of dough until it reaches your desired thickness.
Nutrition Information:
Yield:
8Serving Size:
1Amount Per Serving: Calories: 352Total Fat: 23gSaturated Fat: 14gTrans Fat: 0gUnsaturated Fat: 8gCholesterol: 61mgSodium: 7mgCarbohydrates: 31gFiber: 1gSugar: 2gProtein: 4g
Nutritional calculation was provided by Nutritionix and is an estimation only. For special diets or medical issues please use your preferred calculator.

This pastry looks incredible! I love employing modern appliances to get the job done. Way easier than working it by hand! And might I say all your pies looks so damn tasty and gorgeous! You’ve got quite the skill, lady!!
yay for modern technology!! I could say ‘wonder what my grandma would think’ but I know she’d be happy I found the easy way out lol.
This is a fantastic post, Bernice! It gives everyone permission to overcome the ‘fear of crusts’, as I like to call it. I watched when I was a small child at my Mom’s side while she made pie dough. She made it look so easy throwing all the ingredients into a shallow tin bowl and it always turned out beautifully. I thought, ‘how hard can this be?’ My first attempts could have bounced off the wall – they were so tough! I have learned a thing or two merely by persisting, as you suggested. A food processor is an excellent tool for pie dough – it makes quick work of the task. I love your collage of pies! Thanks so much for sharing your food processor pie pastry – we all thank you! Pie bakers unite! 🙂
Thank you so much Denise…I’ve definitely had my share of pastry disasters! So many…and persistence definitely pays off. Glad to have found another kindred pie spirit!
Bernice! Baking isn’t my jam and making dough from scratch has always frightened me since I bake so rarely. If one thing is my weakness, it’s PIES. I just might have to give it a go. Truly never knew you could do this in a food processor! Today I learned 🙂
It’s really not that difficult, you can do it!! I hope you do give it a try Dana. Soon you’ll be baking extra fancy pies…I just know it.
It is so beautiful to see all your gorgeous pies one next to other! They all look amazing and I have a soft spot for pies (and tarts 😉 ). Making them and eating them 🙂 . Beautiful job and still congratulations on the new look of your website. P.s I’ve used both the food processor, the stand mixer, and the old-style bowl and pastry cutter and I have to say I really like the food processor!
Yay! Another food processor convert! I can never make enough pies…though they all the ones I have made aren’t on this collage either. It’s clear my pies need some love in the photography department…so much work these blogs!
I completely agree we need to try many recipes before we find the one and then practice at that one! I have one of those loved recipes that came to me via my mother-in-law but it’s too flaky to actually make a lattice top. I need to try yours as I love pretty pies!
Too flaky is not usually much of a problem is it a traditional ‘by hand’ recipe? Thanks for stopping by Julia!