
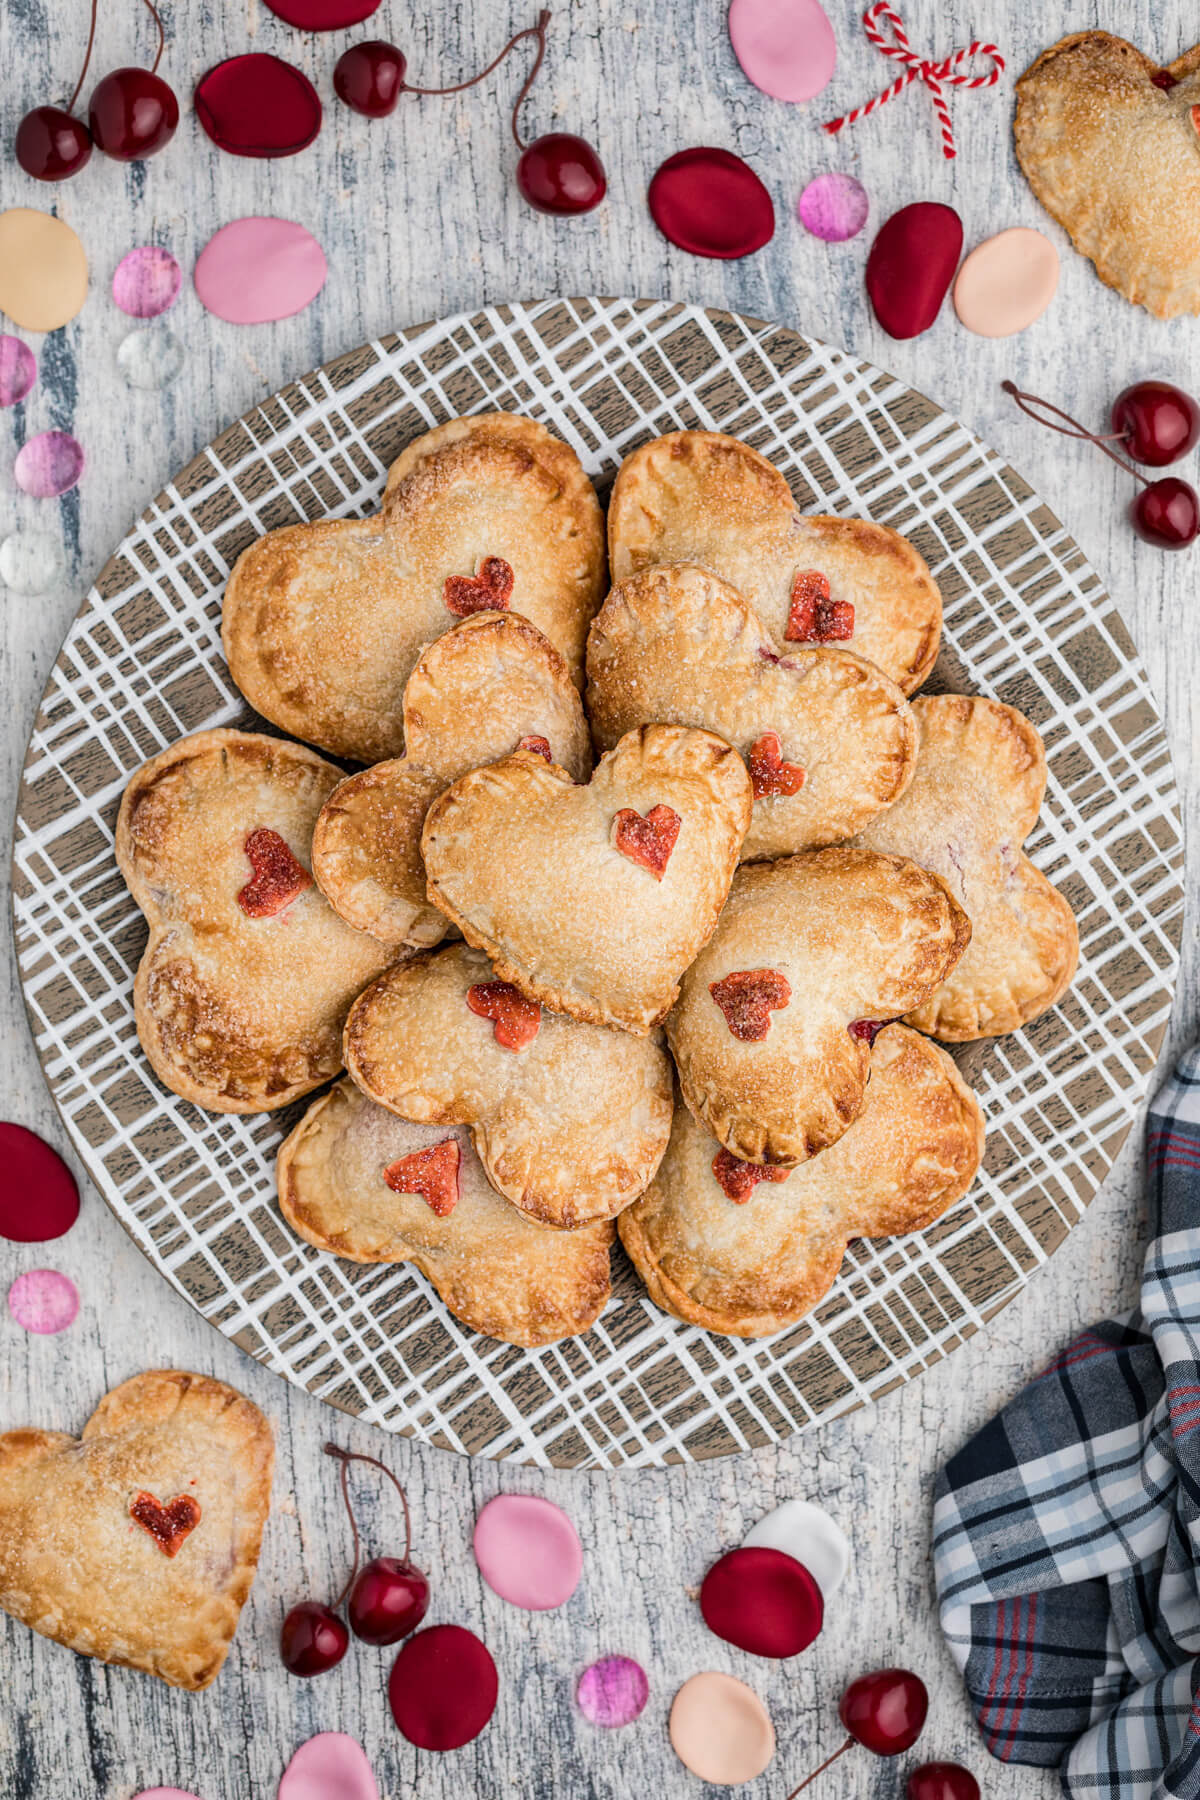
Say ‘I love you’ with these sweet heart shaped Cherry Hand Pies. This recipe includes easy to follow directions for homemade pie pastry and hand pie assembly. They’re perfect for a potluck, school Valentine’s Day snack, baby shower, or brunch.
I’m dreaming of summer and all the sweet cherry treats I can make during cherry season! First up is always restocking my jam preserves with Amaretto Sour Cherry Jam. Then, when I just have a few left, I bake them into a classic Almond Cherry Clafoutis for a tasty, yet simple dessert.
Want to save this recipe?
Enter your email below and get this post sent straight to your inbox. Plus, I’ll send you my weekly newsletter featuring the newest and best Dish ‘n’ the Kitchen recipes every week!
Cherry Hand Pies
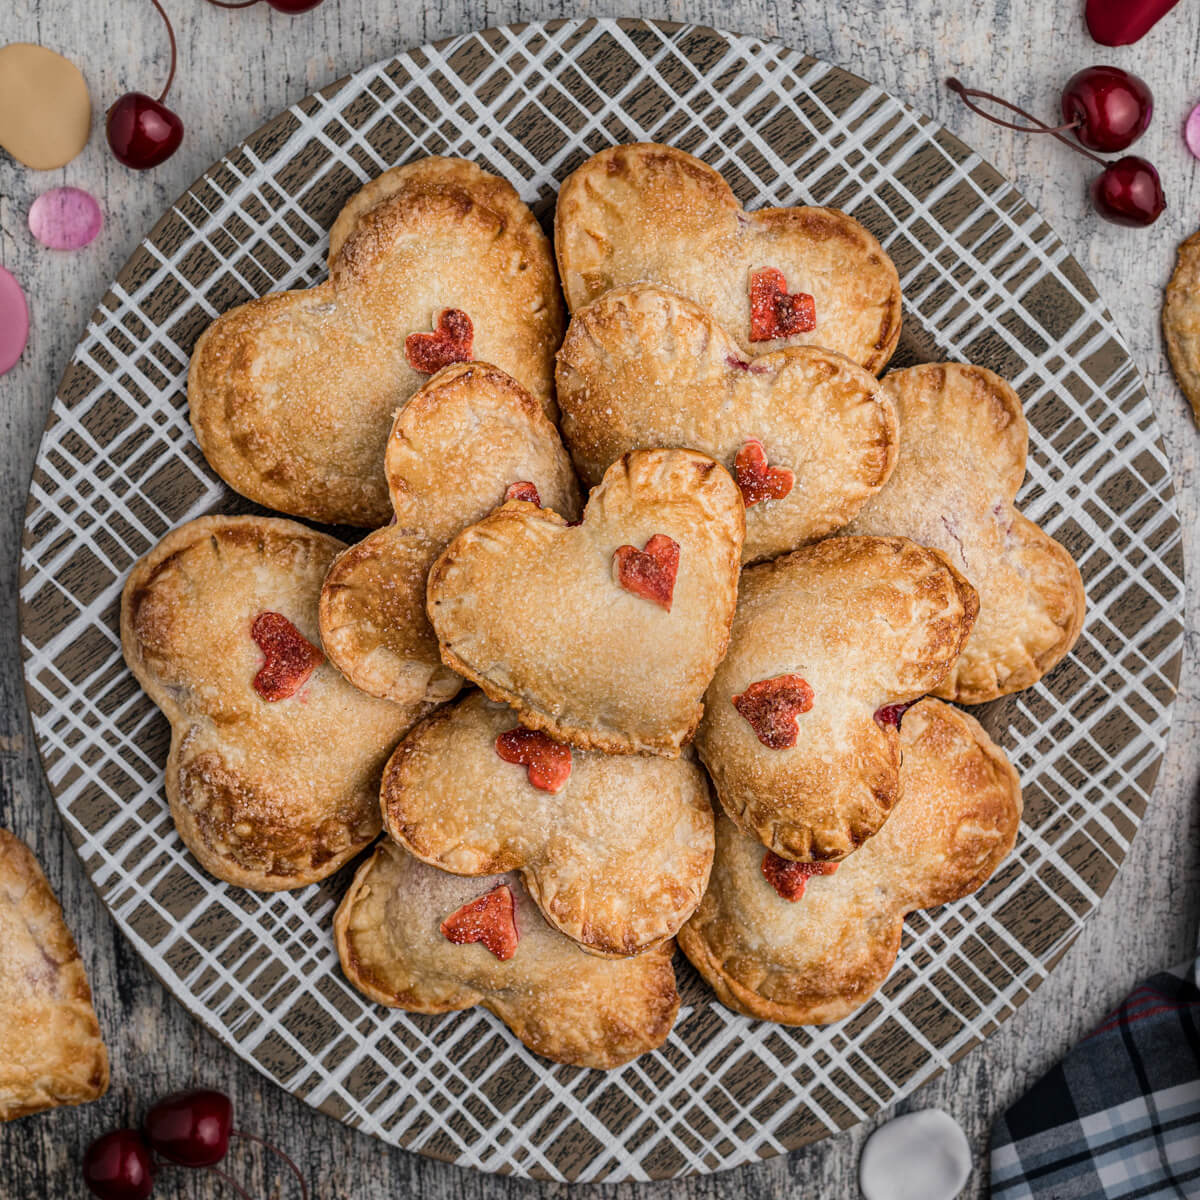
Is there anything better than a home baked cherry pie? How about two dozen mini cherry pies? These little cherry pies are the perfect size to enjoy at an alfresco picnic, afternoon tea, potluck, birthday party, baby or wedding shower. These also freeze well, making them a great ‘make ahead’ option and they’re also handy to have on hand for a quick dessert.
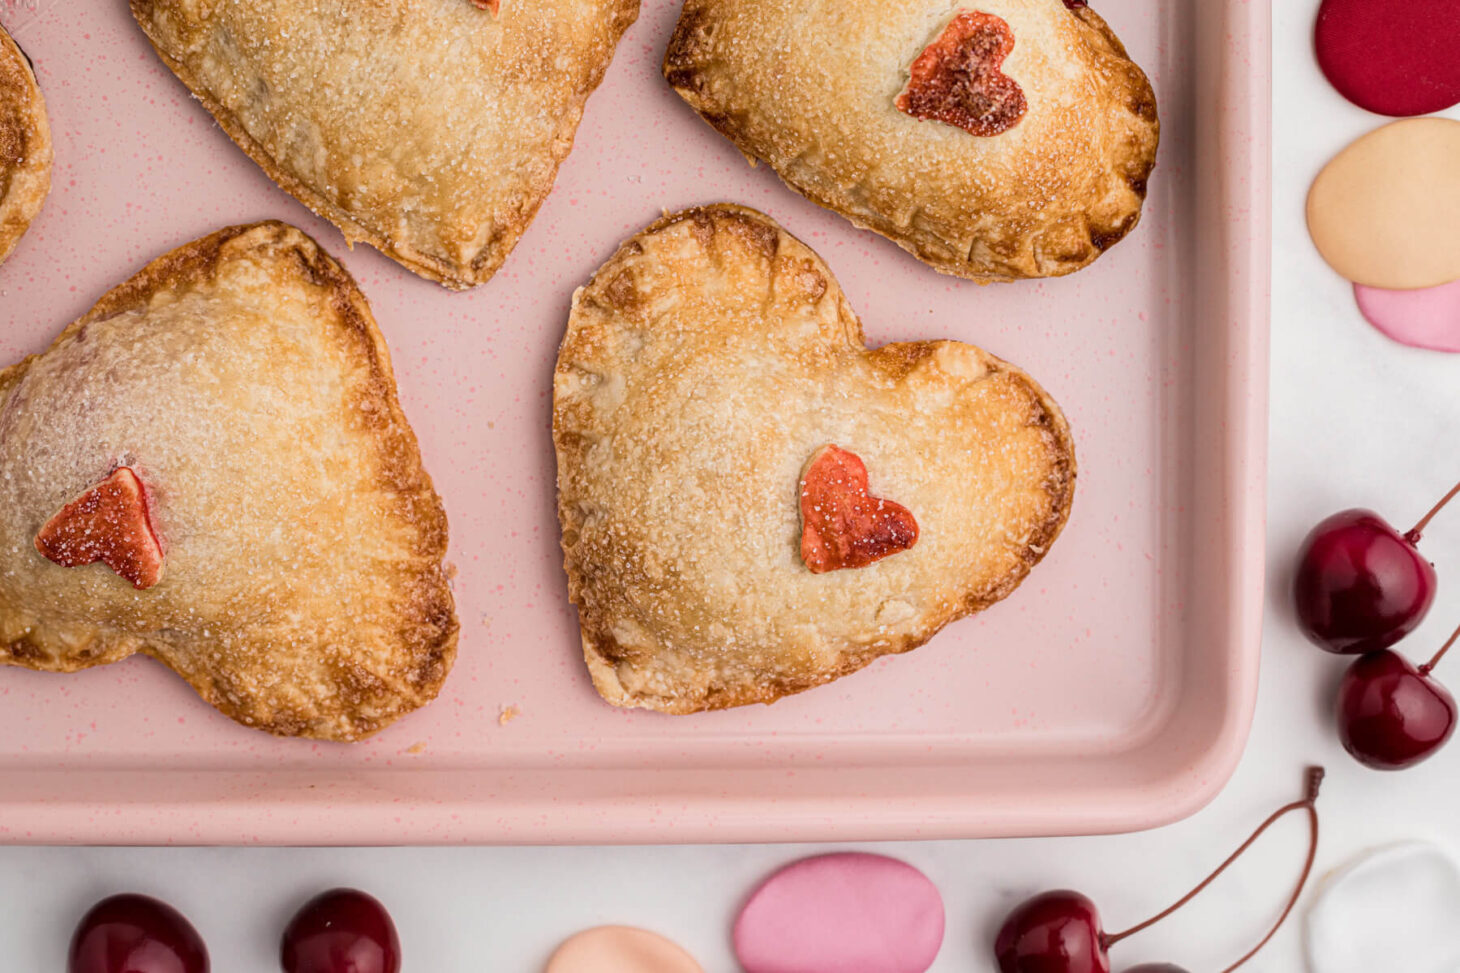
The pastry just how it should be…flaky and light with a satisfying crunch. However, it’s that classic cherry filling that really satisfies cherry lovers. Of course, if you don’t love cherries…feel free to fill these hand pies with the fruit filling of your choice.
Included in this hand pie recipe are instructions for making the pies with a heart shaped pie press. However, it’s super easy to make them with a heart shaped cookie cutter instead of a press. The fun little red heart design is an add on that really increases the ‘cute factor’ but you can leave the design out, if you prefer.
PS while you have the oven on, double up on the baking love fest and whip up these adorable heart shaped donuts or Valentine’s Day Spritz Cookies to go with the hand pies.
Ingredients for this Recipe
The ingredients for this recipe are pretty straightforward. However, you can change them up depending on your skill level or filling preference. Not confident with making your own pastry by hand? You can check out my ‘go to’ food processor pastry recipe for an easier alternative. Or, if you’re in a hurry you can also use store bought frozen puff pastry.
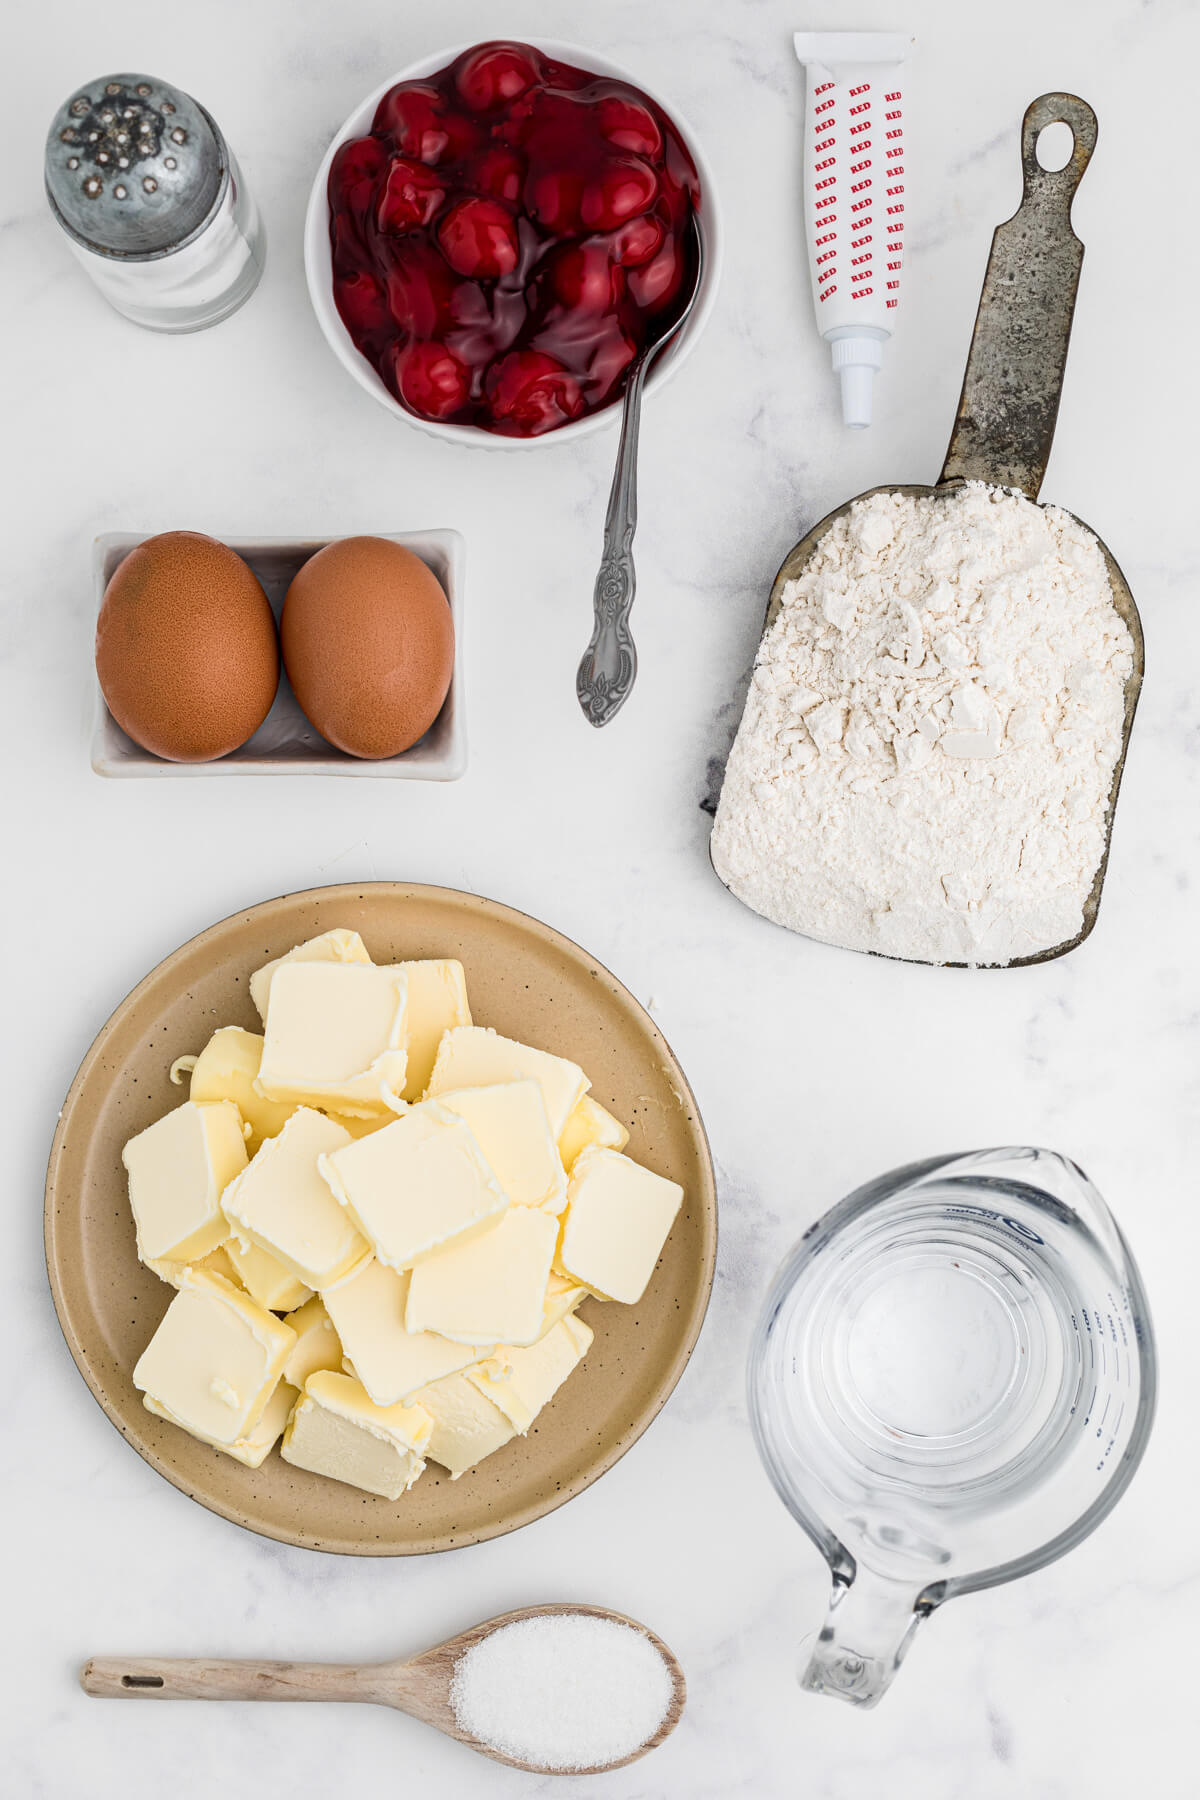
- Flour
- Sugar
- Salt
- Butter
- Water
- Egg whites
- Red Food Colouring
- Pie Filling
There are no surprise ingredients for this pie pastry recipe. Flour, sugar, salt, butter, and ice cold water are basic ingredients in every pastry. I highly recommend you use unsalted cold butter in this recipe or decrease the amount of salt added by half.
Red food colouring is optional as it is for decorative purposes only. I highly recommend using liquid food colouring as it will blend easily into the beaten egg whites. Gel food colouring may not be so easy to incorporate, making the mixture lumpy. It will have a mottled appearance when you try to paint it onto the pastry hearts.
These are cherry pies, so a can of cherry pie filling will do. If you would like to make your own pie filling with fresh cherries (or frozen cherries), my filling recipe is a wonderful combination of sweet and tart cherries. You can omit the amaretto, if preferred.
You can fill these hand pies with any filling you like. They would be amazing with apple pie filling, blueberry filling, or peach filling. They’d also be amazing with a savoury filling combination like brie cheese and mushrooms…
How to Make Pie Pastry By Hand
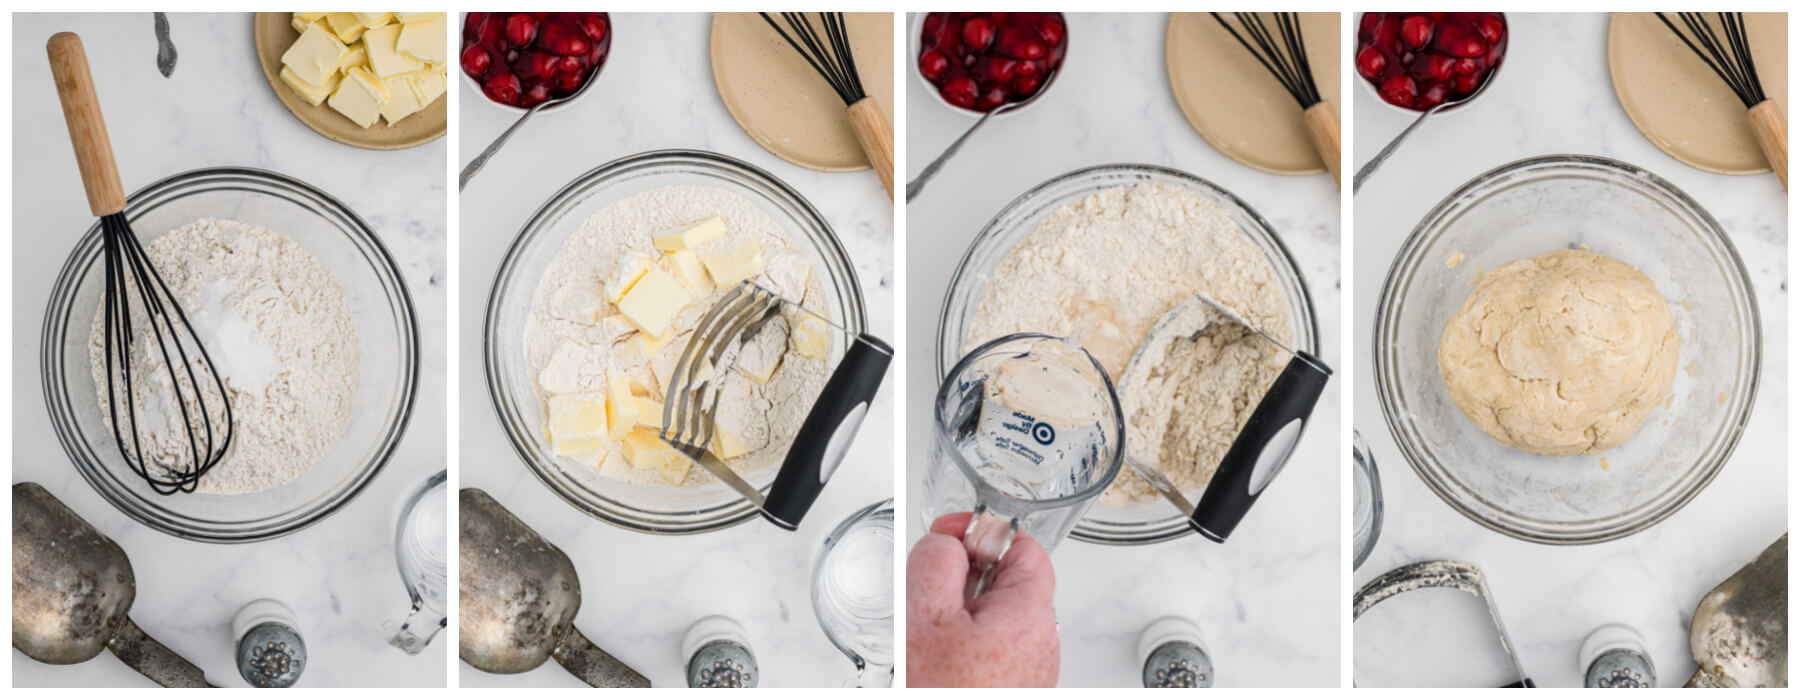
In a large mixing bowl, mix the flour and salt together. Cut the cold butter into small blocks.
Add the butter to the bowl and cut into the flour mixture using a pastry blender. Keep cutting it in until you have small pea size pieces. You can also use your fingers to work through the mixture, rubbing away at the pieces until it almost resembles breadcrumbs.
Gradually add about half of the ice water, mixing well. Add more water as needed, until you have a workable dough. The dough will incorporate more water as you work it, however you don’t want to over work pastry dough or allow it to warm up too much. Use the least amount of water you can, without overworking the dough. You may not need to add all the water, depending on how much your flour absorbs.
Once the dough has come together, roll it into a ball and wrap it in plastic wrap or bag. Place in the refrigerator for about 10 minutes to rest.
Let’s Make the Red Heart Motif
Remove one ball of dough from fridge. Place it onto a lightly floured work surface and use a rolling pin to roll out until it’s about 1/8” thick. Work from the centre of the dough outward, rotating the pastry a quarter turn for each roll.
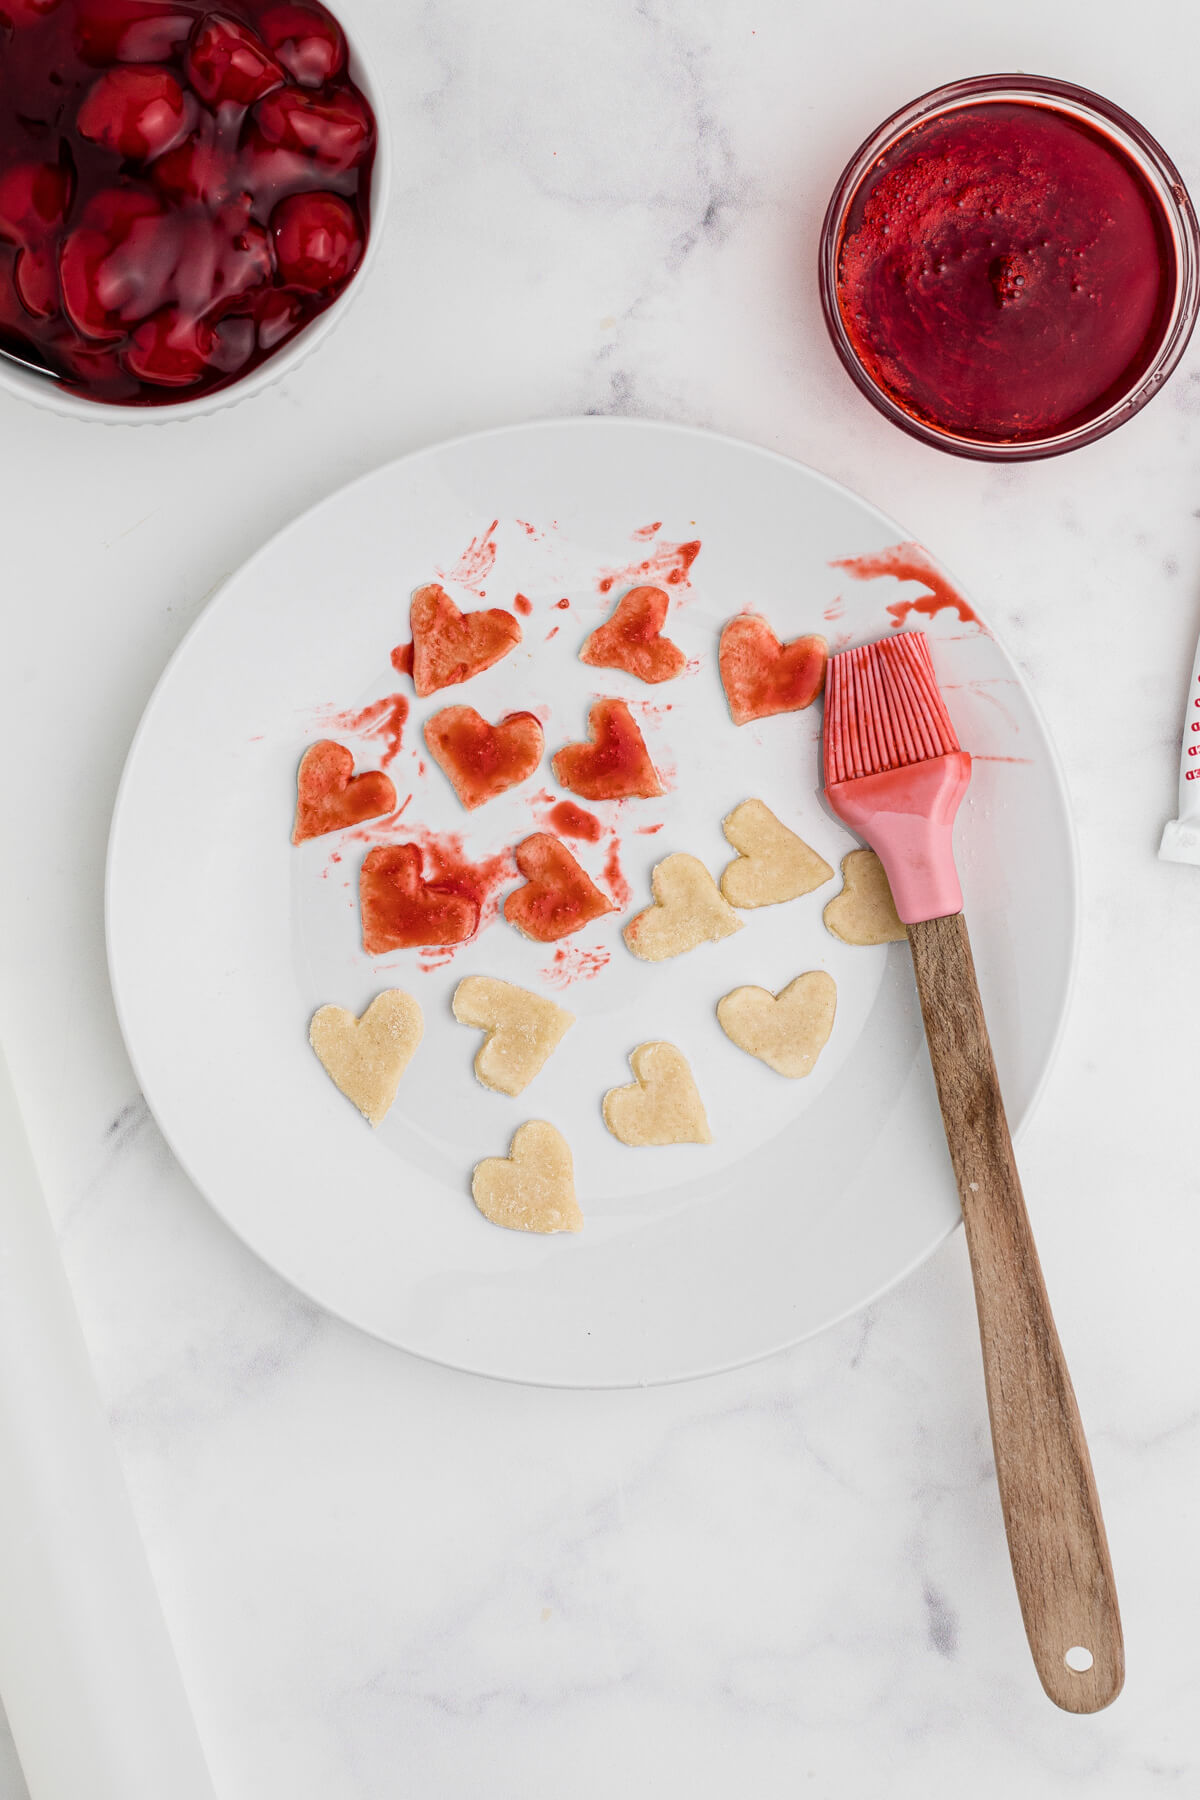
With a small knife (or tiny heart shaped cookie cutter) carefully cut out 24-26 heart shapes that are about ½” big and place onto a plate. Gather any pastry scraps together, wrap in plastic and place back in the fridge.
In a small bowl whisk one of the egg whites, then mix in 1 Tablespoon of sugar and the red food color. Use a small pastry brush to paint the red colored egg white all over the hearts on the plate. Set them aside and allow to fully dry.
How to Assemble the Cherry Hand Pies
Preheat oven to 350°F. Remove another pastry portion from the fridge. Remove one ball of dough from fridge. Place it onto a lightly floured work surface and use a rolling pin to roll out until it’s about 1/8” thick. Work from the centre of the dough outward, rotating the pastry a quarter turn for each roll.
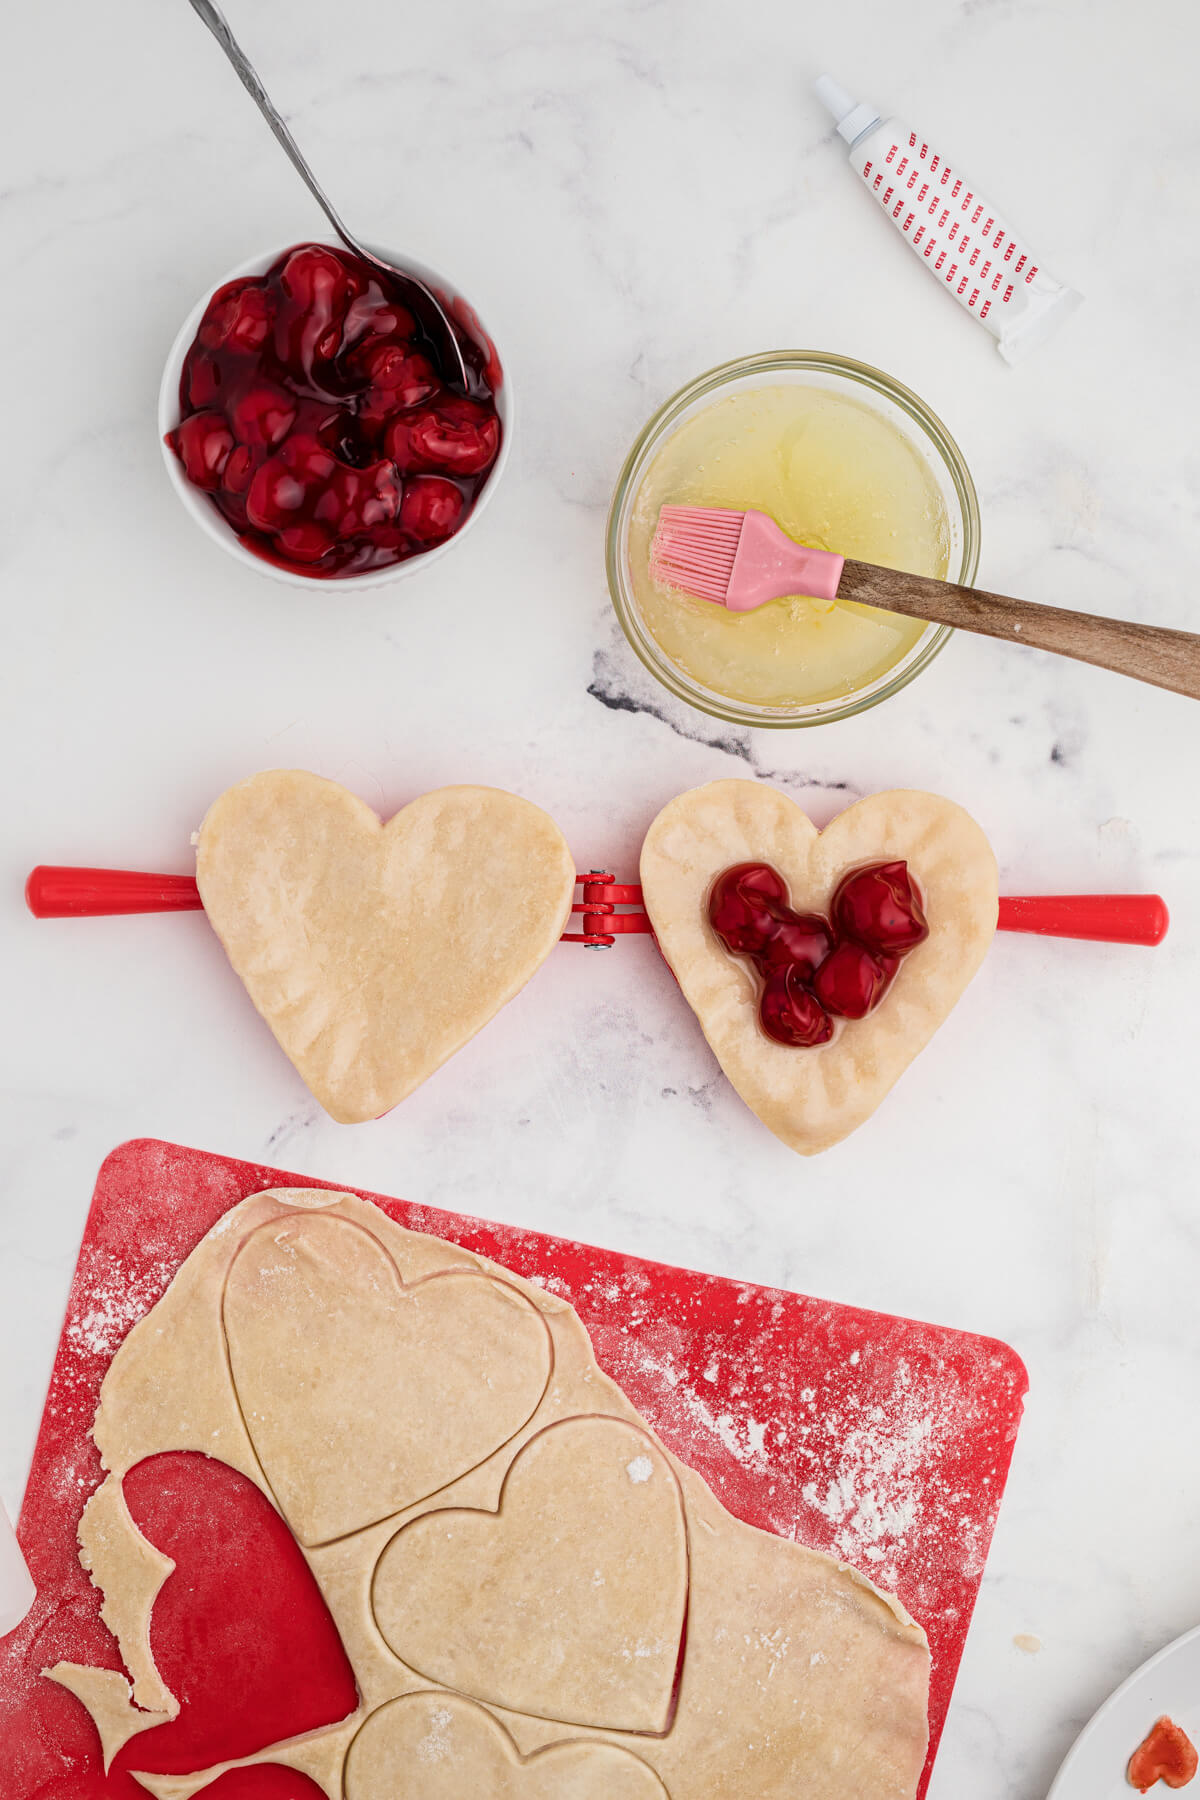
Cut out two pastry hearts using a heart shaped pie press or large cookie cutter. Take one of those hearts and place it on one side of the pie press. Press down on the edges so that it stays in place while you are putting the cherry pie together. Take the other heart and do the same on the other side of the pie press. Brush both sides with the plain egg white mix.
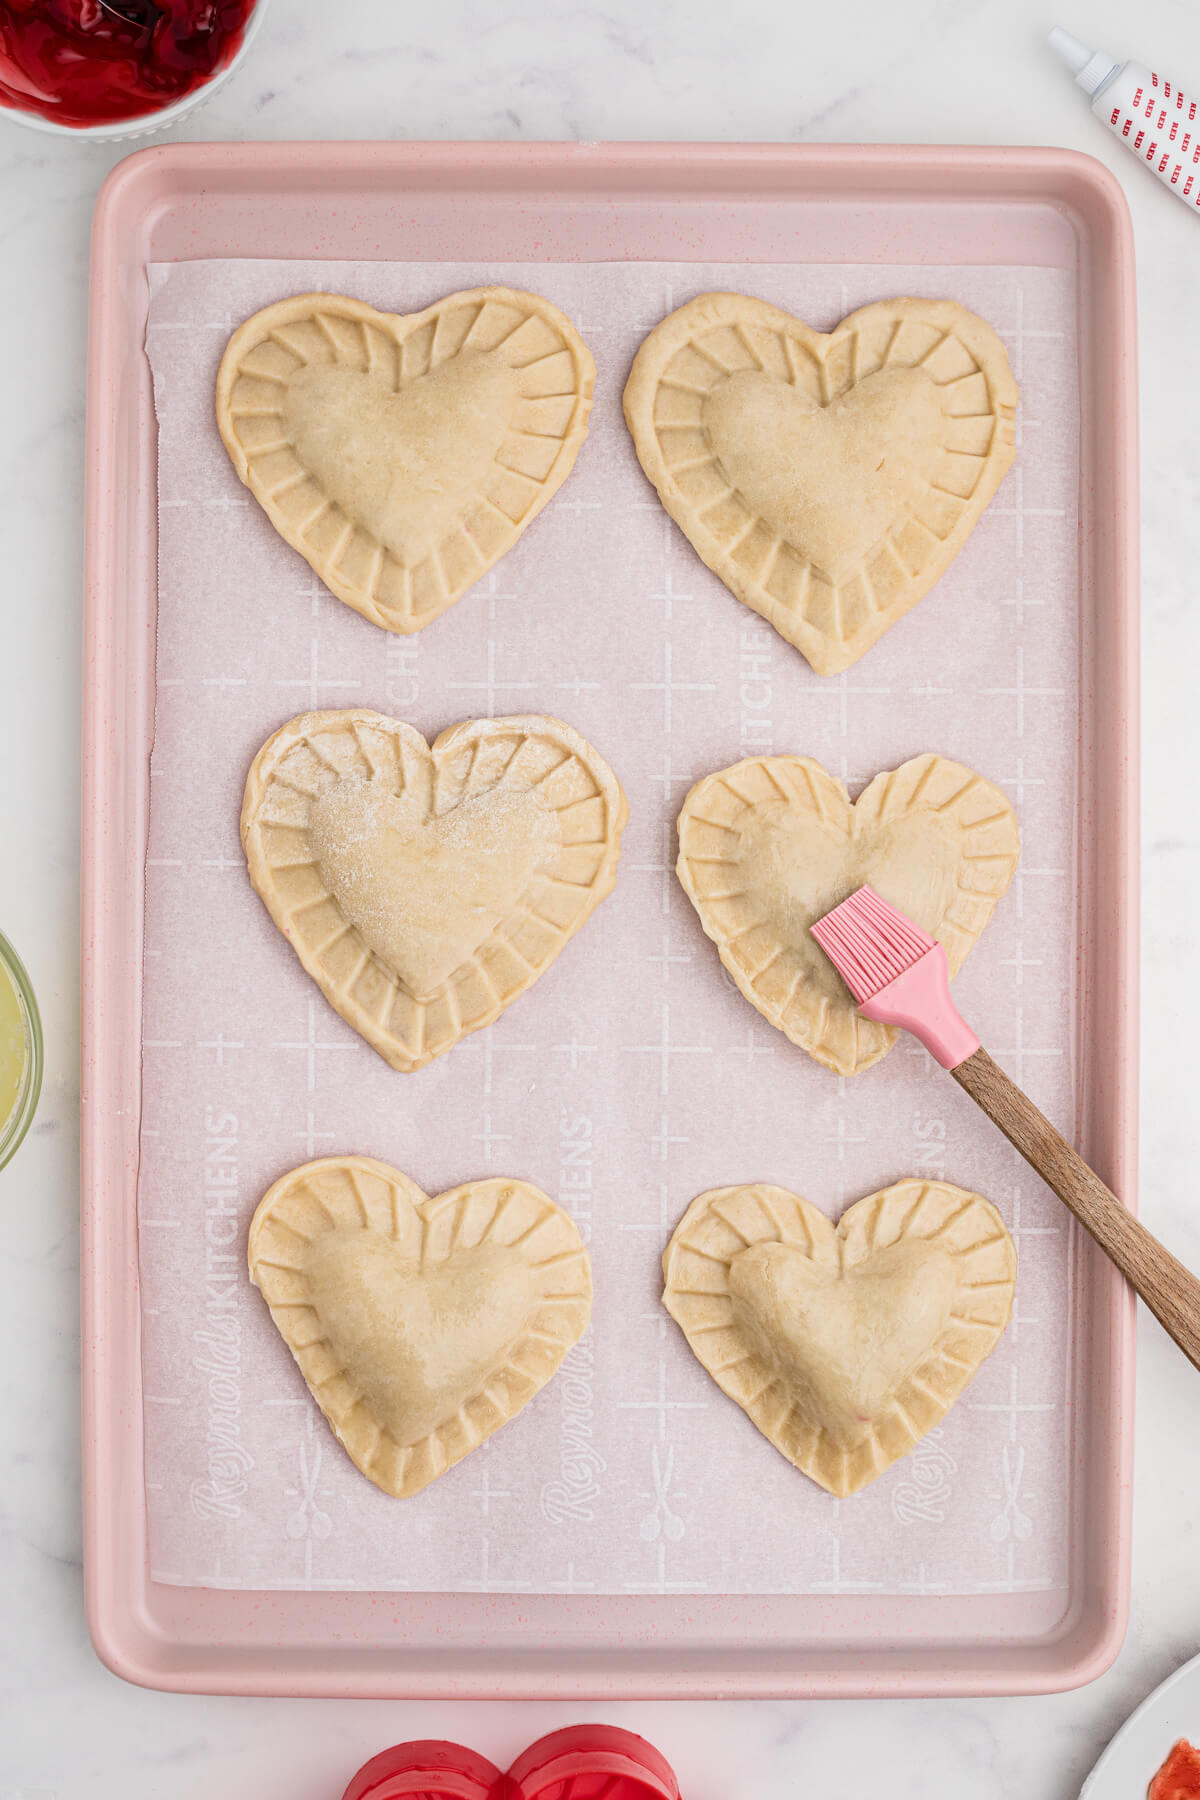
Close the pie press together and press tightly, all around the outside. Open up the pie press and empty the pie out onto a baking sheet lined with parchment paper. Repeat the above steps for the remaining dough that’s left. Gather up the scraps and re roll them up to one more time. The pastry will get tough if it is rolled too many times.
NOTE: If you don’t have a pie press, use a large heart shaped cookie cutter to cut the pastry hearts out. Place the two halves on a floured counter to fill. Fill with 1 tablespoon of cherry pie filling on one side, keeping the filling away from the edges. Lightly press the pastry edges together all around the filling. Lastly, use a fork to crimp the edges with a fork to seal them together.
Let’s Bake Cherry Hand Pies
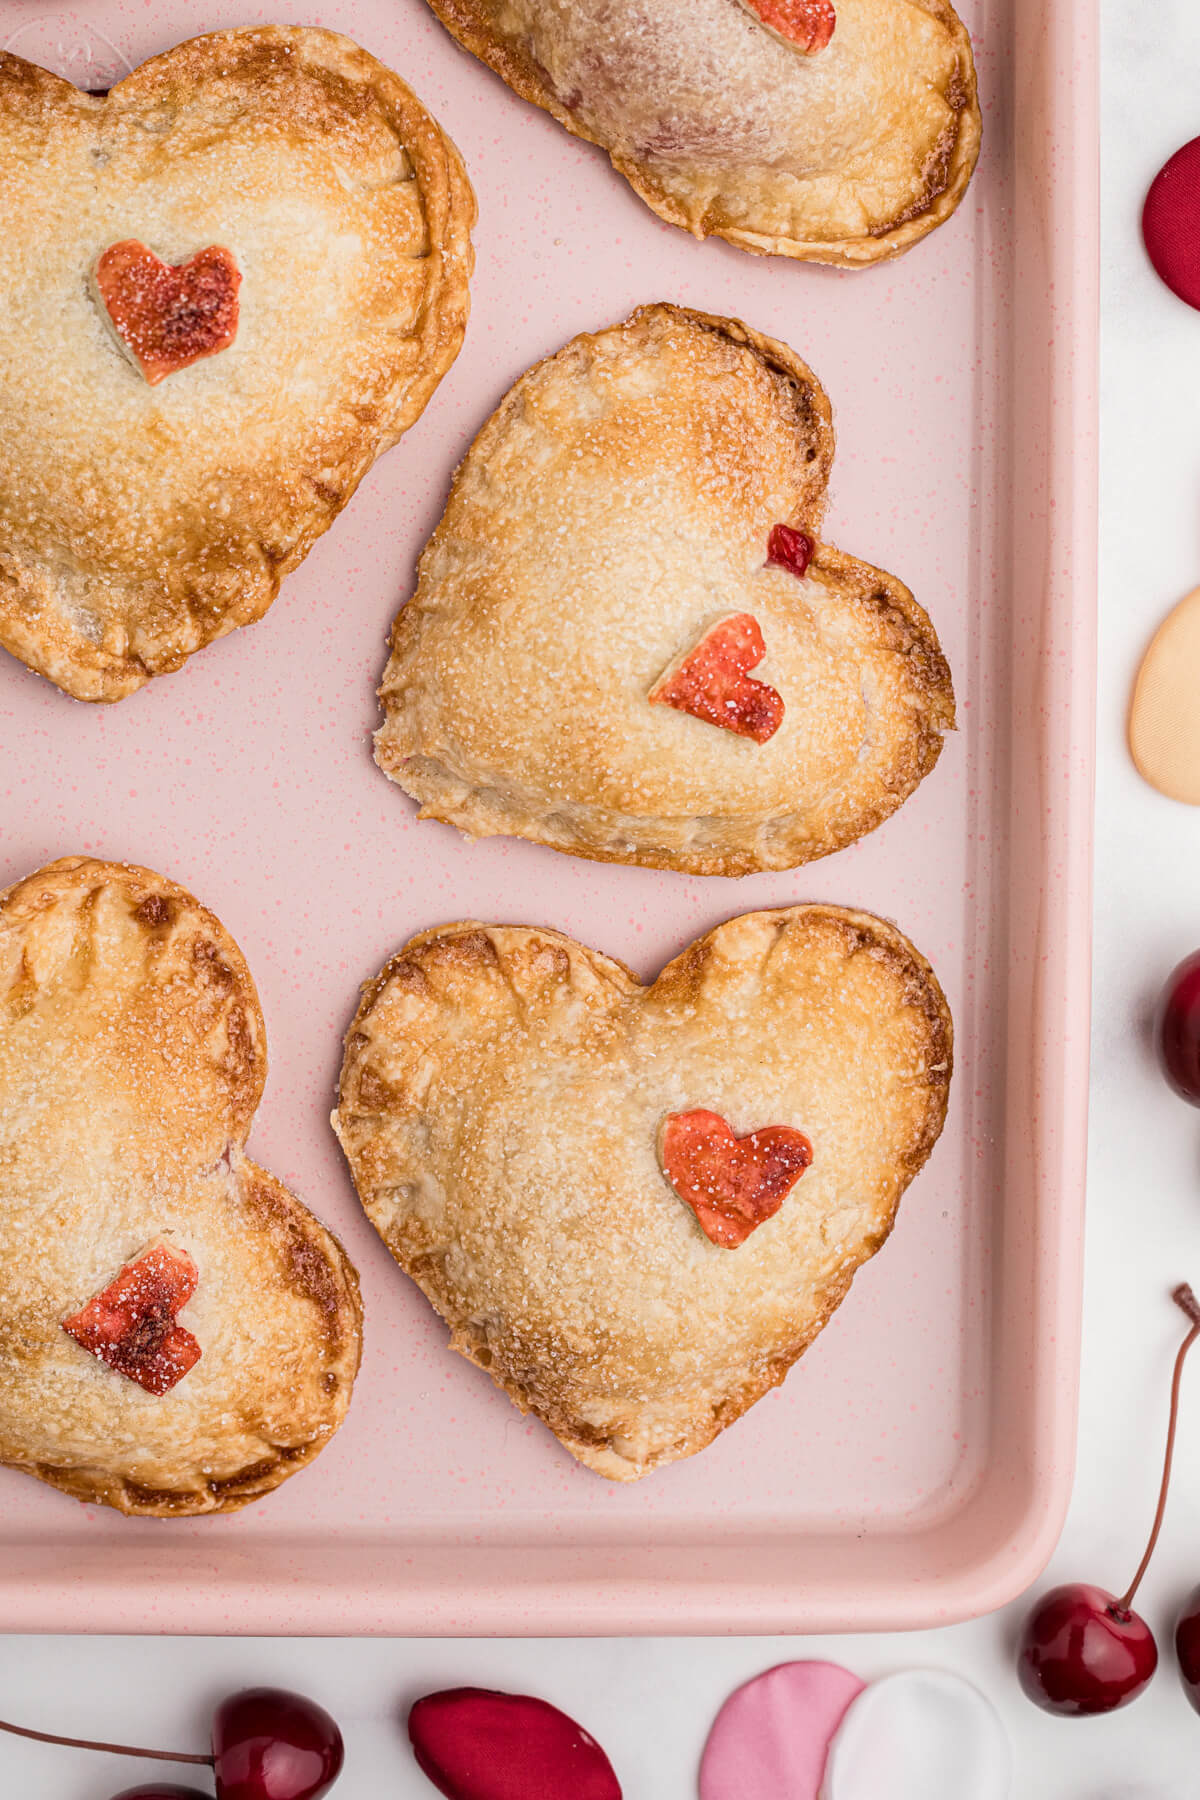
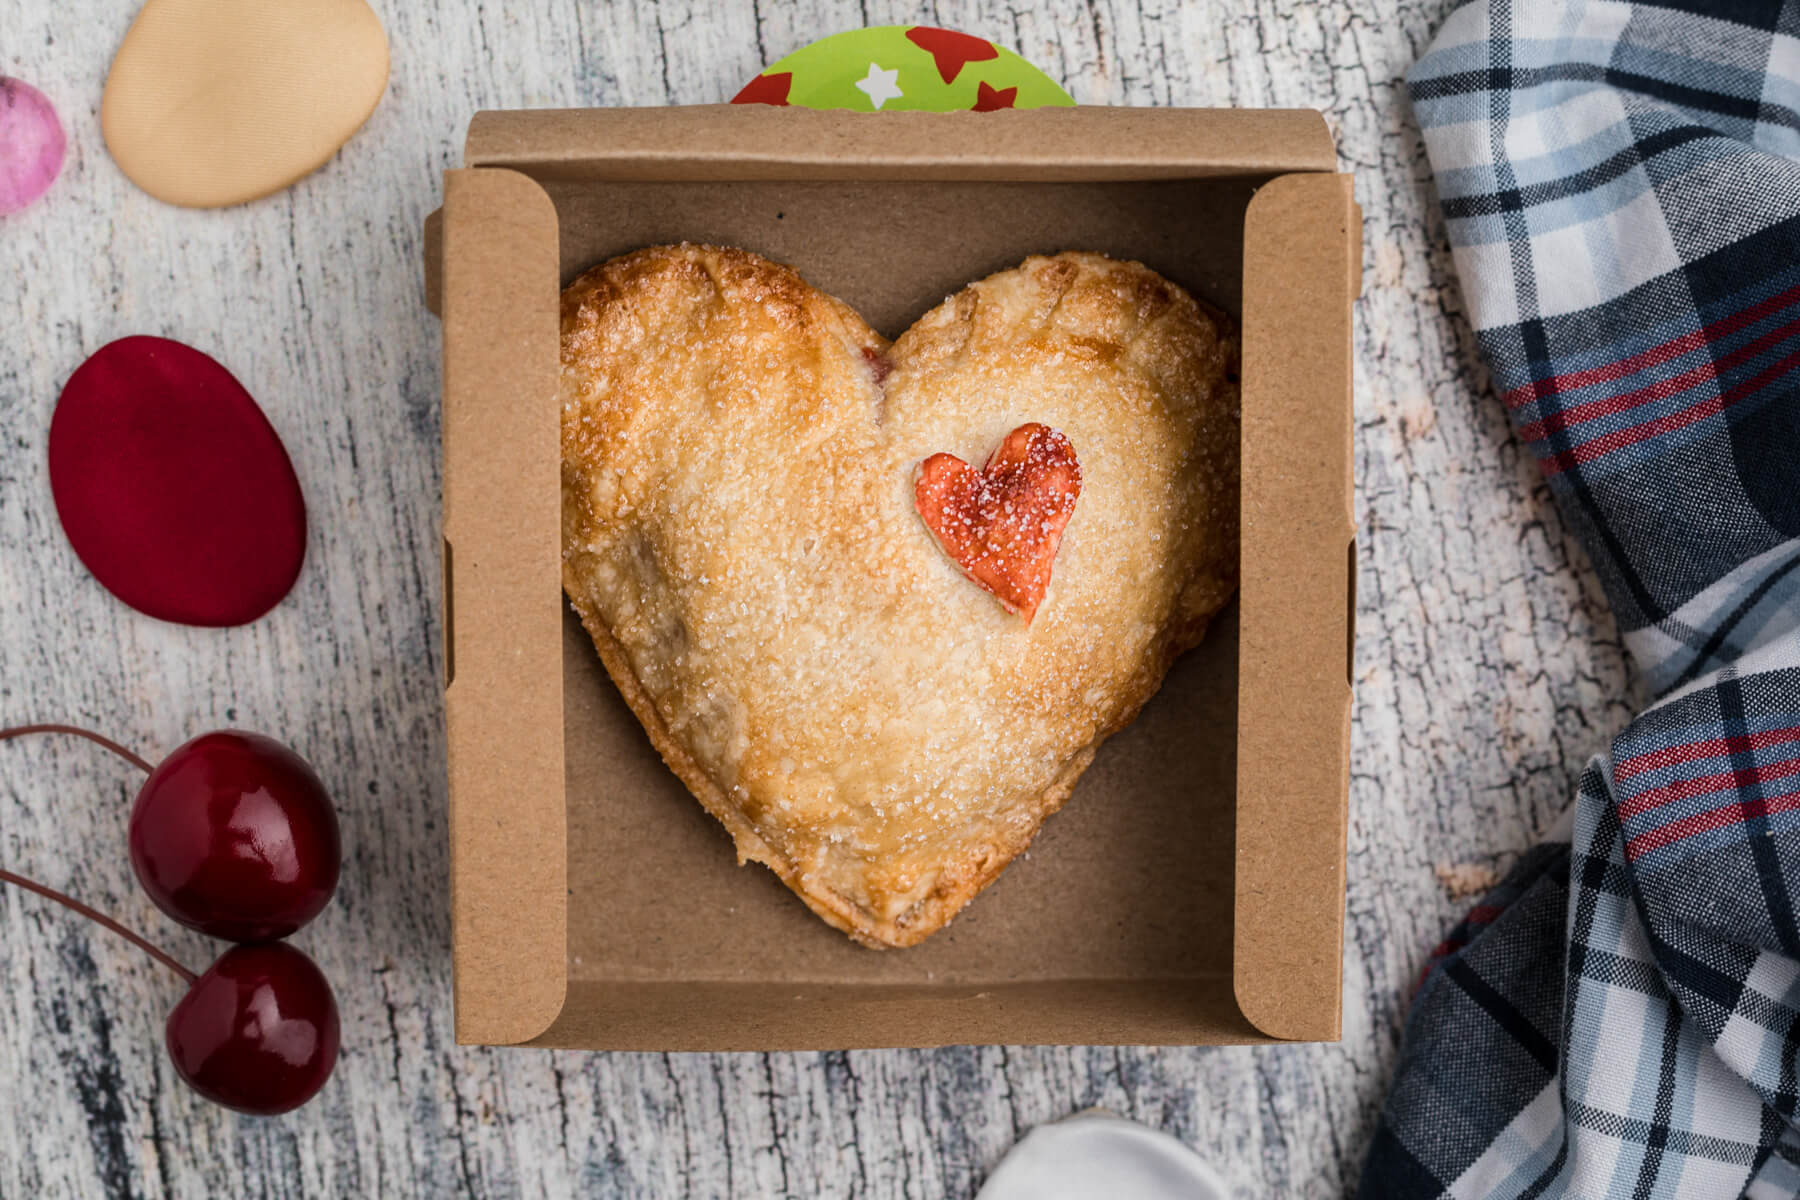
In another small bowl mix the remaining egg whites with 3 tablespoons of sugar. Before baking, brush the cherry pies with the clear egg wash then affix a red heart to each one. Liberally sprinkle pies with sugar and bake in 350 F oven for 28-30 minutes baking time.
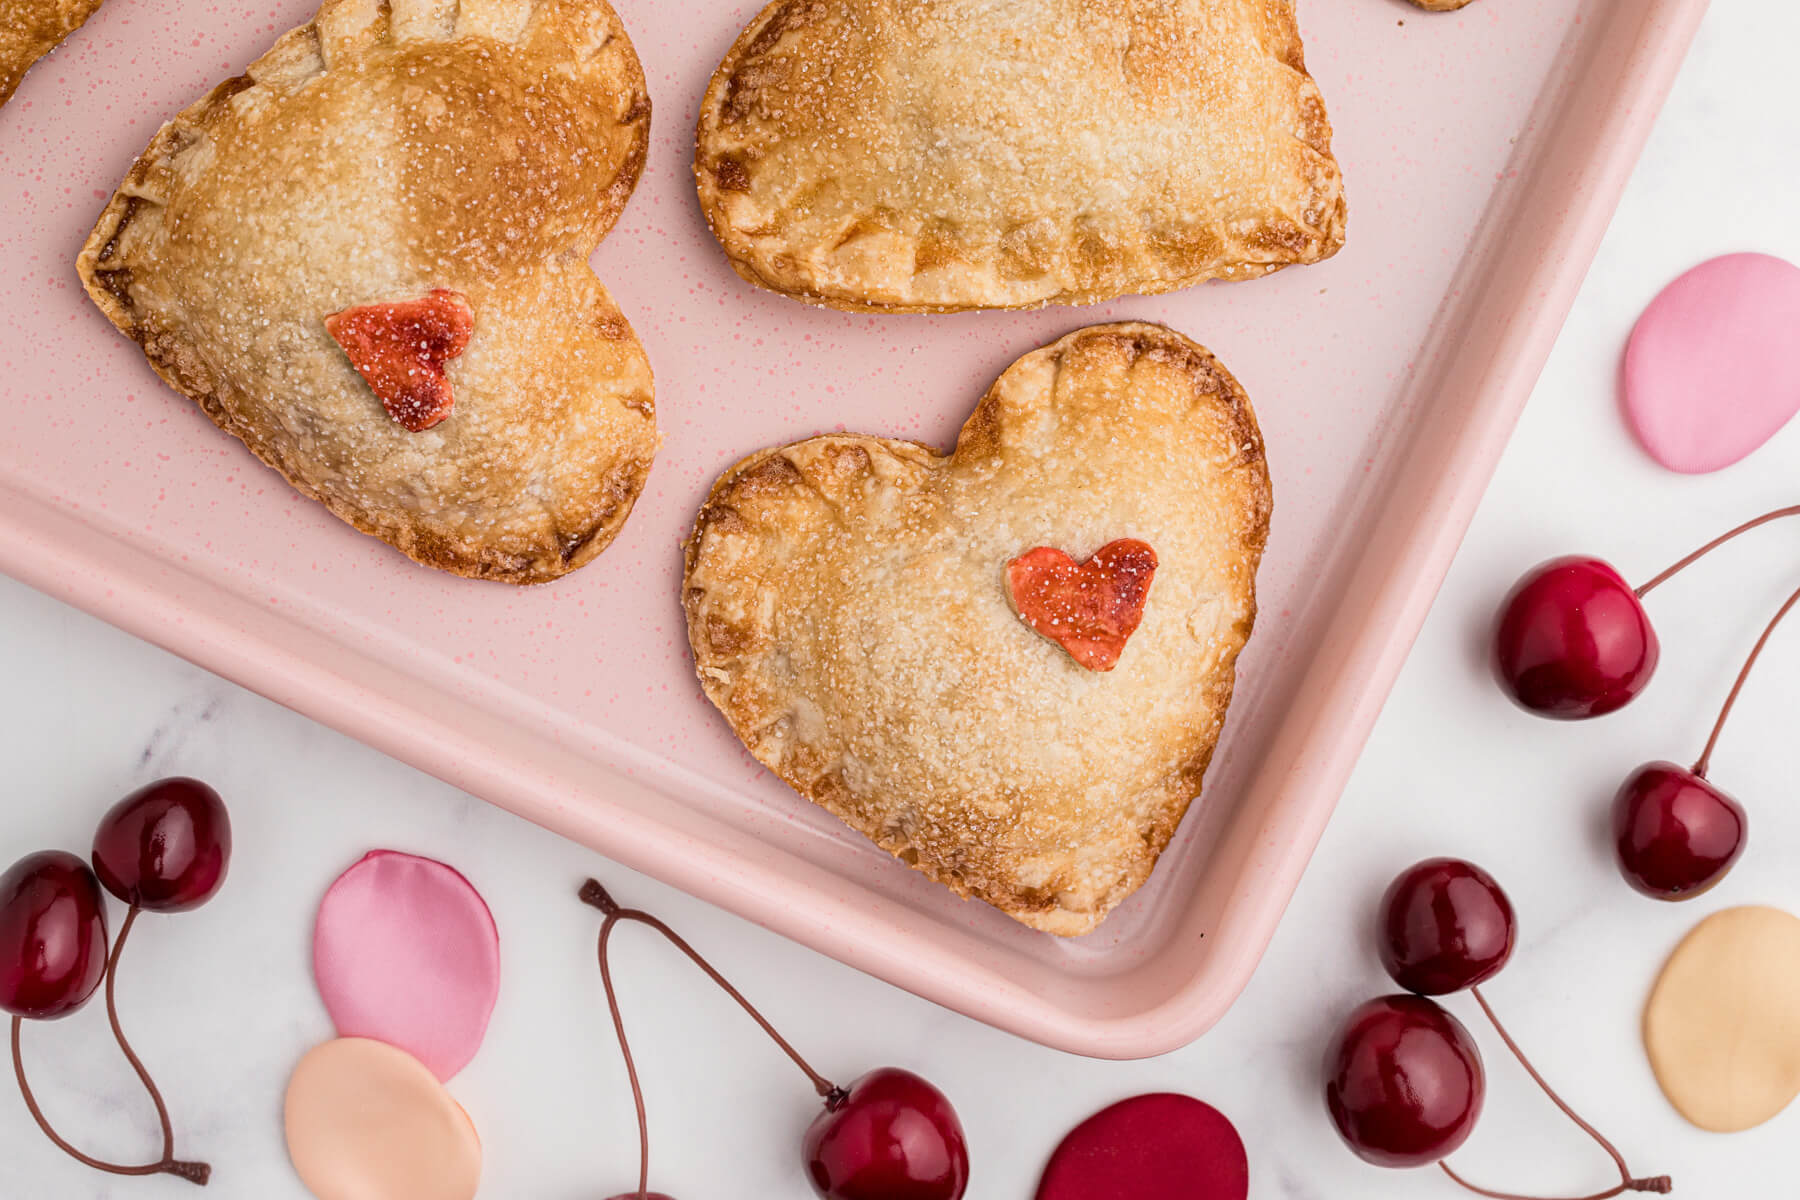
Remove from the oven and allow to cool to room temperature before biting into them. That filling is hot!!

How to Store Cherry Hand Pies
These hand pies will keep for up to three days in an airtight container at room temperature. They can be refrigerated for a further 3-4 more days after that.
Cherry hand pies are best eaten fresh but if you would like to freeze them, you can! Assemble them ahead of time, but don’t bake them. Freeze them on the baking sheet, then once they are completely frozen, place them in a freezer bag.
To bake from frozen: Defrost slightly (30 minutes) on a parchment lined baking sheet and bake as directed.
Looking for more Valentine’s Day recipes? Why not share a Chocolate Fondue for Two? Follow the step-by-step guide to create a decadent dessert for you and your sweetie. Or melt his frozen heart with a heart shaped Baked Alaska dessert made with store bought ice cream and torched meringue.

Hi! I’m Bernice Hill, the heart and soul behind Dish ‘n’ the Kitchen. It is my pleasure to share easy to follow recipes that are delicious, nutritious, and approachable for the whole family.
If you make these Cherry Hand Pies, please be sure to leave a comment and/or give this recipe a rating! Be sure to follow me on Facebook and Pinterest for my latest recipes. Also, if you do make this recipe please tag me on Instagram, I’d love to see what you guys are making! Thank you so much for reading my blog.
Cherry Hand Pies
Say 'I love you' with these sweet heart shaped Cherry Hand Pies. Recipe includes easy to follow directions for homemade pie pastry and hand pie assembly. They're perfect for a potluck, school Valentine's Day snack, baby shower, or brunch.
Ingredients
- 4 cups flour
- 2 teaspoons salt
- 1 1/2 cups Unsalted Butter, cold
- ¾ Cup Cold Water
- 3 egg whites
- 4 Tablespoons sugar (+ extra for sprinkling)
- 1 teaspoon red food colouring
- 1 (18 oz) can cherry pie filling
Instructions
- In a large mixing bowl, mix the flour and salt together. Cut the butter into small blocks.
- Add the butter and cut into the flour mixture using a pastry blender. Keep cutting it in until you have small pea size pieces. You can also use your fingers to work through the mixture, rubbing away at the pieces until it almost resembles breadcrumbs.
- Gradually add about half of the ice water, mixing well. Add more water as needed, until you have a workable dough. You may not need to add all the water depending on your flour.
- Divide the dough into four, roll into balls and wrap each one in plastic wrap. Place in the refrigerator for about 10 minutes to rest.
- Take one of the portions of dough and place onto a floured work surface. Roll out until it’s about 1/8” thick.
- With a small knife (or tiny heart shaped cookie cutter) carefully cut out some heart shapes that are about ½” big and place onto a plate. Re roll any leftover dough, wrap in plastic wrap and place in the fridge.
- In a small bowl whisk one of the egg whites, then mix in 1 Tablespoon of sugar and the red food color.
- In another small bowl mix the remaining egg whites with 3 tablespoons of sugar.
- Using a small pastry brush brush this red colored egg white all over the hearts on the plate. Set aside and allow to dry.
- Preheat oven to 350°F.
- Cut out two pastry hearts using a heart shaped pie press or large cookie cutter.
- Take one of those hearts and place it on one side of the pie press. Press down on the edges so that it stays in place while you are putting the cherry pie together. If you don't have a pie press, use a heart shaped cookie cutter to cut out the heart shapes. Place them on a floured counter to fill.
- Take the other heart and do the same on the other side of the pie press. Brush both sides with the plain egg white mix.
- Add about 1 tablespoon of the cherry pie filling to one side, be sure to stay away from the edges of the pie.
- Close the pie press together and press tightly, all around the outside. If you aren't using a pie press, lightly press the pastry edges together all around the filling. Lastly, use a fork to crimp the edges together.
- Open up the pie press and empty the pie out onto a baking sheet lined with parchment paper. Repeat the above steps for the remaining dough that’s left.
- Brush the cherry pies with the clear egg wash then affix a red heart to each one.
- Liberally sprinkle pies with sugar and bake in 350 F oven for 28-30 minutes.
- Remove from the oven and allow to cool before biting into them.
Nutrition Information:
Yield:
26Serving Size:
1Amount Per Serving: Calories: 177Total Fat: 11gSaturated Fat: 7gTrans Fat: 0gUnsaturated Fat: 4gCholesterol: 28mgSodium: 172mgCarbohydrates: 17gFiber: 1gSugar: 2gProtein: 3g
Nutritional calculation was provided by Nutritionix and is an estimation only. For special diets or medical issues please use your preferred calculator.

That cross-section shot with the bite taken out is pure cherry pie perfection. I’m a sucker for anything with sour cherries, and I can never get enough cherry pie. Love the beautiful, hand-held twist you’ve put together here. Wonderful recipe, delightfully executed.
ugh, I know! That photo just makes me want to make another batch!!
OMG these are so much more fun that a plain ol’ cherry pie and absolutely perfect for Valentine’s Day! I love all the love that goes into them 🙂
Food is definitely my love language. I’m glad it’s yours, too!
Beautiful little pies. They are so cute. Perfect Valentine’s Day treat. Love them!
Thank you Natalie, have a great weekend!
These cherry hand pies are just the cutest pies ever! They are perfect for Valentine’s Day! I’m going to pick up some cherry pie filling this weekend so I can make these for my family! Thanks for the recipe!
Great idea! Even better, have a pie making party!
Thank you so much for sharing this amazing recipe! Will surely have this again! It’s really easy to make and it tasted so delicious! Highly recommended!
Wonderful to hear. Thanks for stopping by Alyssa.
Sweet and delicious. They remind me of the cherry pies my mom used to make. Added bonus, the heart shapes bring a guaranteed smile when you serve these!
It sure does! Glad they brought back wonderful memories for you Melinda.
These are great! I have been hunting around for a new dessert to make on Monday and this is perfect! My kids are obsessed and already asking to start on them (4 days early!).
How wonderful! This will be the perfect project for you all to do together.
These hand pies are so cute and will be perfect to surprise my family on Valentine’s Day! And I need that heart shaped pie press.
The pie press really makes things fun, but you can for sure still make them using a heart shaped cookie cutter too.
cherry pies are the best! this recipe is so easy to make and it perfectly cute for vday!
Oh yes! I’ll be making a double batch for all my friends as well.