
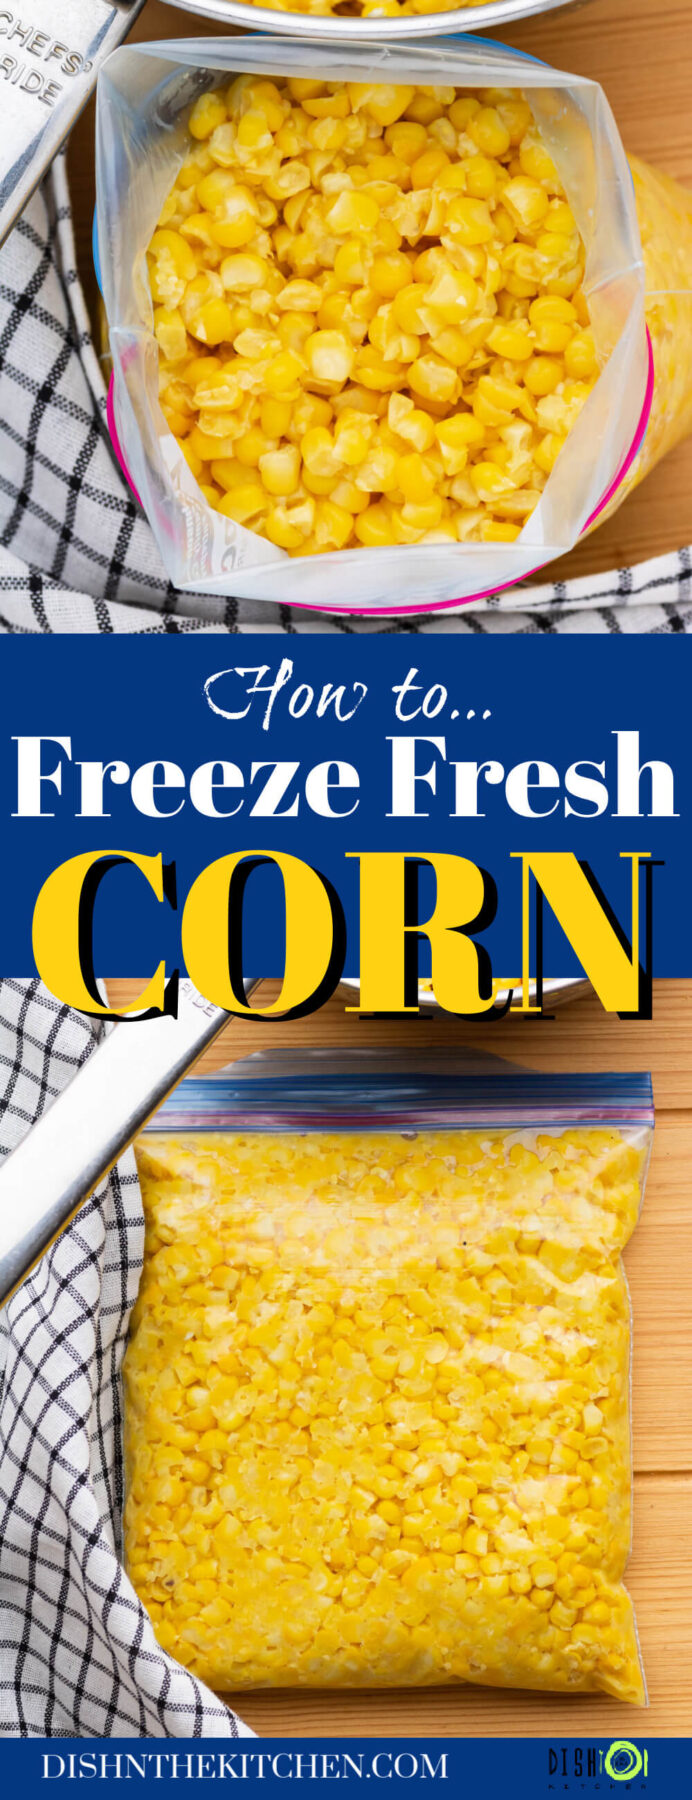
Preserve summer’s sweet corn using the simplest technique…freezing! This post will walk you through preparing and preserving your very own batch of frozen corn.
There’s nothing like feasting on summer fruits and vegetables during the dead of winter. Here in our kitchen, canning tomato sauce, or passata is a long standing fall tradition, as is pickling carrots and freezing corn.
It’s so satisfying to fill the freezer and canning room with the fruits of your labour!
Want to save this recipe?
Enter your email below and get this post sent straight to your inbox. Plus, I’ll send you my weekly newsletter featuring the newest and best Dish ‘n’ the Kitchen recipes every week!
Frozen Corn
Let’s be real. Frozen corn is widely available at the store and it’s relatively cheap. So why would anyone want to go through the process of freezing it themselves?
For me, it’s about flavour and economy, plus a bit of nostalgia. When I buy a bag of locally grown fresh corn, I am supporting my local farmers. I know that the corn is picked just before selling at its prime. Since peach season coincides with fresh corn season why not learn how to freeze peaches (and other stone fruit) for your winter smoothies at the same time?
If you have access to great locally grown corn, you too can make your own frozen corn. It’s literally as easy as 1, 2, 3.
Oh, and you will be amazed at how much of that summer magic is captured in each bag. The flavour of this corn is way beyond any store bought frozen corn.
Small Batch vs Large Batch of Frozen Corn
When I buy corn, the bag contains roughly 6 dozen (or 72) ears. That is, what I consider a large batch of corn because it yields 12 bags of frozen corn. Luckily, you can easily scale your own batch according to how much corn you buy.
In general a half dozen ears will yield 4 cups of loose corn, enough to fill one medium sized freezer bag. So, you can make one bag, or twelve bags. The batch size is up to you.
If your kids are old enough, it can be a really great family activity. Kids can shuck the corn and even cut the corn off the cob using a small paring knife. Later, when the corn has cooled, they can help fill freezer bags.
Participating in preserving food in this way could even get picky eaters to eat their veggies!
Other Ways to Make Frozen Corn
- You could easily just freeze whole cobs of corn without cutting or heating the cobs. However this method takes up a lot of freezer space.
- Another way is to blanch the cobs in boiling water, then cut the corn off the cob and freeze it.
- Yet another method consists of cutting the kernels off the cob and freezing them without blanching. This method also requires a fair bit of freezer space (temporarily) as it’s best to freeze the kernels in a single layer first, then bag them already frozen.
I prefer the slice, blanch, bag method (see I told you it was easy as 1, 2, 3!) because you also get the benefit of the ‘corn milk’ from stripping the raw corn cobs. The corn stays fresh and quickly heats up in a covered saucepan for an easy side dish.
How to Make Frozen Corn
Regular readers will notice I have omitted the ‘ingredients’ section of my post. That is because all you need for this ‘how to’ recipe is corn.
Preparing the Corn
First things first, that corn isn’t going to shuck itself. I usually ask my husband to do this job because I can’t stand when corn silks stick on me. Peel the husks of one side from top to bottom, then do the other side. Remove any silks that cling to the cob.
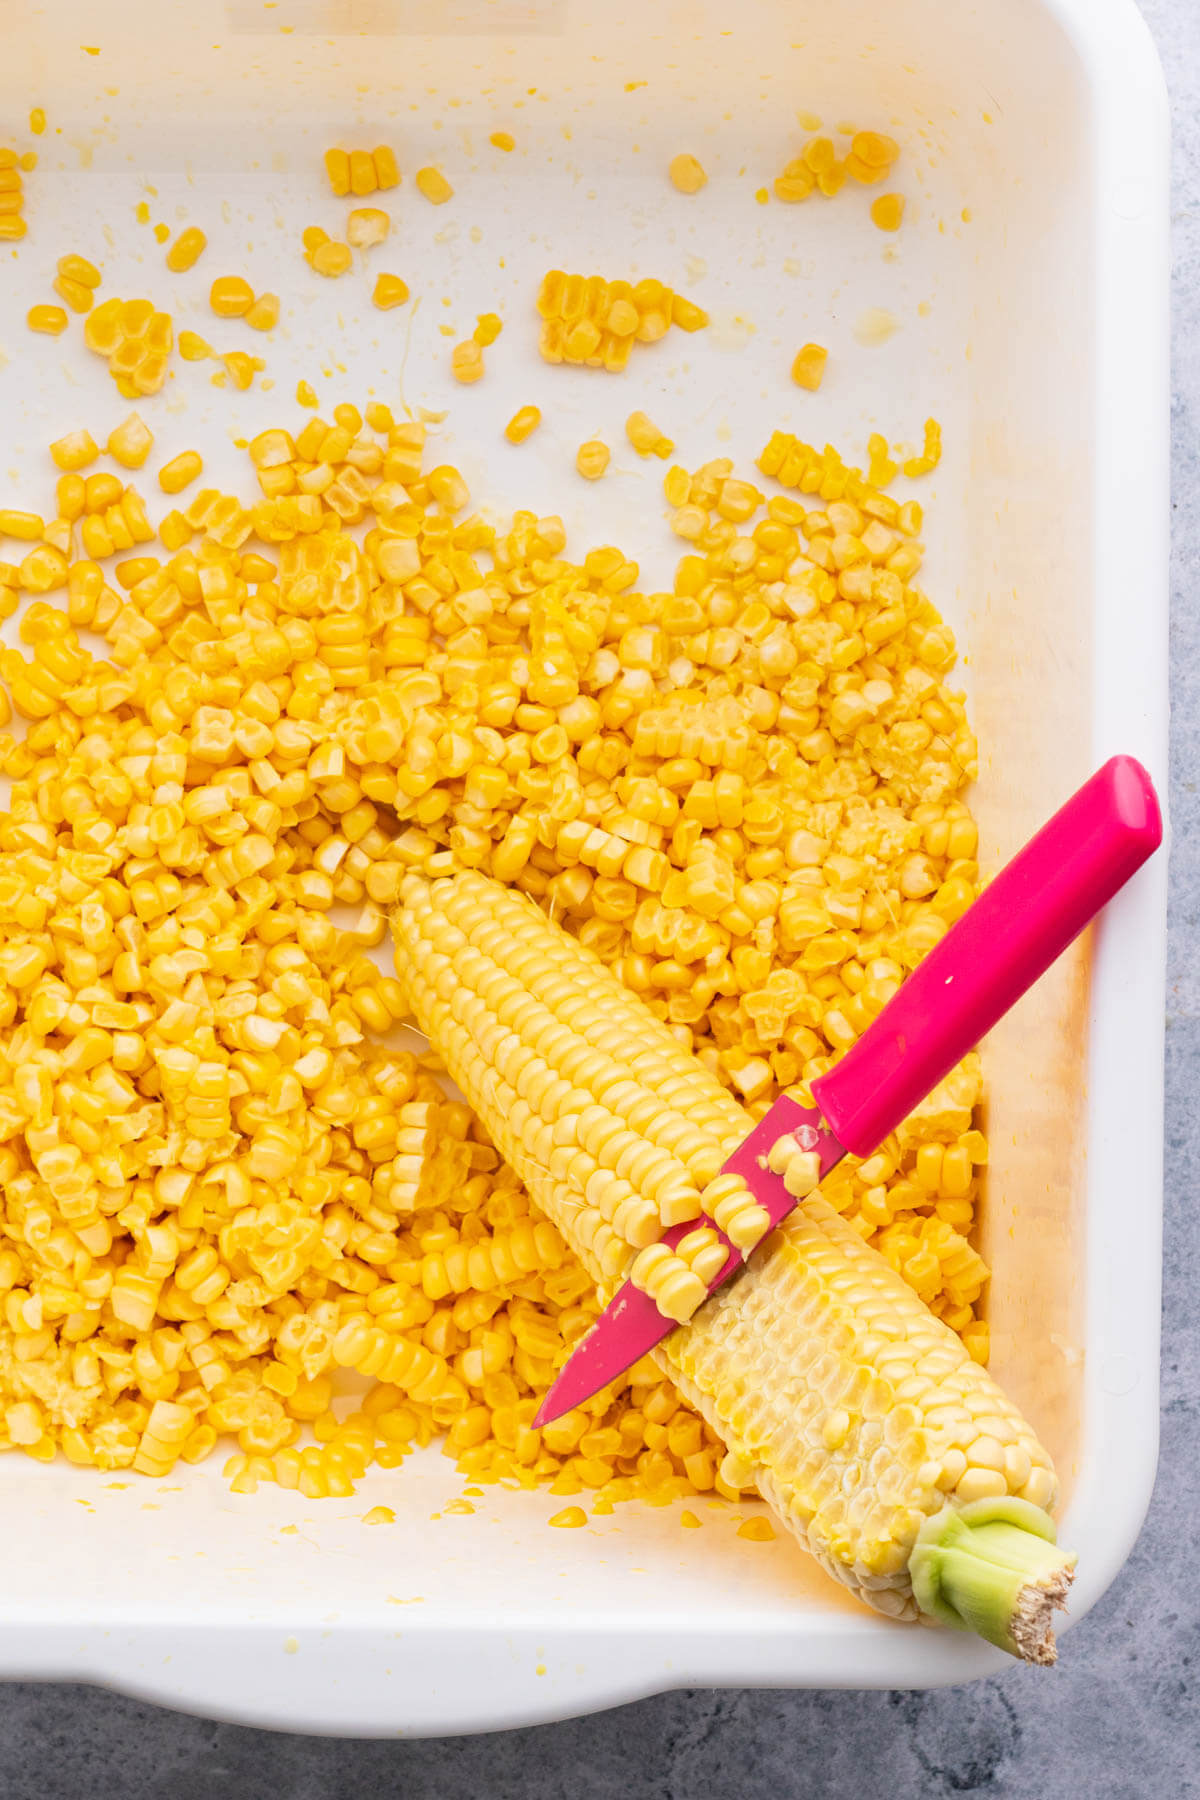
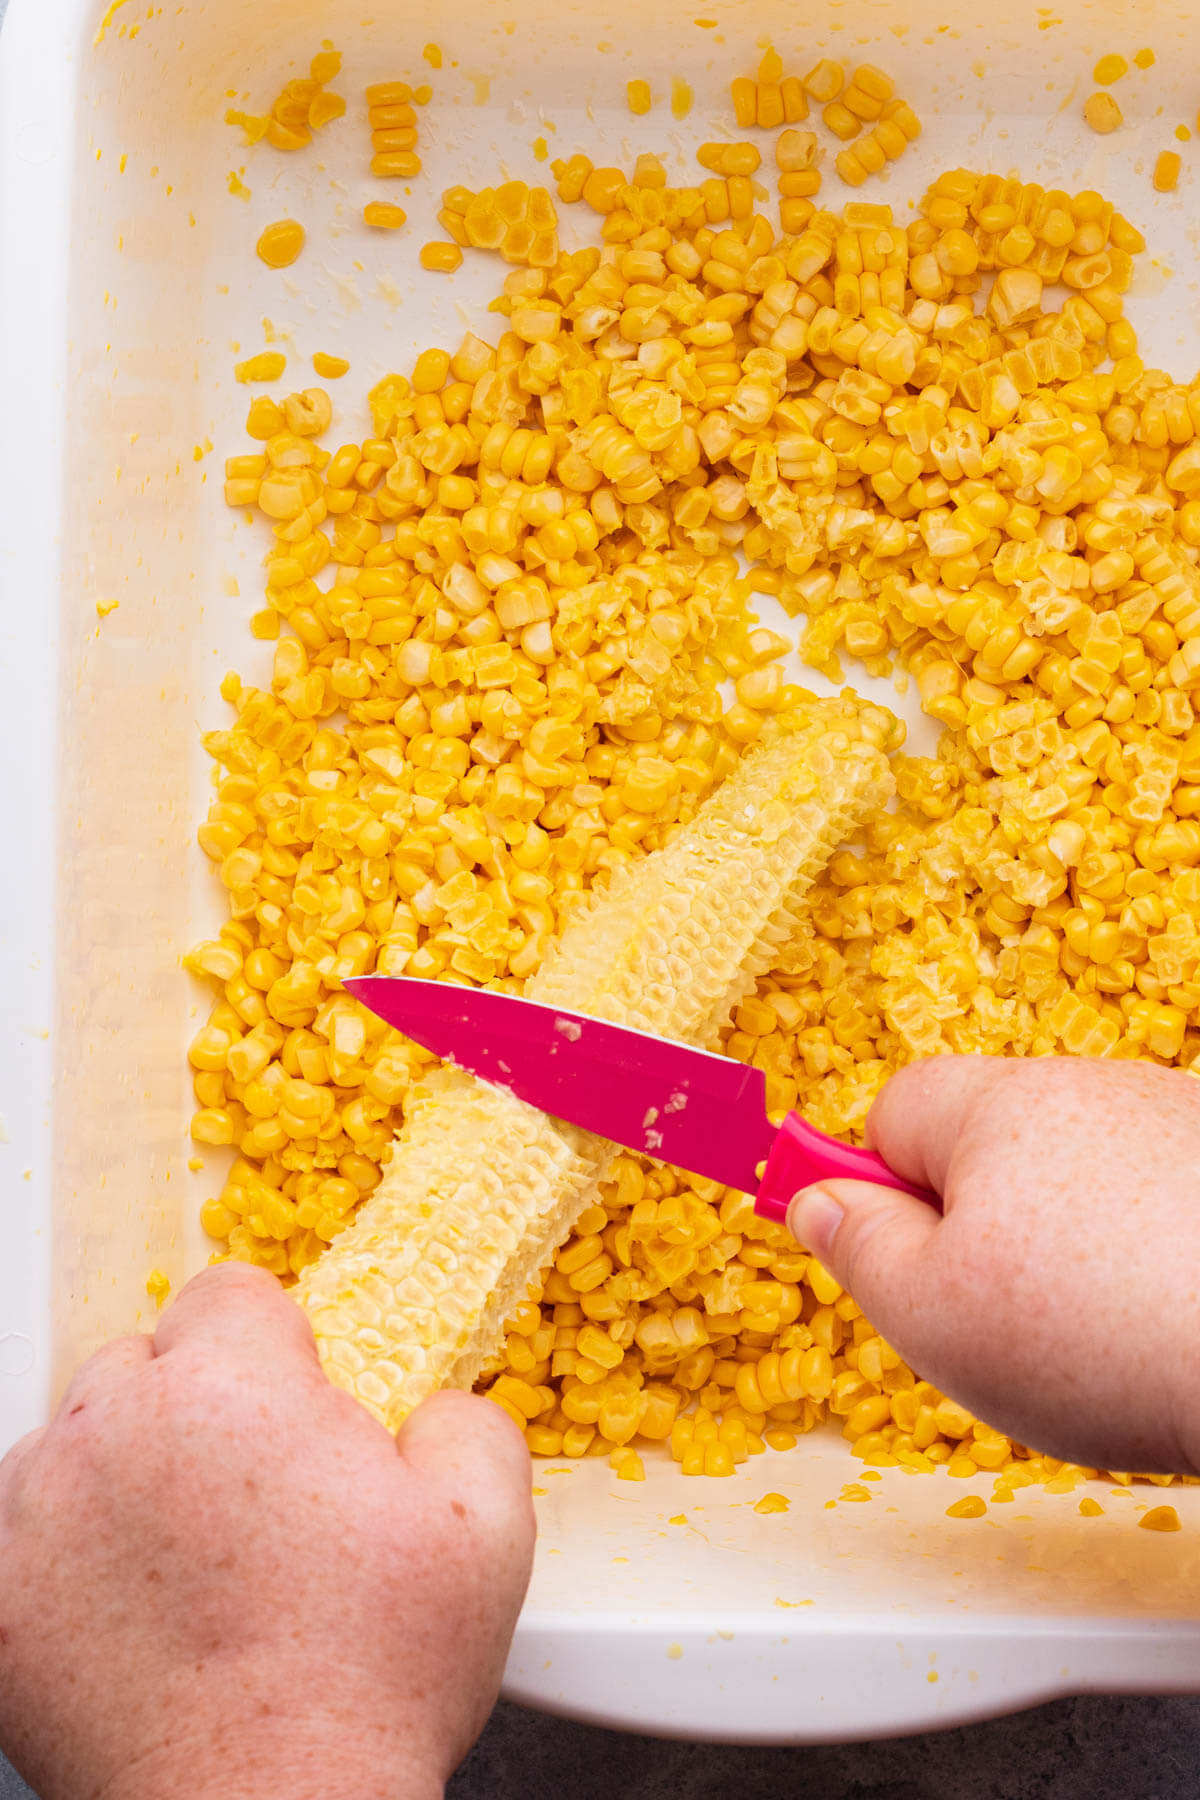
Removing the kernels can be quite messy so it’s best to do this over a large bowl or basin. Remove the corn kernels from the cob by holding the stem end in one hand and starting at one end gently slice the kernels off as close to the core as you can.
Finish at the pointy end of the cob, then rotate the corn and do another few rows. Once the whole cob has been stripped of kernels, turn it over and hold the pointy end of the cob.
Use the back of your knife to rub the empty cob in a downward motion. This will release any last bits from the kernels and the resulting corn juices, or ‘milk’. Did you know you could milk corn cobs?!
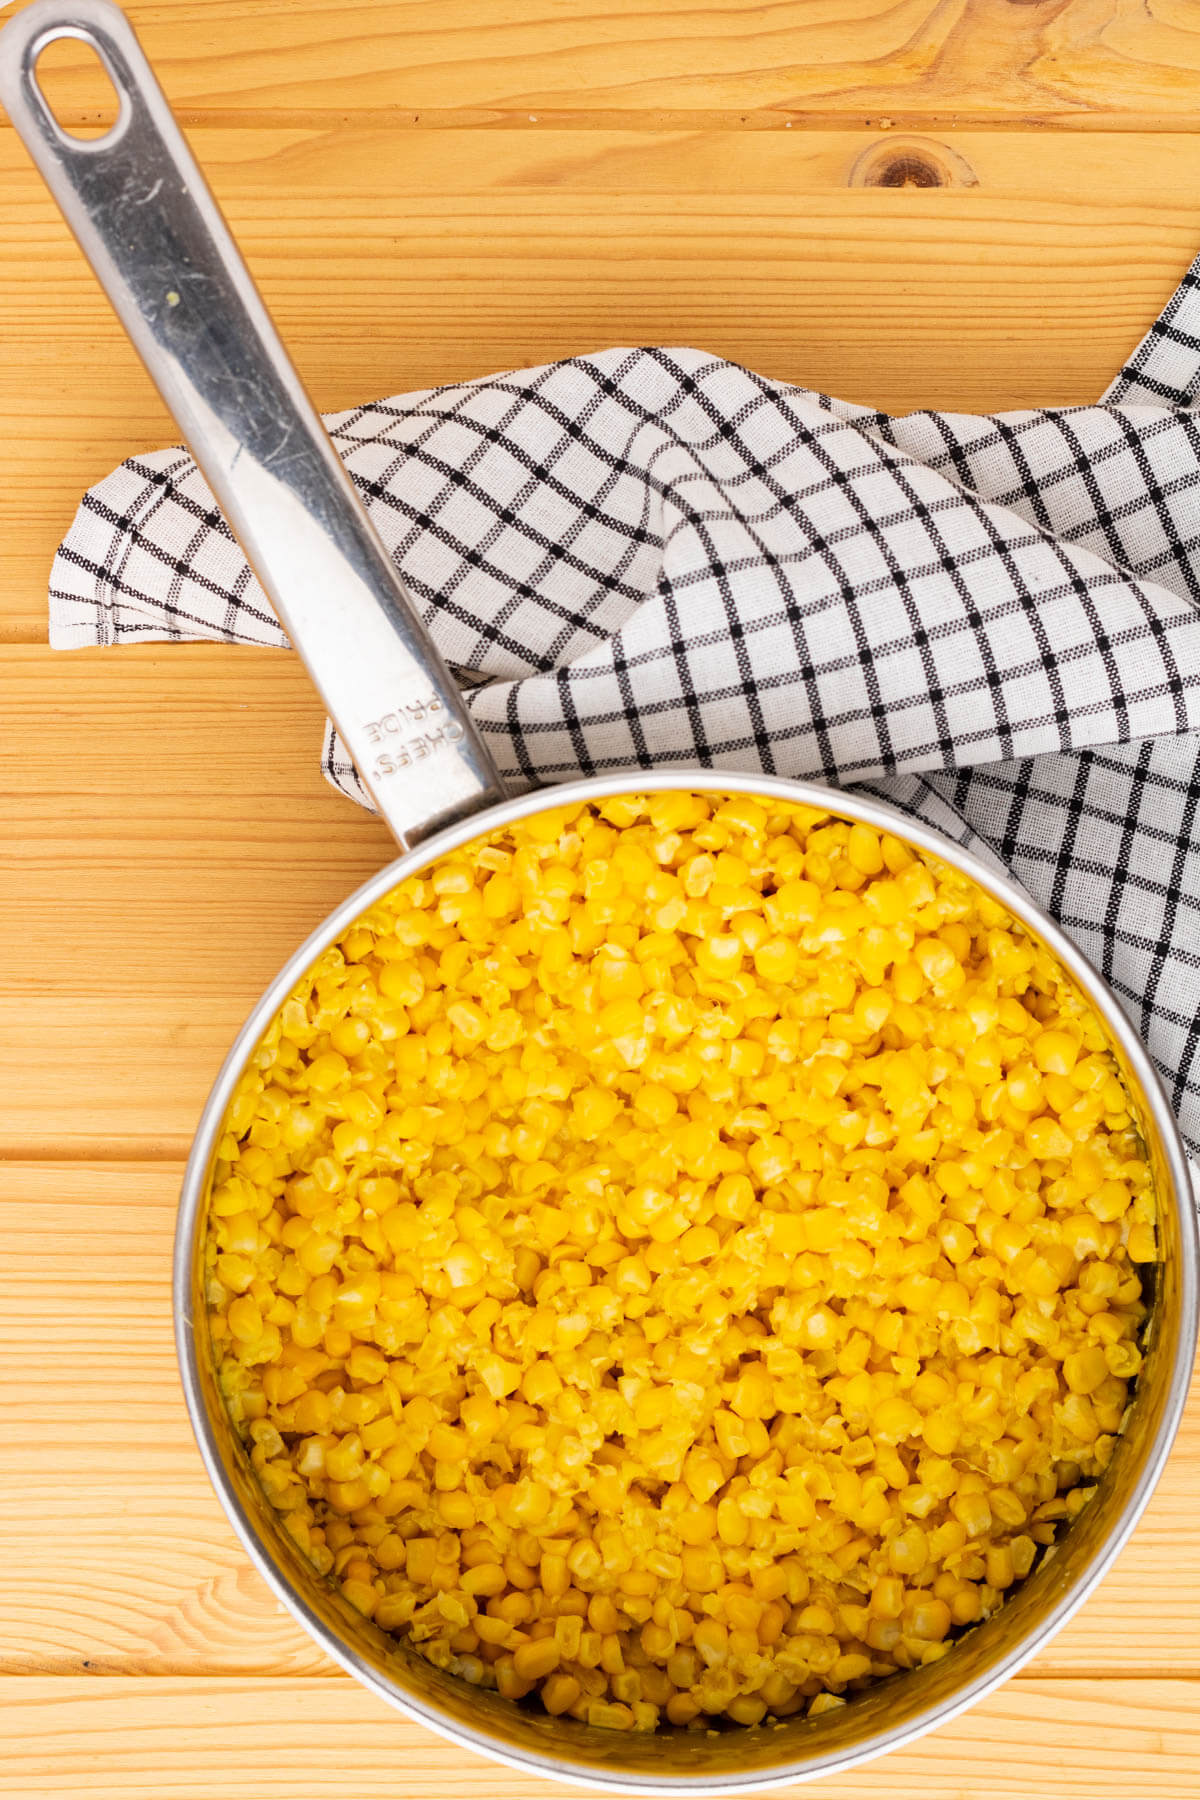
Blanching the Corn
This part is super easy. Simply collect all the corn in large pot or Dutch oven and add a very tiny bit of water. Cover with a lid and allow the corn to heat up gradually on medium low heat. Stir after a few minutes of heating.
Once the corn has all changed from a light to dark yellow colour, remove from heat. Note that the cooking time will increase slightly for larger batches and therefore colour change is the best indicator.
Let the corn cool to room temperature before bagging.
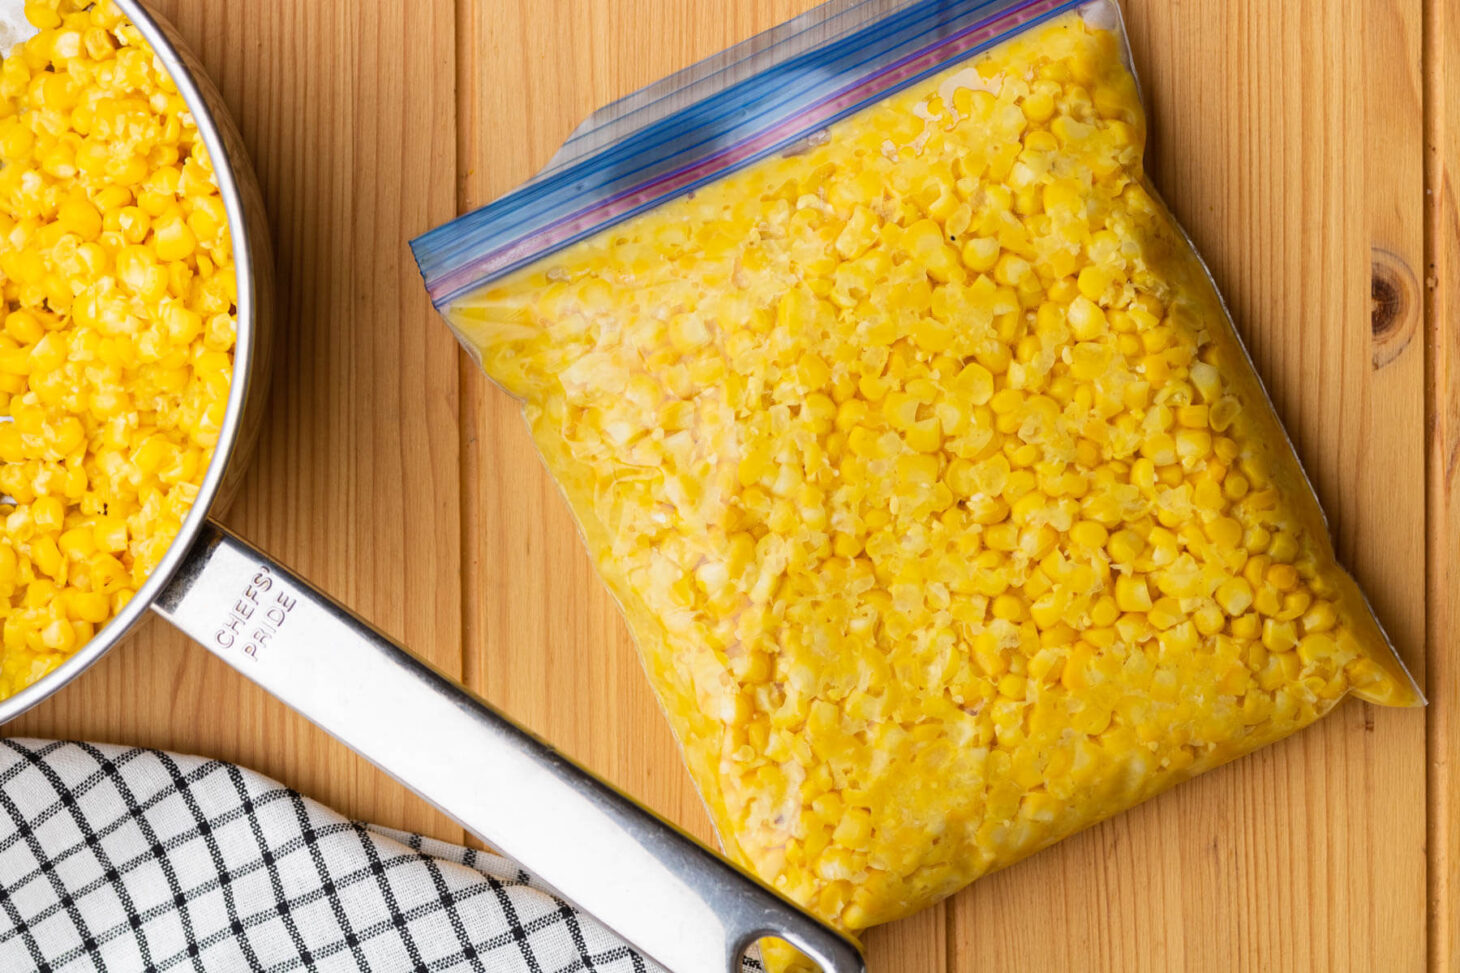
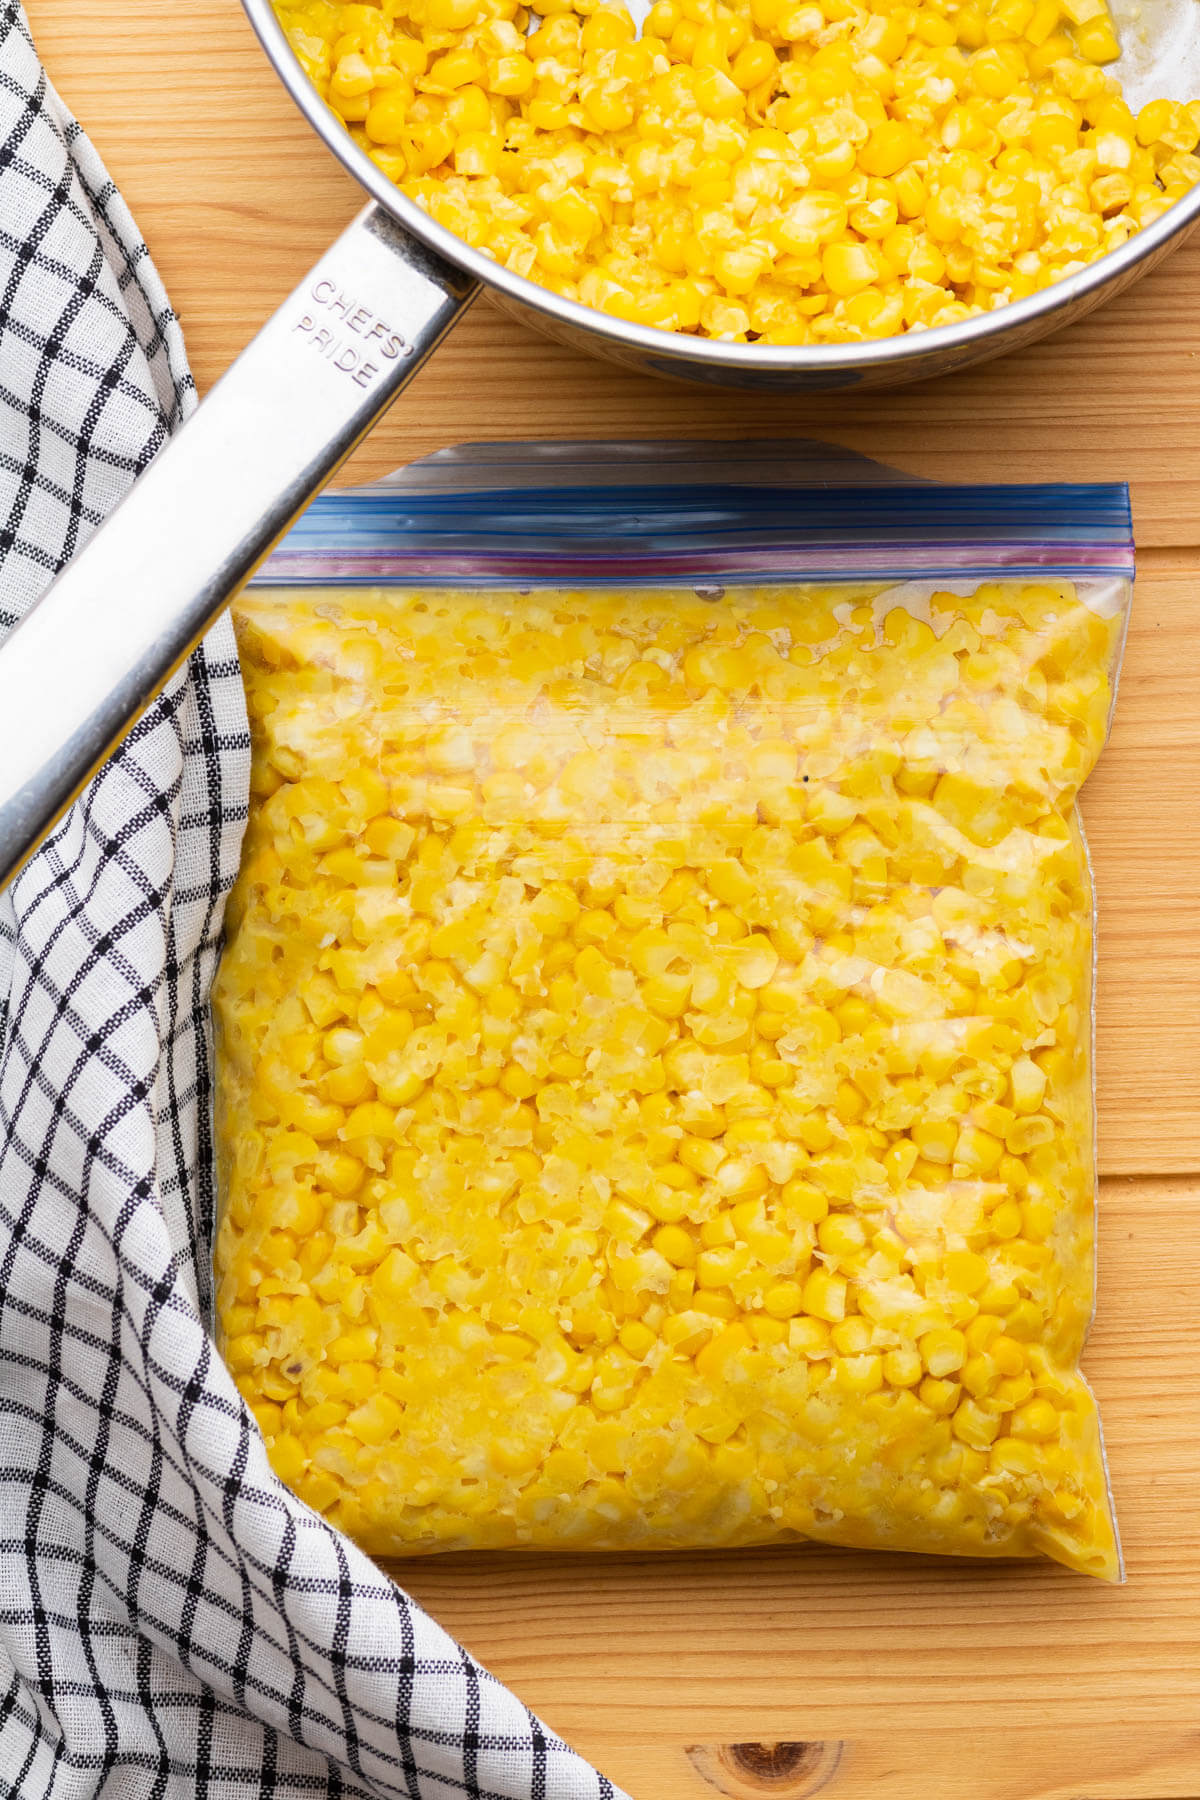
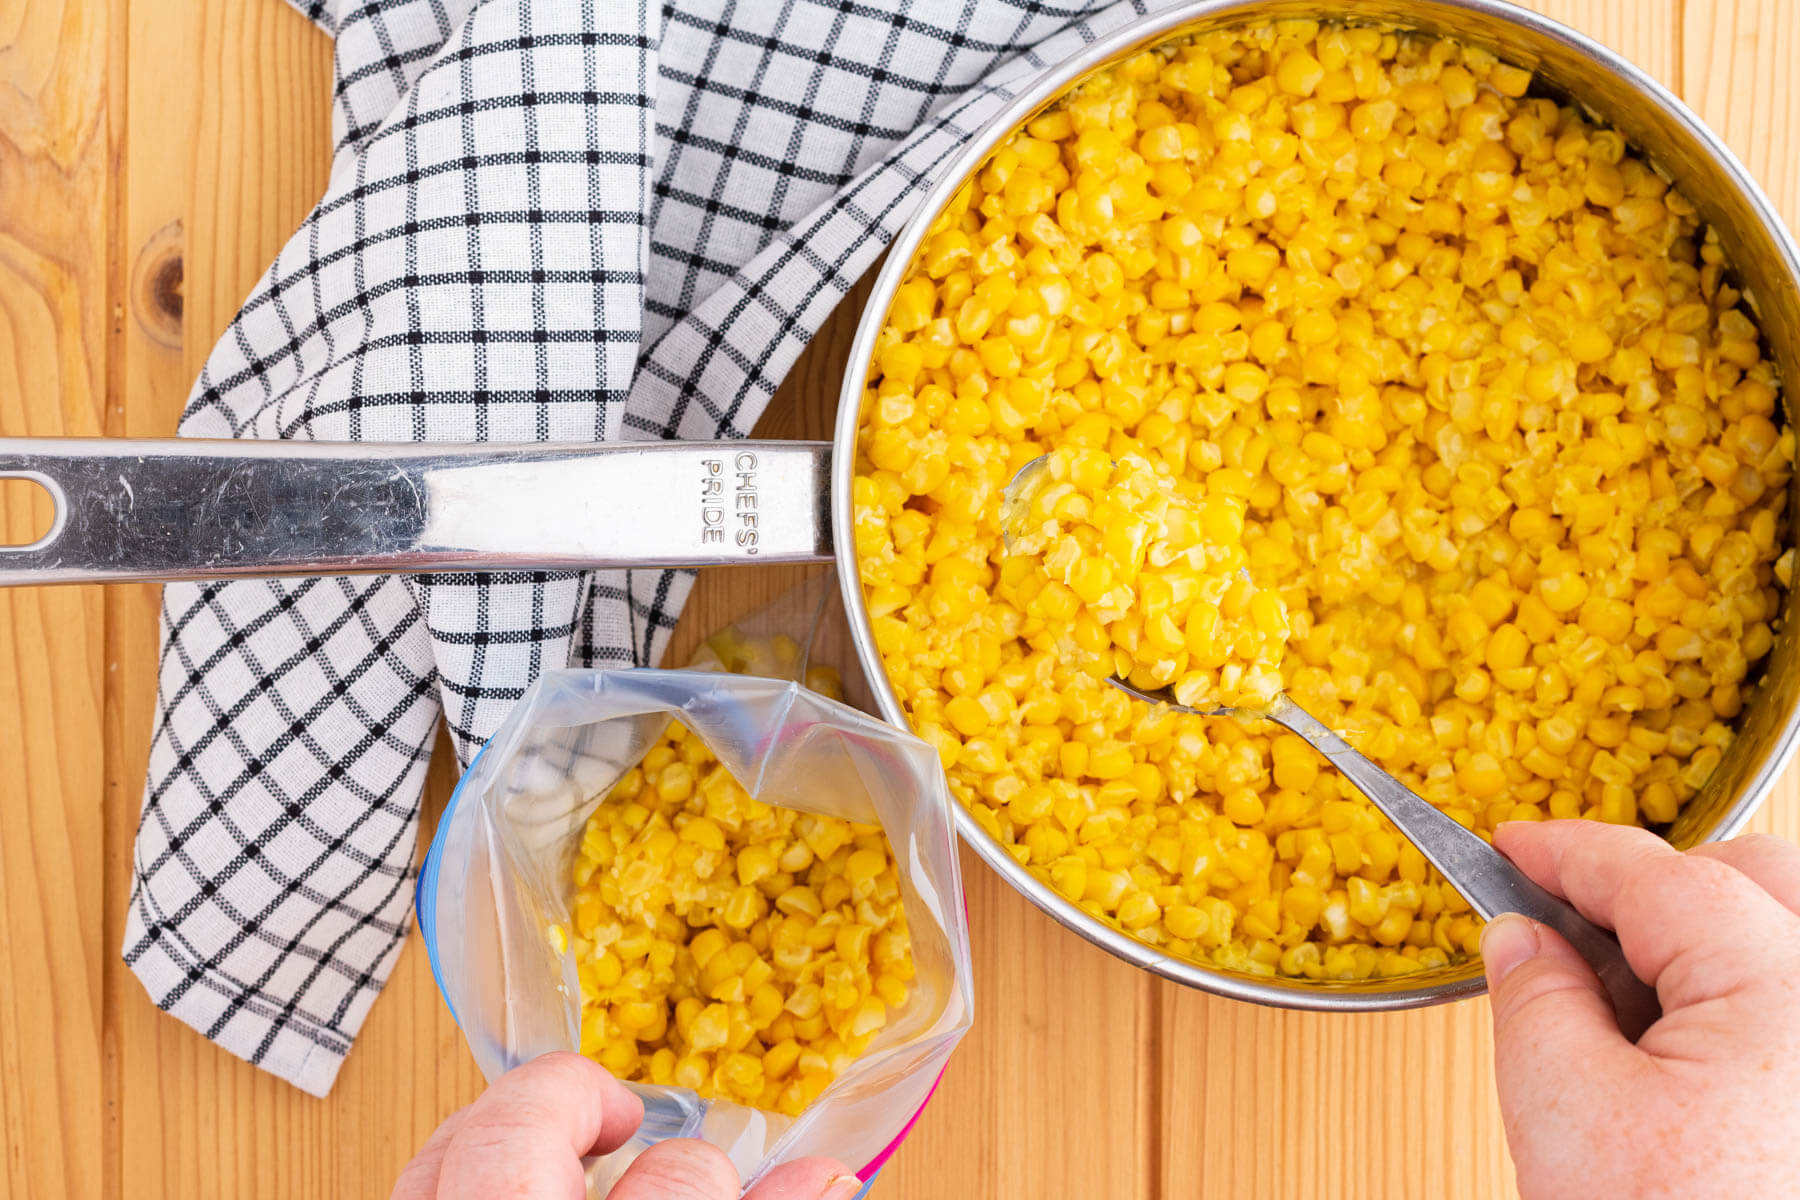
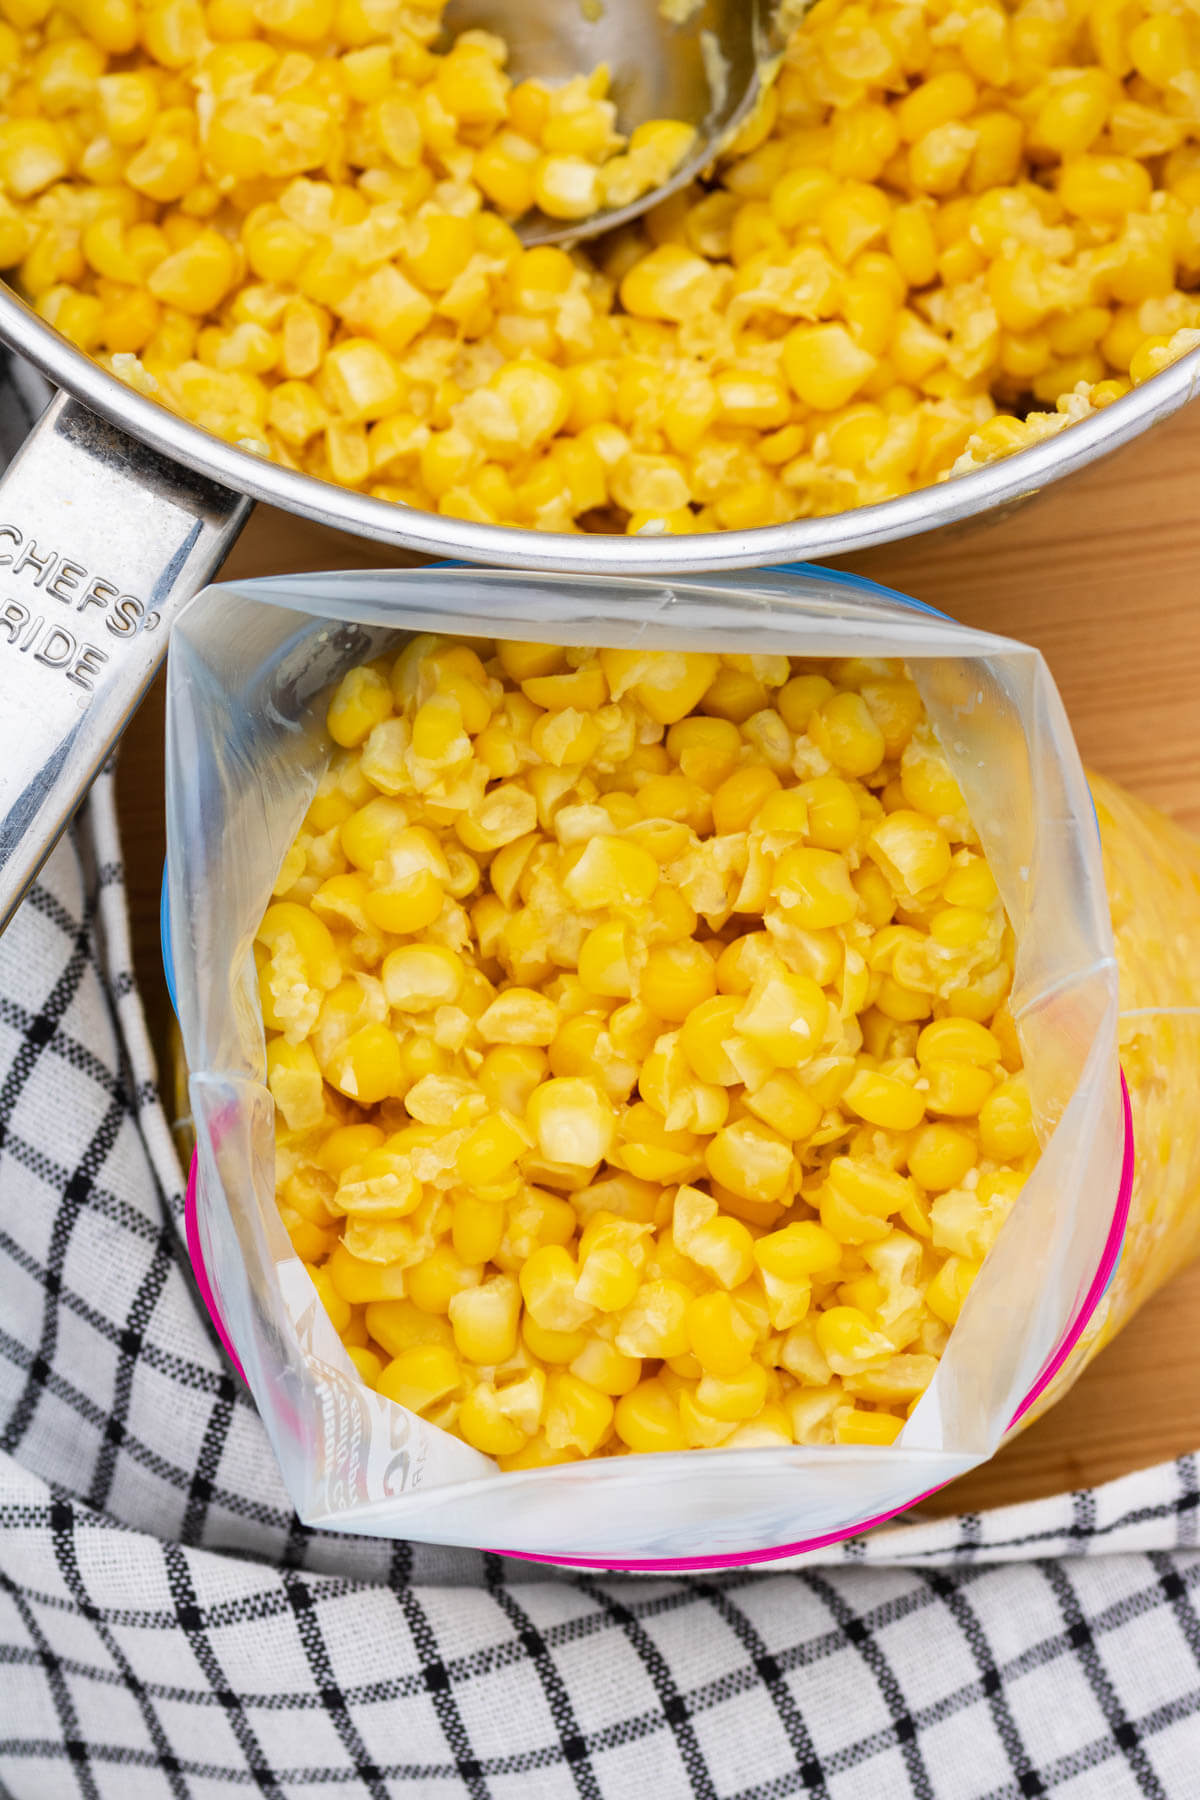
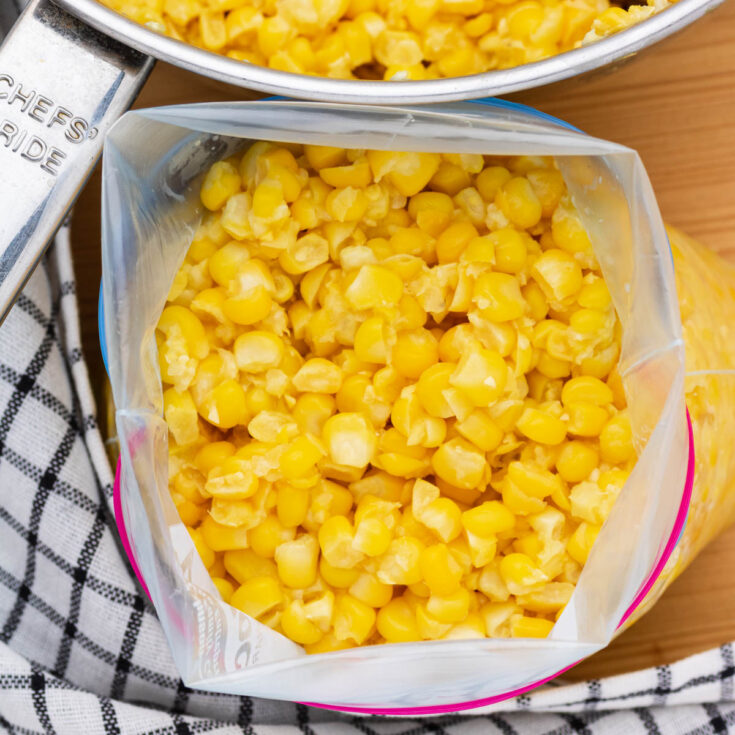
Bagging and Freezing the Corn
For easy bagging, have each freezer bag wide open on a table or counter. Fold the top down for extra stability and so the seal doesn’t get dirty.
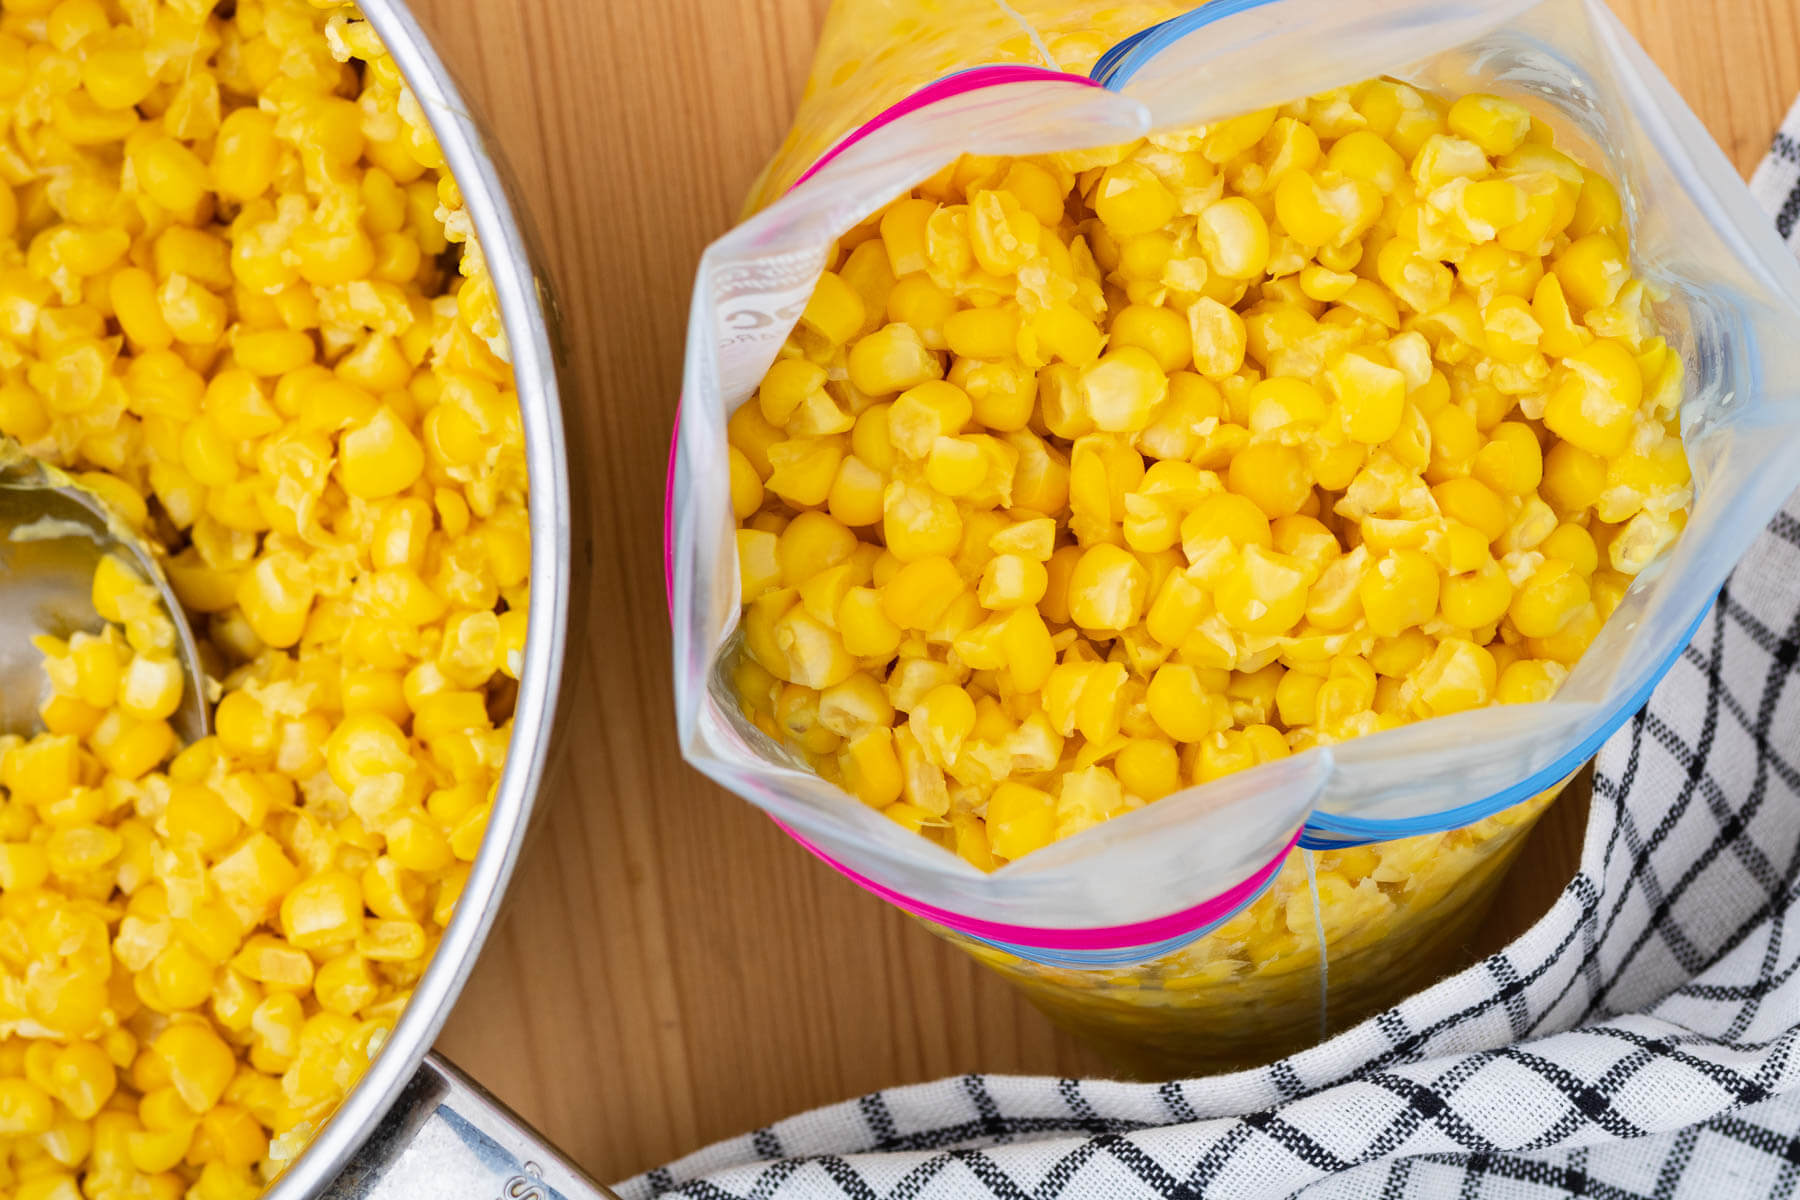
Use a cup measure to place 4 cups of blanched corn into each bag. Make sure to get some of that liquid gold at the bottom of the pan in each bag.
To seal, unfold the top and press along the seams, squeezing as much air out of the bag as you can. For frozen vegetables, air is the enemy! Too much air will result in freezer burn.

How Long Does Frozen Corn Last?
In our house, these precious bags of summer gold do not last very long. However, they will keep up to a year and slightly more when properly stored.
How to Reheat Frozen Corn
Luckily, this isn’t rocket surgery. Allow the bag of frozen corn to thaw overnight in the refrigerator. Alternatively, place frozen corn (remove it from the bag first) in an appropriate sized saucepan.
Add a very small amount of water (1-2 tbsp) and cover. Reheat on medium high heat and cook frozen corn until the kernels break up.
In a pinch, you can also heat the frozen corn up in the microwave. Place in a microwave safe bowl and cover with a paper towel. Heat for 1-2 minutes on high, then remove and stir. Heat once more if necessary.
This cooked corn is amazing on it’s own but everything is better with a pat of butter. Even a little salt and pepper or Parmesan cheese, if you like. Sometimes, I’ll even add a bit of dried dill weed. Frozen corn is one of the tastiest quick and easy side dishes out there!
Hi! I’m Bernice Hill, the heart and soul behind Dish ‘n’ the Kitchen. It is my pleasure to share easy to follow recipes that are delicious, nutritious, and approachable for the whole family.
If you make this Frozen Corn please be sure to leave a comment and/or give this recipe a rating! Be sure to follow me on Facebook and Pinterest for my latest recipes. Also, if you do make this recipe please tag me on Instagram, I’d love to see what you guys are making! Thank you so much for reading my blog.
How to Make Frozen Corn
Preserve summer's sweet corn using the simplest technique...freezing! This post will walk you through preparing and preserving your very own batch of frozen corn.
Ingredients
- 6 ears of sweet corn
- salt (optional)
Instructions
Preparing the Corn
- Peel the husks of one side from top to bottom, then do the other side. Remove any silks that cling to the cob.
- Remove the kernels from the cob by holding the stem end in one hand and starting at the stem end gently slice the kernels off along the length of the cob. Rotate the corn to do the rest of the rows.
- Once the whole cob has been stripped of kernels, turn it over and hold the pointy end of the cob. Using the back of your knife, rub the empty cob in a downward motion to release any last bits from the kernels and the resulting corn juices,
- Place all of the corn and juices in a large saucepan or Dutch oven with a lid. Cover with a lid and allow the corn to heat up gradually on medium low heat. Stir after a few minutes of heating.
- Once the corn has all changed from a light to dark yellow colour, remove from heat. Let it cool to room temperature before bagging.
Freezing the Corn
- Use a cup measure to place 4 cups of blanched corn into each bag. Make sure to get some of that liquid gold at the bottom of the pan in each bag.
- To seal, press along the seams, squeezing as much air out of the bag as you can.
- Place in the freezer until you are ready to use the corn.
Thawing and Heating
- To thaw, simply thaw a bag overnight in the fridge, or place directly in a small saucepan (remove corn from bag!) and add 1-2 tbsp water. Cover and heat on medium low until kernels have separated.
- Serve with butter, salt and pepper or add to your favourite corn recipe.
Notes
Note: 6 ears of corn will yield roughly four cups of corn kernels, the same amount that fits into a medium sized freezer bag. To increase batch size, add 1 bag for every extra half dozen ears you have.
Nutrition Information:
Yield:
4Serving Size:
1Amount Per Serving: Calories: 114Total Fat: 2gSaturated Fat: 0gTrans Fat: 0gUnsaturated Fat: 1gCholesterol: 0mgSodium: 147mgCarbohydrates: 25gFiber: 3gSugar: 5gProtein: 4g
Nutritional calculation was provided by Nutritionix and is an estimation only. For special diets or medical issues please use your preferred calculator.
I always overbuy Taber corn on the cob when it’s in season, with the best intentions. But then I don’t have time to make all the corn dishes I dreamed of making. This is very helpful!
The process itself takes a bit of time (enlist hubby and the kids!) but it’s so worth it!!
This is such a helpful post! And I love your reasons about supporting local farmers. It’s always nice to have corn on hand in the freezer to add to soups or for making creamed corn!
It is such a treat! Thanks for stopping by Amy.
My in-laws used to grow their own corn but stopped about 15 years ago. I wish they still grew it cause my kid LOVES corn. With a corn love kid, we naturally go through a lot of the stuff, so like you, those bags of frozen kernels wouldn’t last long. I’ve never thought to freeze my own, but with all that fresh Taber corn hitting the markets right now, it’s probably a good thing to try.
Lucky you! For some reason our family was never able to grow great corn. I guess you’re quite a bit farther south. Get on that Taber corn before it disappears forever!
I really appreciate how informative this recipe is- I’m looking forward to keeping these tips in mind for the next time I cook and freeze corn.
Great to hear! I hope you get a chance soon.
Like you, we make and can passata from our homegrown tomatoes. We also freeze our peas, which is a bit similar to doing corn except no blanching. I’ve never thought to freeze corn. I always buy canned when it’s out of season but am definitely going to start freezing it like this!
Oh, I wish I had the space to grow enough peas to preserve them. Such a treat!
I love summer corn so much but never have a lot of freezer space. Glad you mentioned how many ears I need to buy to just freeze one bag – it’s perfect!
Yes, freezer space is always a premium around here but I always make room for corn!
I love these tips! Thank you for this post I can’t wait to start freezing my own corn!
Excellent to hear…happy preserving!
Wow, this was so easy and useful because summer’s sweet corn is the best! It’s great to be able to have it whenever you want to.
It’s so great to just grab a bag from the freezer to eat as a side dish or add to other recipes.
We have a garden full of sweet corn every summer, and have been freezing the corn for years. It turns into a family event!
I kind of love that…everyone helps and benefits!
With all the fresh summer corn on hand, this is a must! Great tips on preserving corn for the coming winter months. Thank you!!!
You are so welcome, I hope you give it a try Tammy.
I never thought that I would need to blanch my corn, thanks for the tip and I agree with supporting local fresh corn. It just tastes so much better than store-bought frozen!
It’s just how I’ve always done it. I do love to buy Chilliwack corn when I can!
Fresh summer corn always tastes SO much better- it’s totally worth freezing. My mom used to do this and it was so comforting in the cooler months to have that flavor!
It is for sure a real treat to have fresh summer corn in mid winter.
Thanks for sharing all these tips and ways to make frozen corn. I’ve never thought about doing this myself but it sounds very easy and is going to come in handy when you need to use in a salad or soup.
It really is worth it to have such great corn available for all sorts of recipes.
This was so informative! We have never frozen our own corn, but will start looking for opportunities now. Thanks!
Glad you enjoyed this quick tutorial Marta!
My mother used to put up corn. She usually did whole ears for the freezer. A friend of mine cuts corn off the cob by using a bundt pan and putting the ear of corn over the hole in the center while cutting off the kernels? I love these detailed instructions and pinned them to use later.
Yes! I’ve tried the bundt pan trick and I found that it didn’t catch everything. No matter what method you use, it is a little bit messy.