
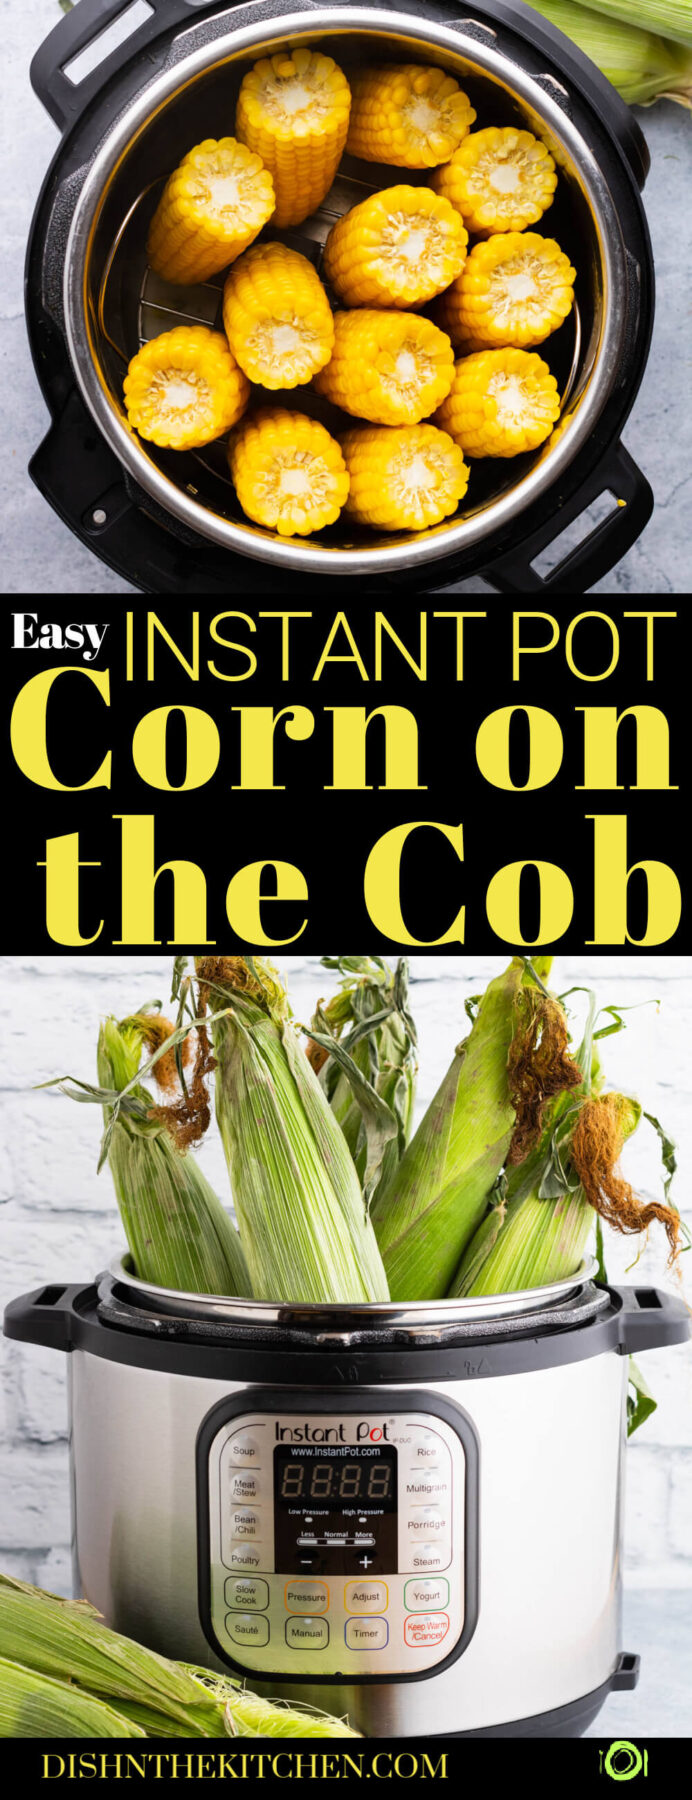
Instant Pot Corn on the Cob is the easiest, fool proof method of cooking corn on the cob. Use this ‘set and forget’ method to cook perfectly sweet corn every time.
Quickly cook fresh corn in the Instant Pot right on the cob then use it as a quick side dish, in a delicious Corn Chowder or fill up freezer bags to make your very own stash of Frozen Corn.
Want to save this recipe?
Enter your email below and get this post sent straight to your inbox. Plus, I’ll send you my weekly newsletter featuring the newest and best Dish ‘n’ the Kitchen recipes every week!
Instant Pot Corn on the Cob
Around here, we love corn dishes just as much as we love corny jokes. Sometimes we’ll even eat a whole meal of only fresh corn, butter, and new potatoes. It really is a treat.
Though there are several ways to cook corn on the cob, the Instant Pot is one of the quickest ways I know. It’s great option for two people, or for a large group because you can add as many or as few cobs as you like and they all cook evenly. My second favourite method is air fryer corn on the cob because it uses my favourite appliance!
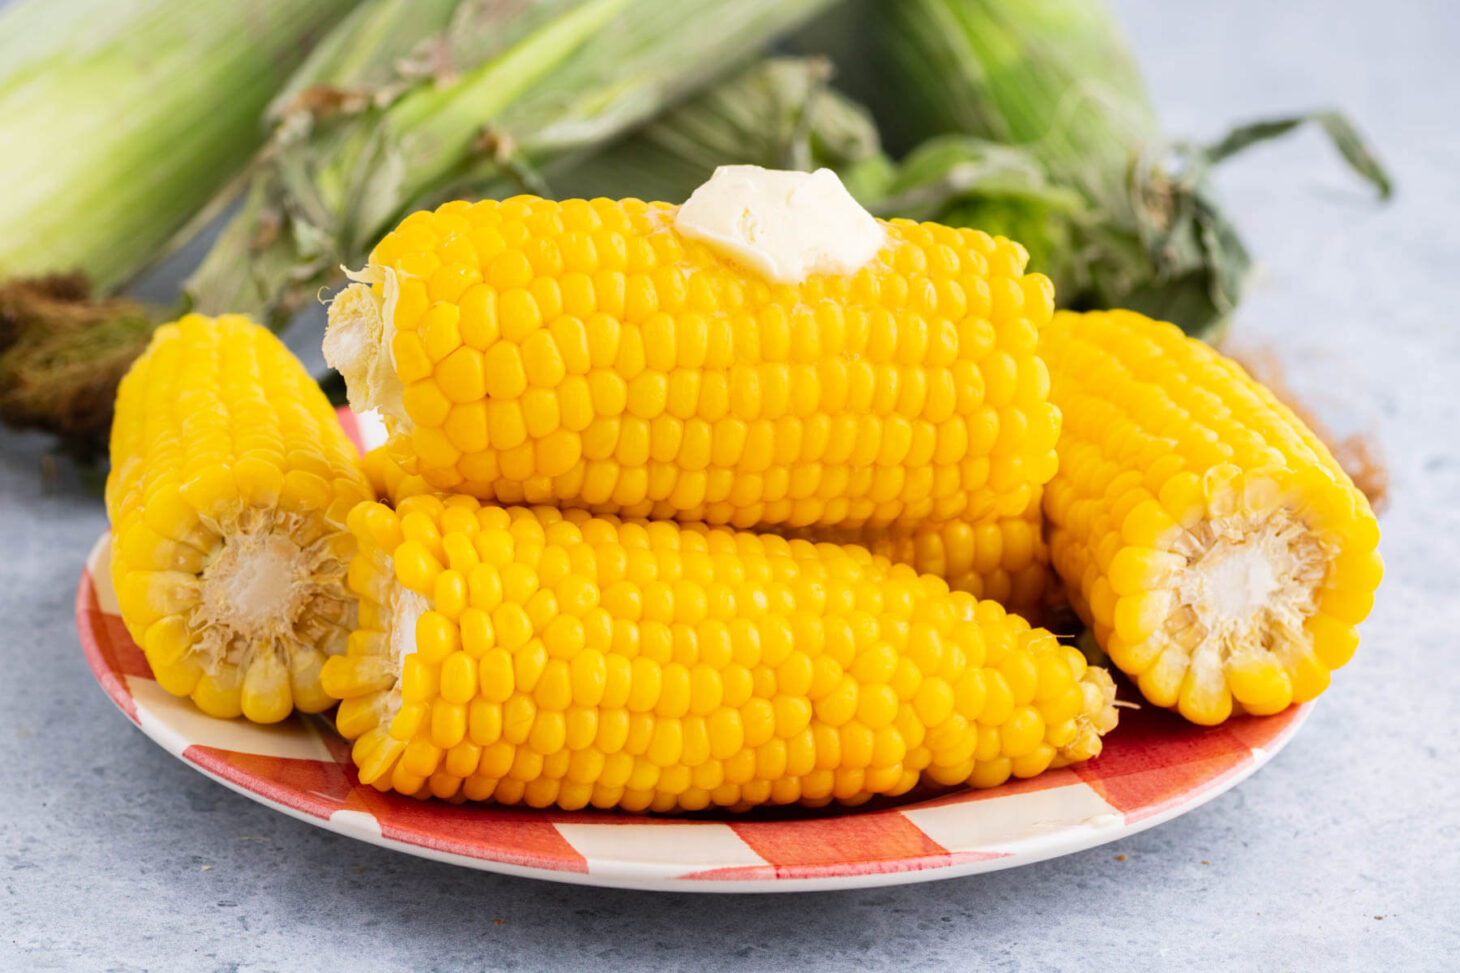
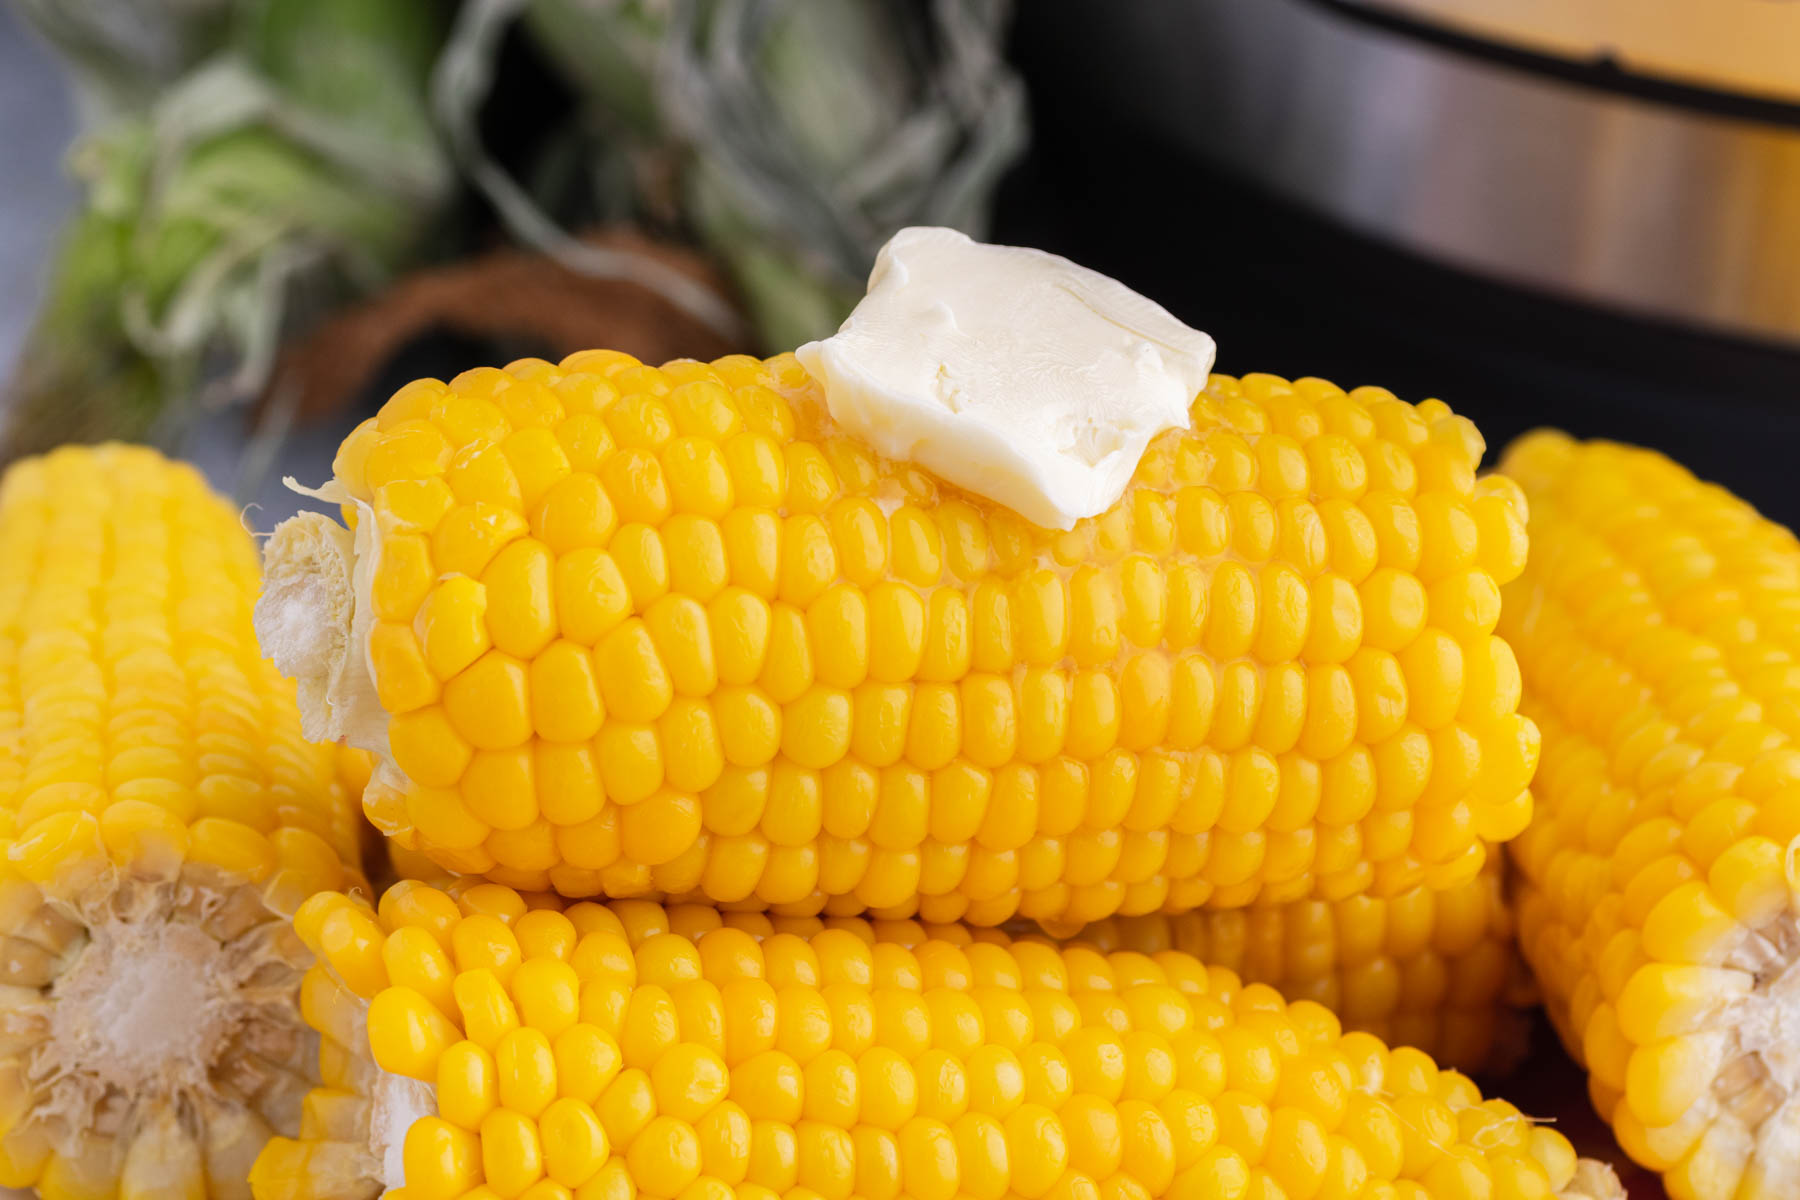
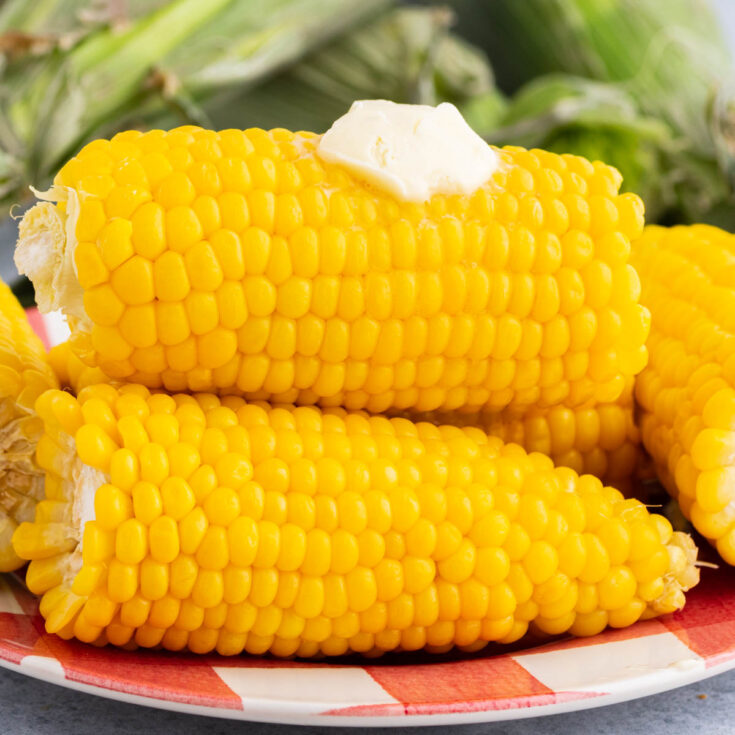
With very little effort, you can have tender, sweet cobs, just begging to be buttered.
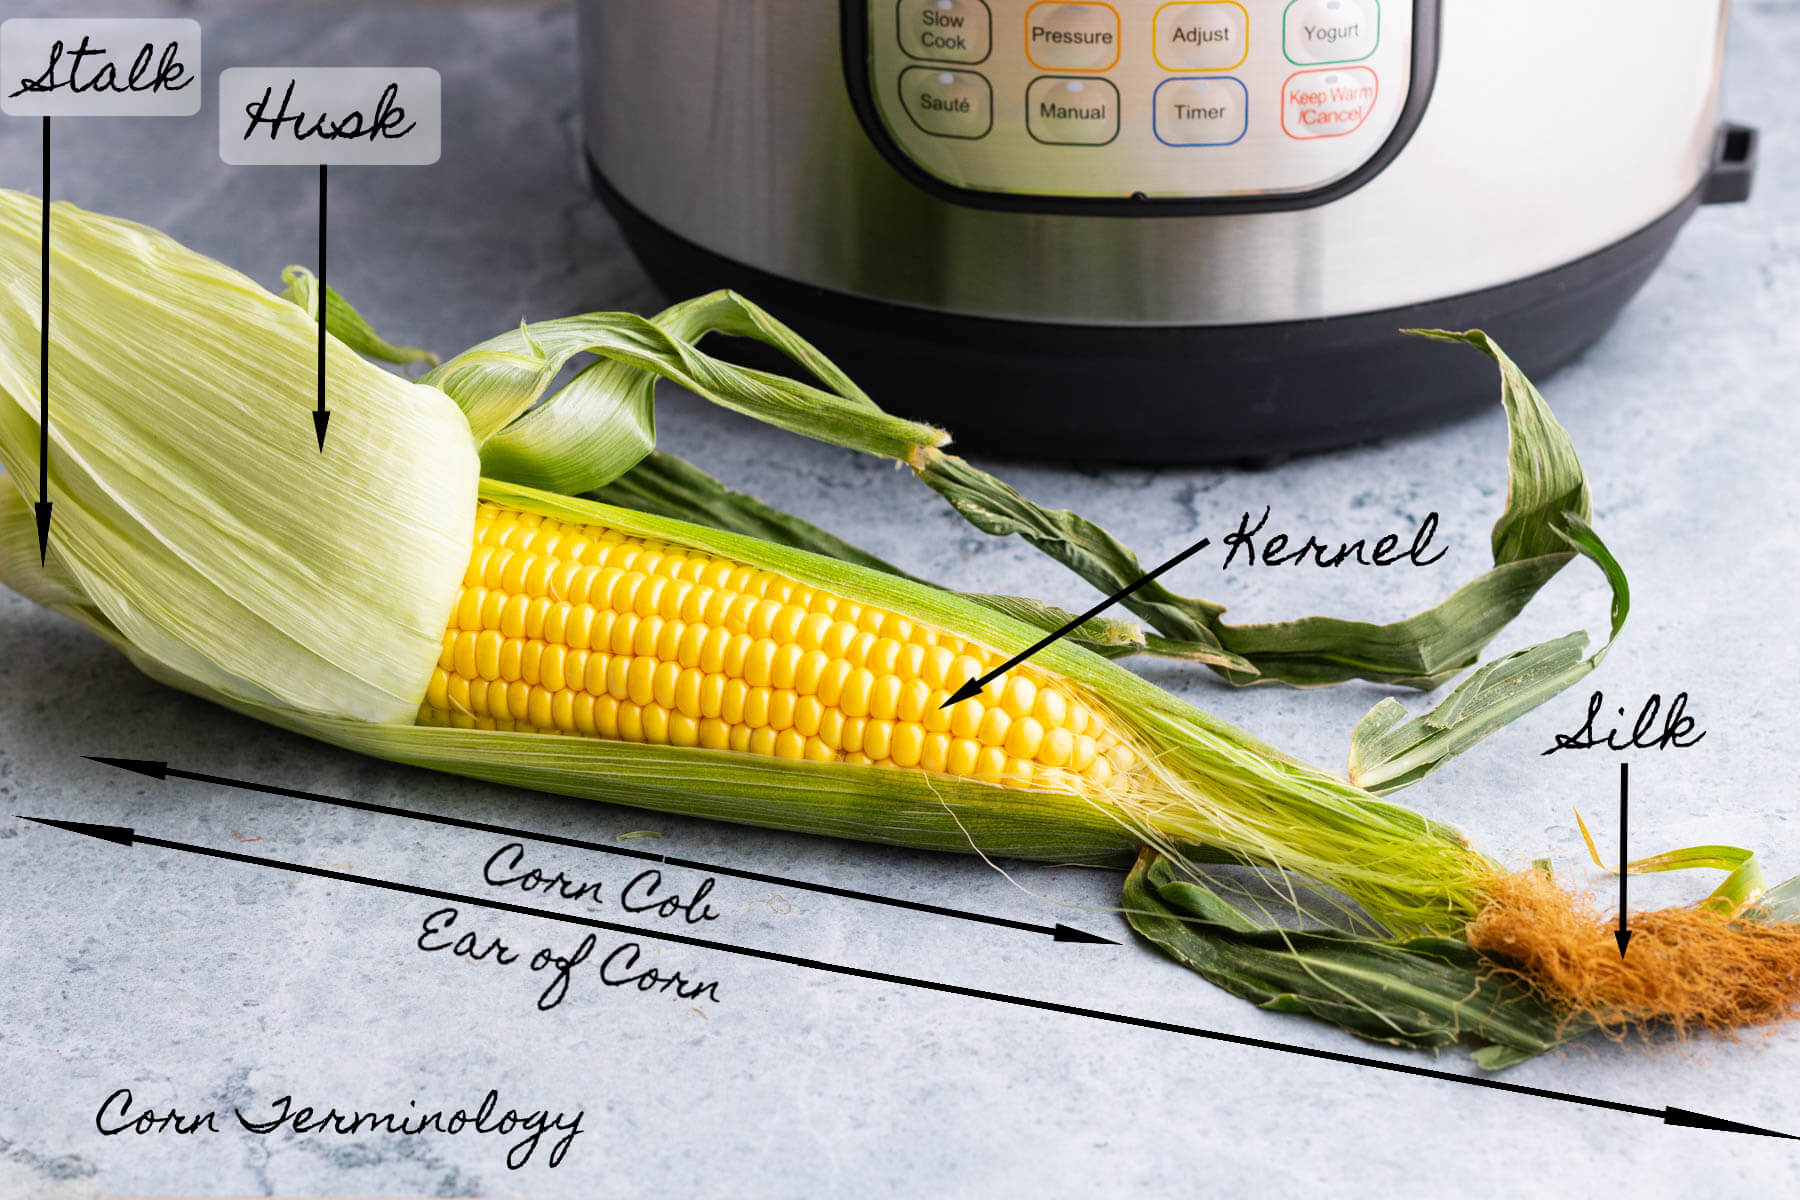
How to Select Fresh Corn
Starting with sweet, fresh corn is essential to achieving the tastiest Instant Pot Corn on the Cob. If you mistakenly buy older ears of corn, or corn that hasn’t been freshly picked you could end up with very starchy, less sweet corn.
Why does older corn get starchy? Over time, the cob dries out and the sweet sugars within the corn kernels convert to starches. Here are some tips to selecting the best cobs for your dinner.
- Buy corn in season, preferably directly from the farmer or at a Farmer’s Market. Chat up the vendors for the low down on when the corn was picked. Ideally, choose corn that was picked that day or the day before.
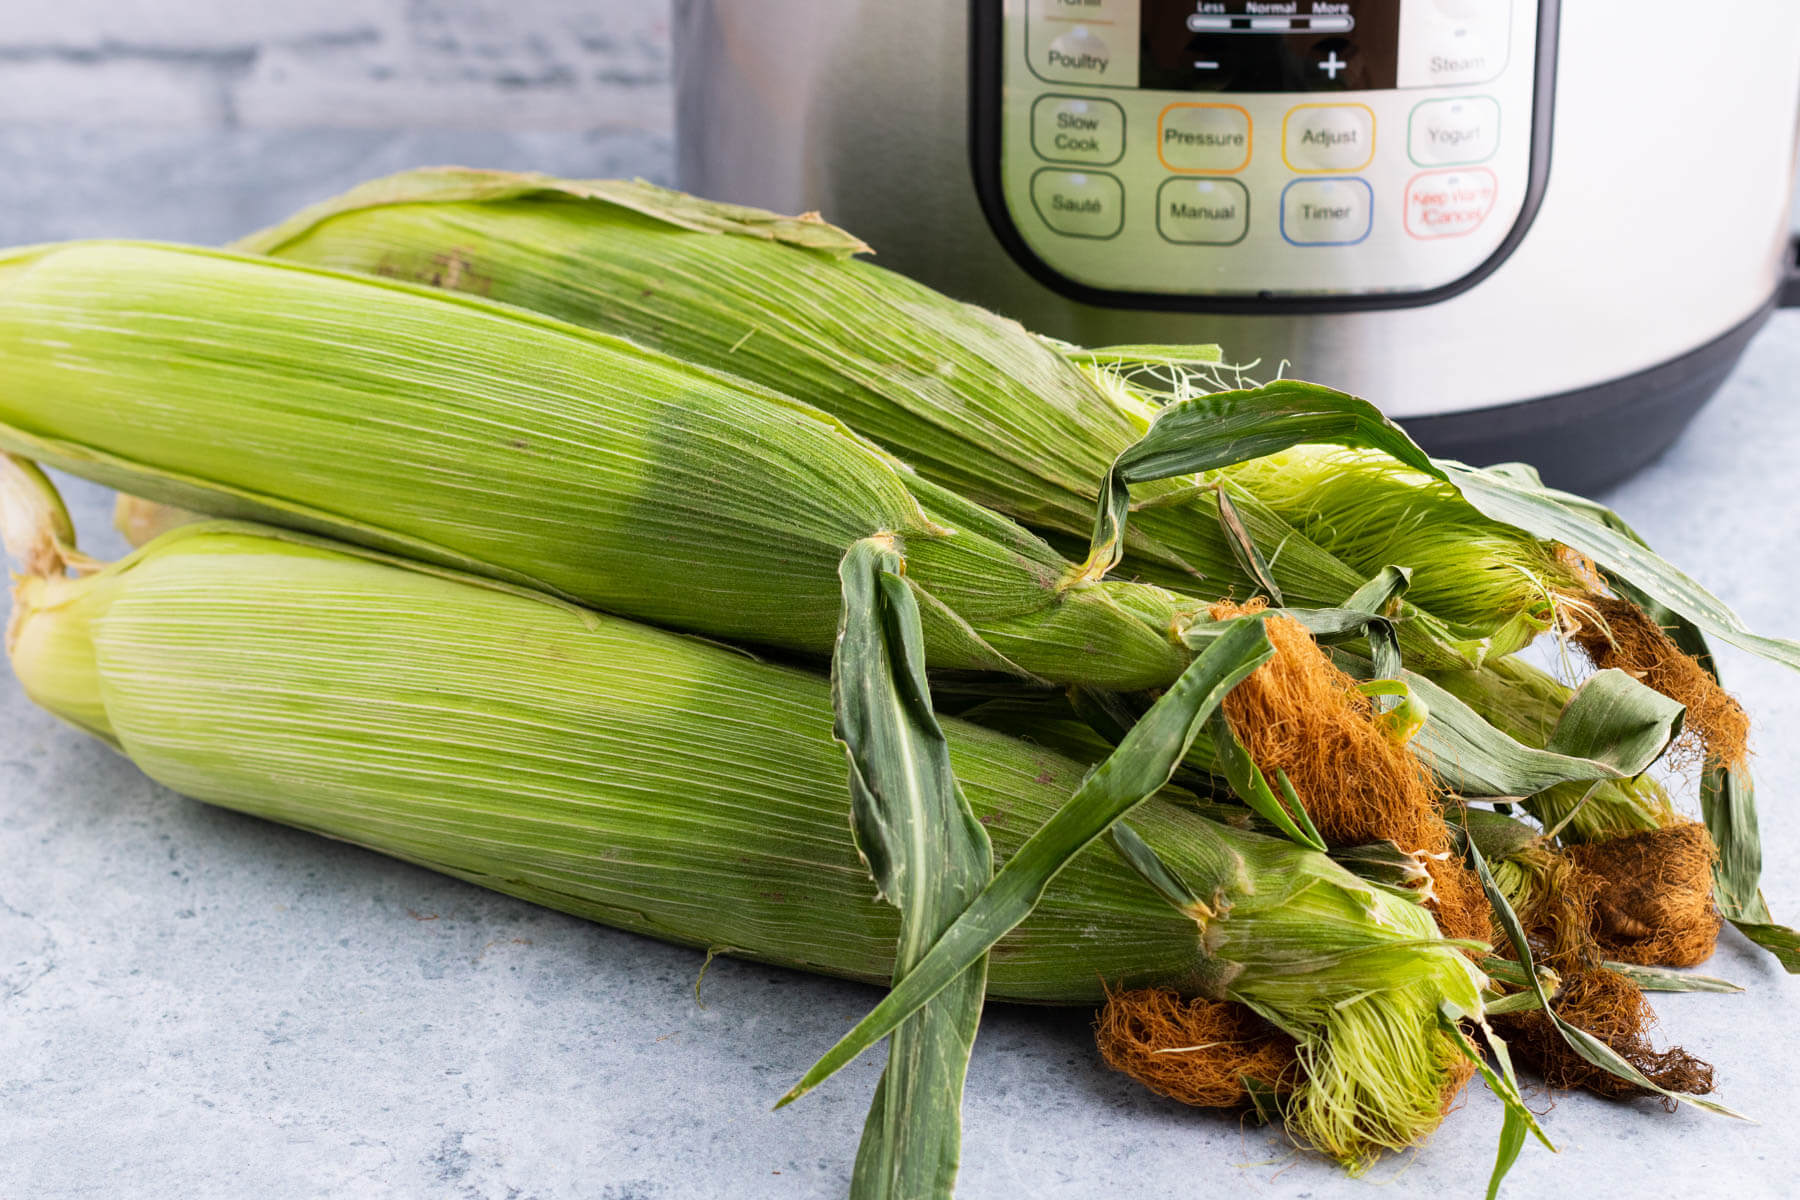
- Choose ears that have tight, bright green, moist husks and dark silks. If the husks are loose, or the silks are too dry, it means that the corn has also began to dry out.
- Moisture is key. Select ears of corn that are heavy. Peel back enough husks to view even rows of plump kernels (check for bugs here). They should be fully formed to the tip of the cob and appear light and slightly translucent in colour.
- Finally, poke one kernel with your fingernail. The juice should just squirt out of a perfectly fresh ear of corn. Of course, be sure to purchase the cob you have tested, regardless of the outcome for sanitary reasons.
- Cook the corn the same day you bought it for best results. If you let it sit for too long, it will start to dry out or even mold.
What to Do with Old Starchy Corn
It happens to the best of us. Even with the above pointers, you can still end up with bland starchy corn. Additionally, sometimes our ambitions are greater than the energy we have to cook everything we buy, even with the best of intentions.
Have no fear, you can still save this corn. The key is to cook on high heat, such as in an Instant Pot.
Usually, I would say to keep the husks on as they can protect the kernels from drying out. However, cooking shucked cobs with a little water under high pressure will ensure they stay sweet and hydrated.
Another way to boost the flavour of lacklustre corn is to cook it with dairy. Corn loves fat…just think of all that butter slathered on a cob and try not to drool. Experiment with compound butters flavoured with your favourite herbs and spices for a variety of corn side dishes.
Then, there’s Mexican Street Corn (Elotes) and Esquites. This street food classic is slathered with mayonnaise or crema and cheese! It’s practically irresistible, right?
I also like to add corn to my Scalloped Potatoes (or Gratin Potatoes) along with a generous top layer of cheese. The casserole dish gets picked clean every time!
How to Cook Instant Pot Corn on the Cob
Prepare the Corn
Shuck each ear of corn by grabbing onto the husks of one side and pulling it outward and downward towards the stalk. Flip the ear over and repeat with remaining husks. Remove all silk.
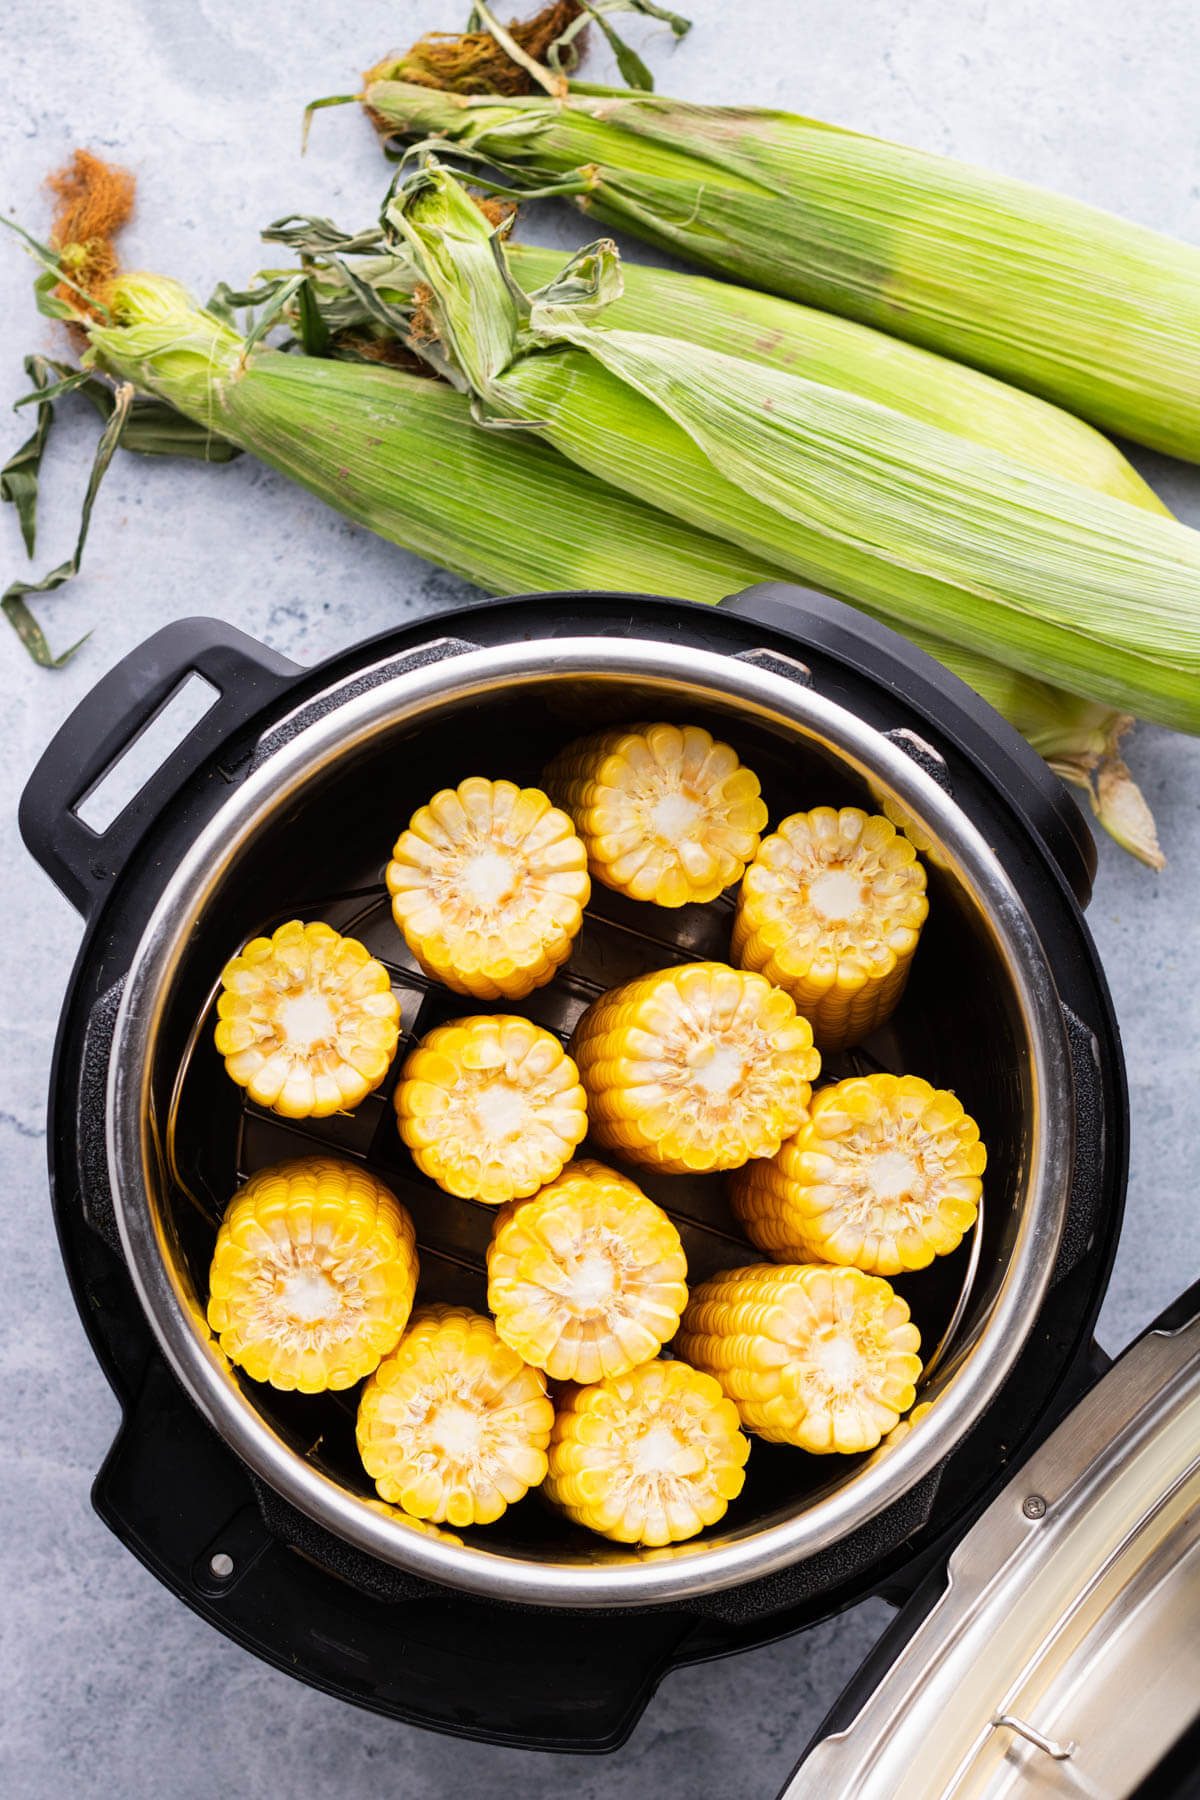
Next, cut each cob in half crosswise, as well as the tip of the corn. This will ensure that the corn will stand up straight in the pressure cooker.
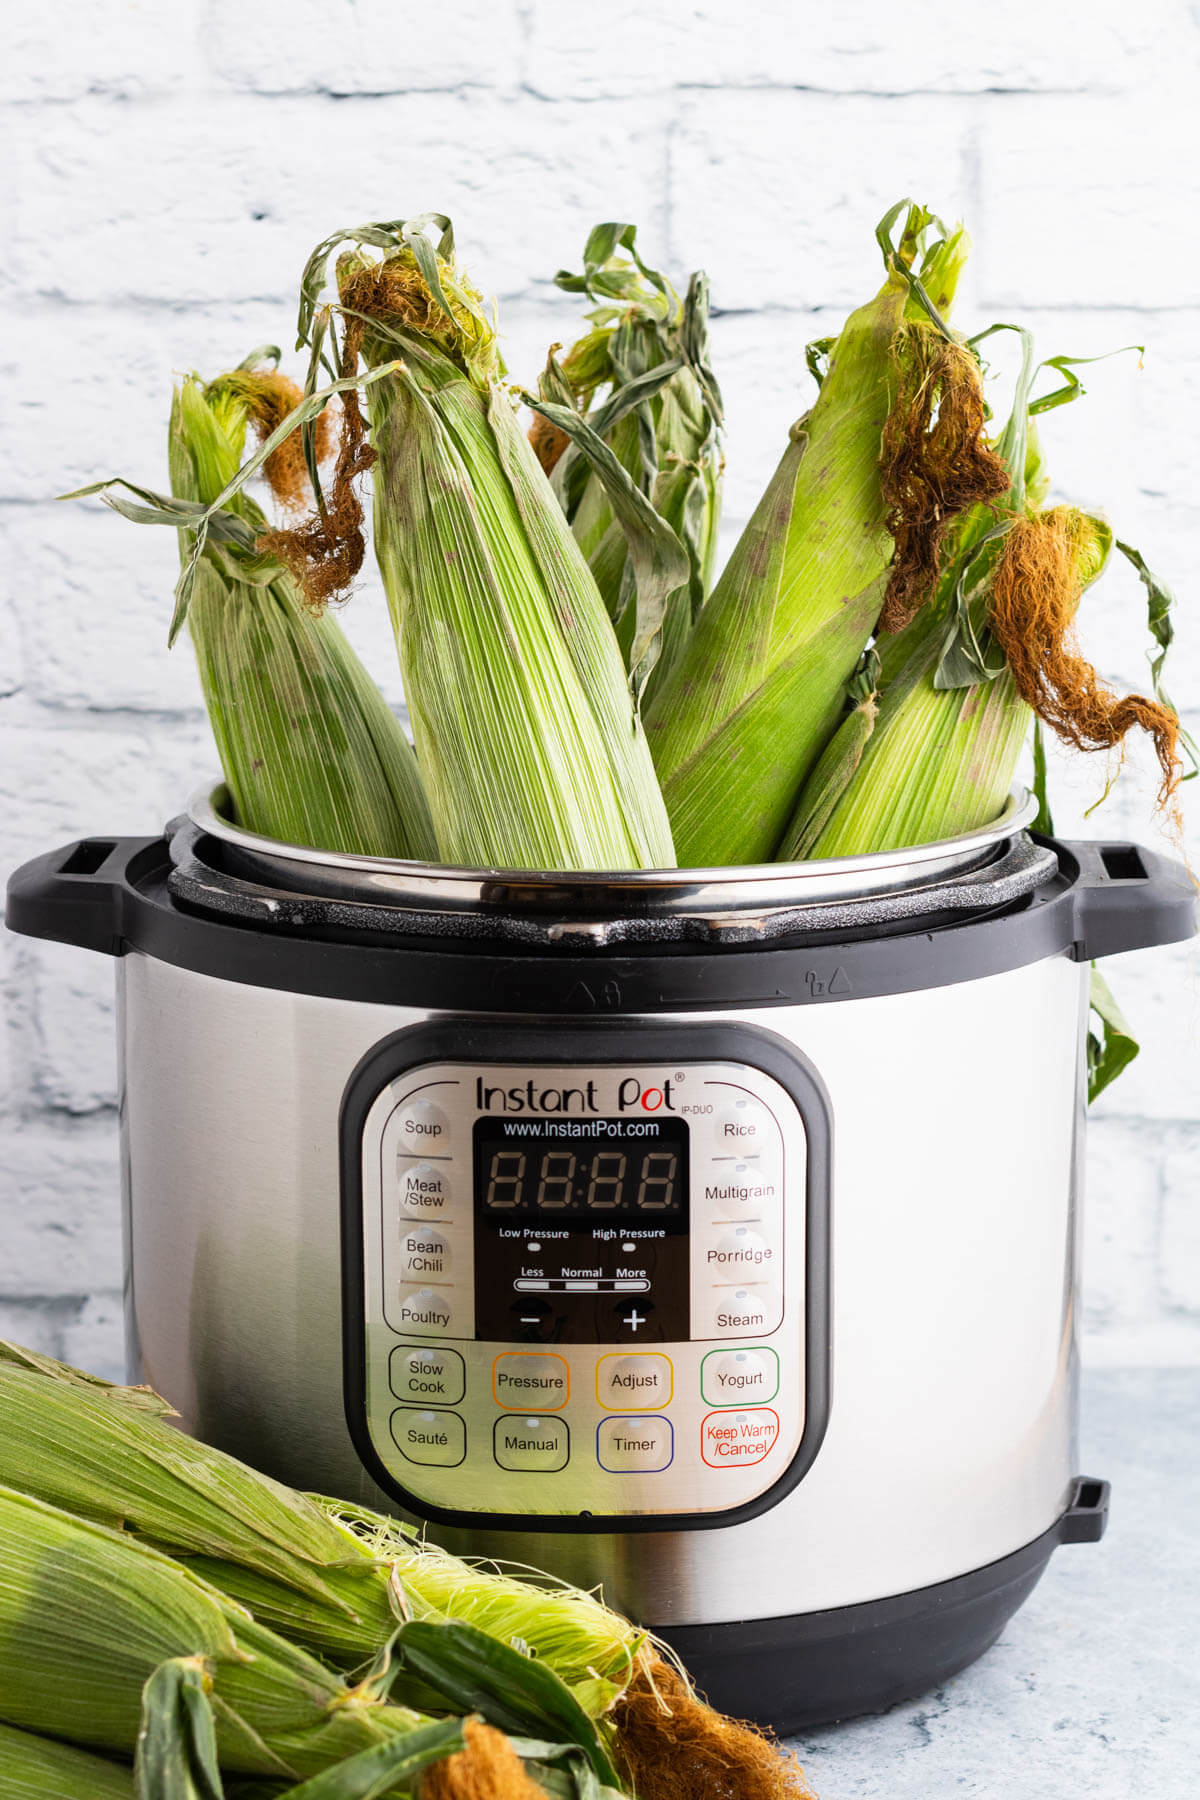
Arrange Corn in the Instant Pot
Place the metal trivet in the bottom of the Instant Pot and add one to two cups of water. Arrange each cob in the Instant Pot so that they are standing up on their ends.
Place the lid on the Instant Pot, ensuring the silicon seal is in position and the pressure release is in the sealing position.
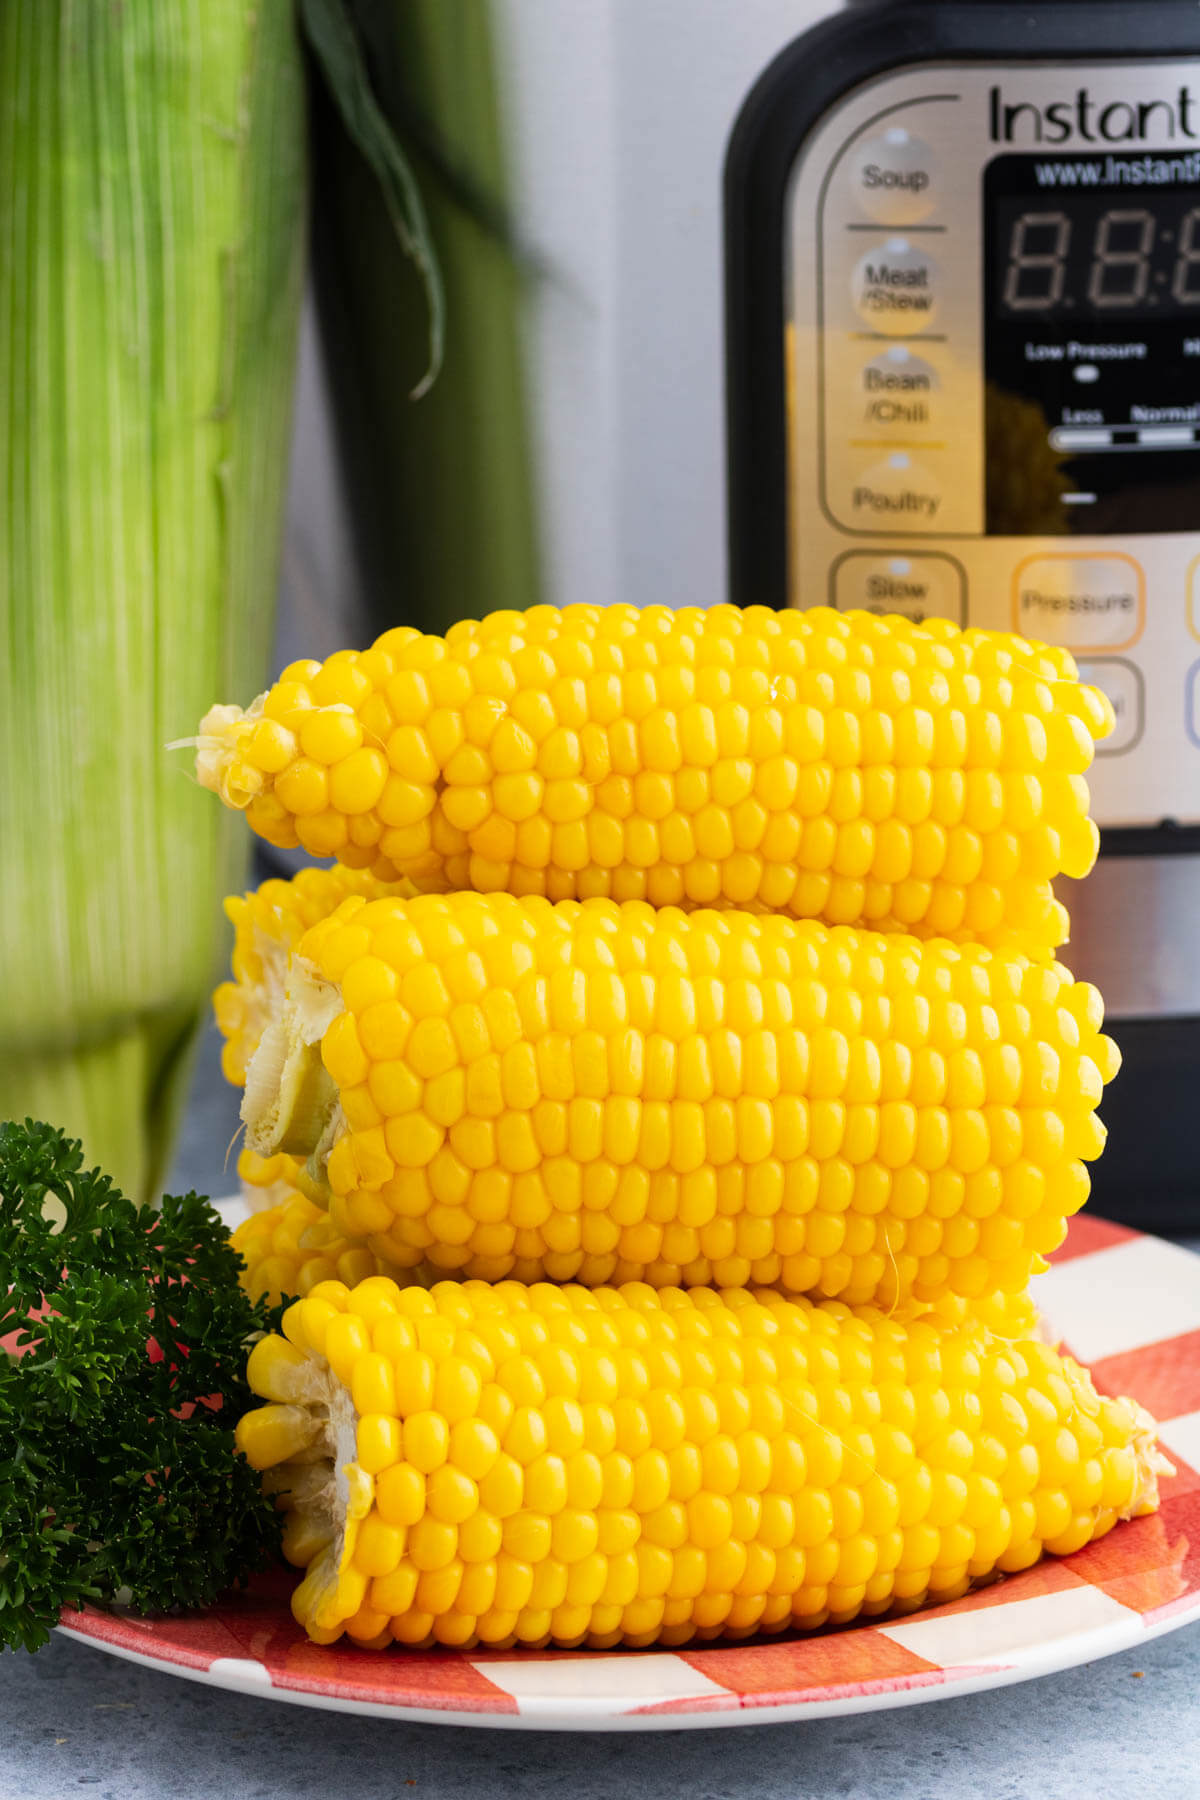
Set the Instant Pot timer to manual and ‘high pressure’, then pressure cook for 4 minutes. Immediately quick release the pressure after the four minutes of cook time.

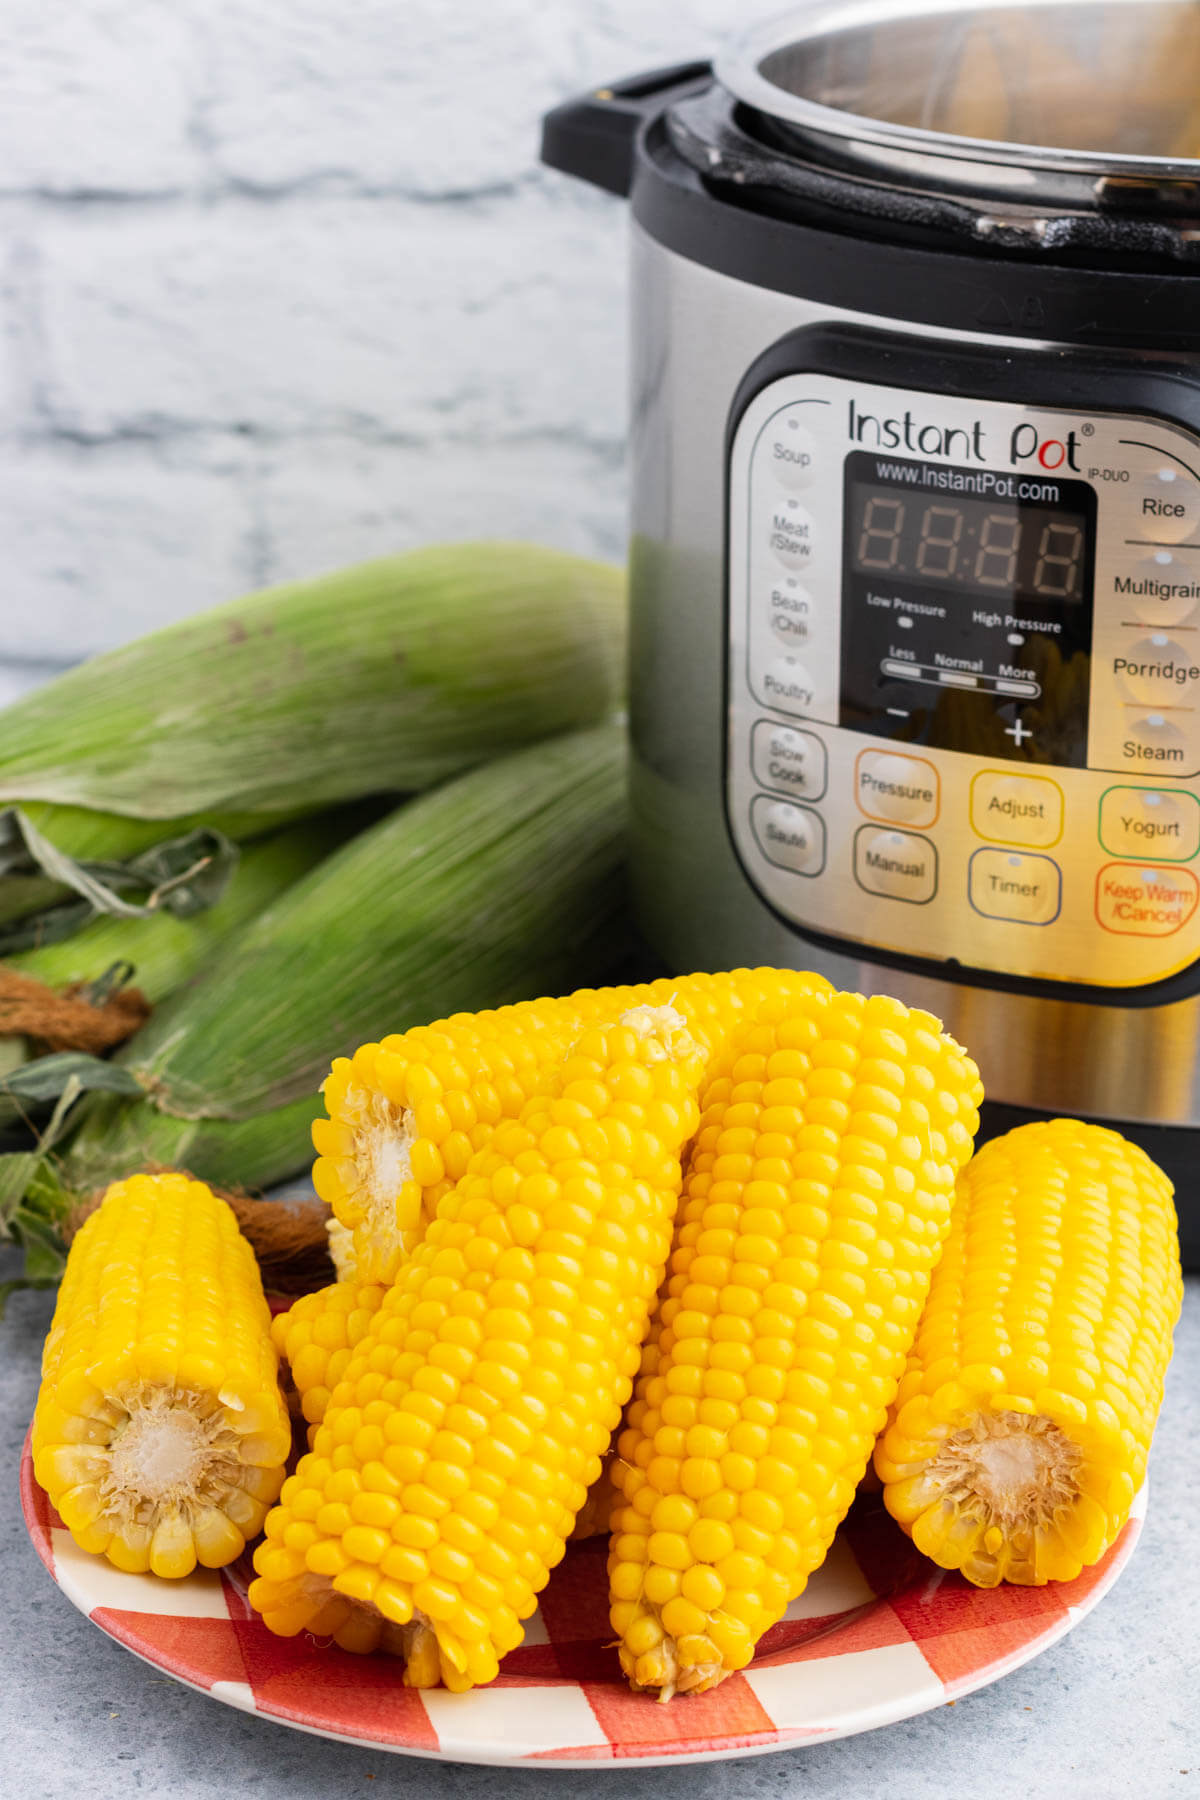
How to Eat Instant Pot Corn on the Cob
I love that you can cook a large batch of corn in the Instant Pot. No more heating up a large pot of water or overcooked corn. We love to slather our corn with butter, then shake on some salt and pepper.
However, you can also use this method to pre cook corn for salads and soups. Cut the corn off the cobs and fill up some freezer bags and you’ll enjoy sweet local corn all winter long.
Hi! I’m Bernice Hill, the heart and soul behind Dish ‘n’ the Kitchen. It is my pleasure to share easy to follow recipes that are delicious, nutritious, and approachable for the whole family.
If you make this Instant Pot Corn on the Cob please be sure to leave a comment and/or give this recipe a rating! Be sure to follow me on Facebook and Pinterest for my latest recipes. Also, if you do make this recipe please tag me on Instagram, I’d love to see what you guys are making! Thank you so much for reading my blog.
Instant Pot Corn on the Cob
Instant Pot Corn on the Cob is the easiest, fool proof method of cooking corn on the cob. Use this 'set and forget' method to cook perfect corn every time.
Ingredients
- 6 cobs of fresh corn
- 1 cup water
Instructions
- Shuck the each ear of corn by grabbing onto the husks of one side and pulling downward to the stalk. Flip the ear over and repeat with remaining husks. Remove all silk.
- Place the metal trivet in the bottom of the Instant Pot and pour in one cup of water.
- Cut each cob in half and stand them up on the trivet.
- Place the lid on the Instant Pot, ensuring the seal is in position and the pressure release is in the 'closed' position.
- Set the Instant Pot to manual 'high pressure' for 4 minutes.
- Immediately release the pressure after the four minutes of cook time.
Nutrition Information:
Yield:
6Serving Size:
1Amount Per Serving: Calories: 16Total Fat: 0gSaturated Fat: 0gTrans Fat: 0gUnsaturated Fat: 0gCholesterol: 0mgSodium: 2mgCarbohydrates: 4gFiber: 0gSugar: 1gProtein: 1g
Nutritional calculation was provided by Nutritionix and is an estimation only. For special diets or medical issues please use your preferred calculator.
So simple yet looks exquisite. I’ll try this method over the weekend. Thanks so much for sharing, Bernice!
Thanks for stopping by Maria, I hope you enjoy the corn as much as we did.
Love this instant pot corn on the cob. I need to try it.
Once you do, you’ll never go back to boiling.
Juicy, perfect corn! I love it!
Glad you enjoyed it Erin!